While today's best Android phones are quite secure as long as they remain locked with a passcode or biometrics like a fingerprint, by default those features only protect the front door. If someone picks up your phone while it's unlocked, there aren't typically any barriers that will keep them out of exploring everything from your contacts and emails to your photos.
This can be particularly challenging when it comes to photos, since those are the things we like to show off the most from our phones. We've likely all had those moments when we want to show a friend or co-worker a funny cat meme, so we hand over our phone and trust that they won't swipe right and see the photo of the hairy mole that we sent to our doctor that morning.
While avoiding letting other people touch your phone is one solution, the good news is there's an even better way to ensure that your really personal photos stay private. Thankfully, Google and Samsung both know this, so they've provided a way to bury pictures even deeper in their respective photos apps to make sure that you're the only one who gets to see them.
Create a locked folder in Google Photos
Google Photos, an app that is usually pre-installed on your phone's hardware, is perfect for hiding photos via a "Locked Folder" you can create within the app.
Before we continue, it's worth noting that your Locked Folder shares the same authentication method as your main device lock screen, so it won't help you hide photos from anybody who can unlock your device — the same passcode or fingerprints can unlocked the Locked Folder just as easily as they can unlock your phone.
Step 1: Install the Google Photos app from the Play Store if it's not already on your device.
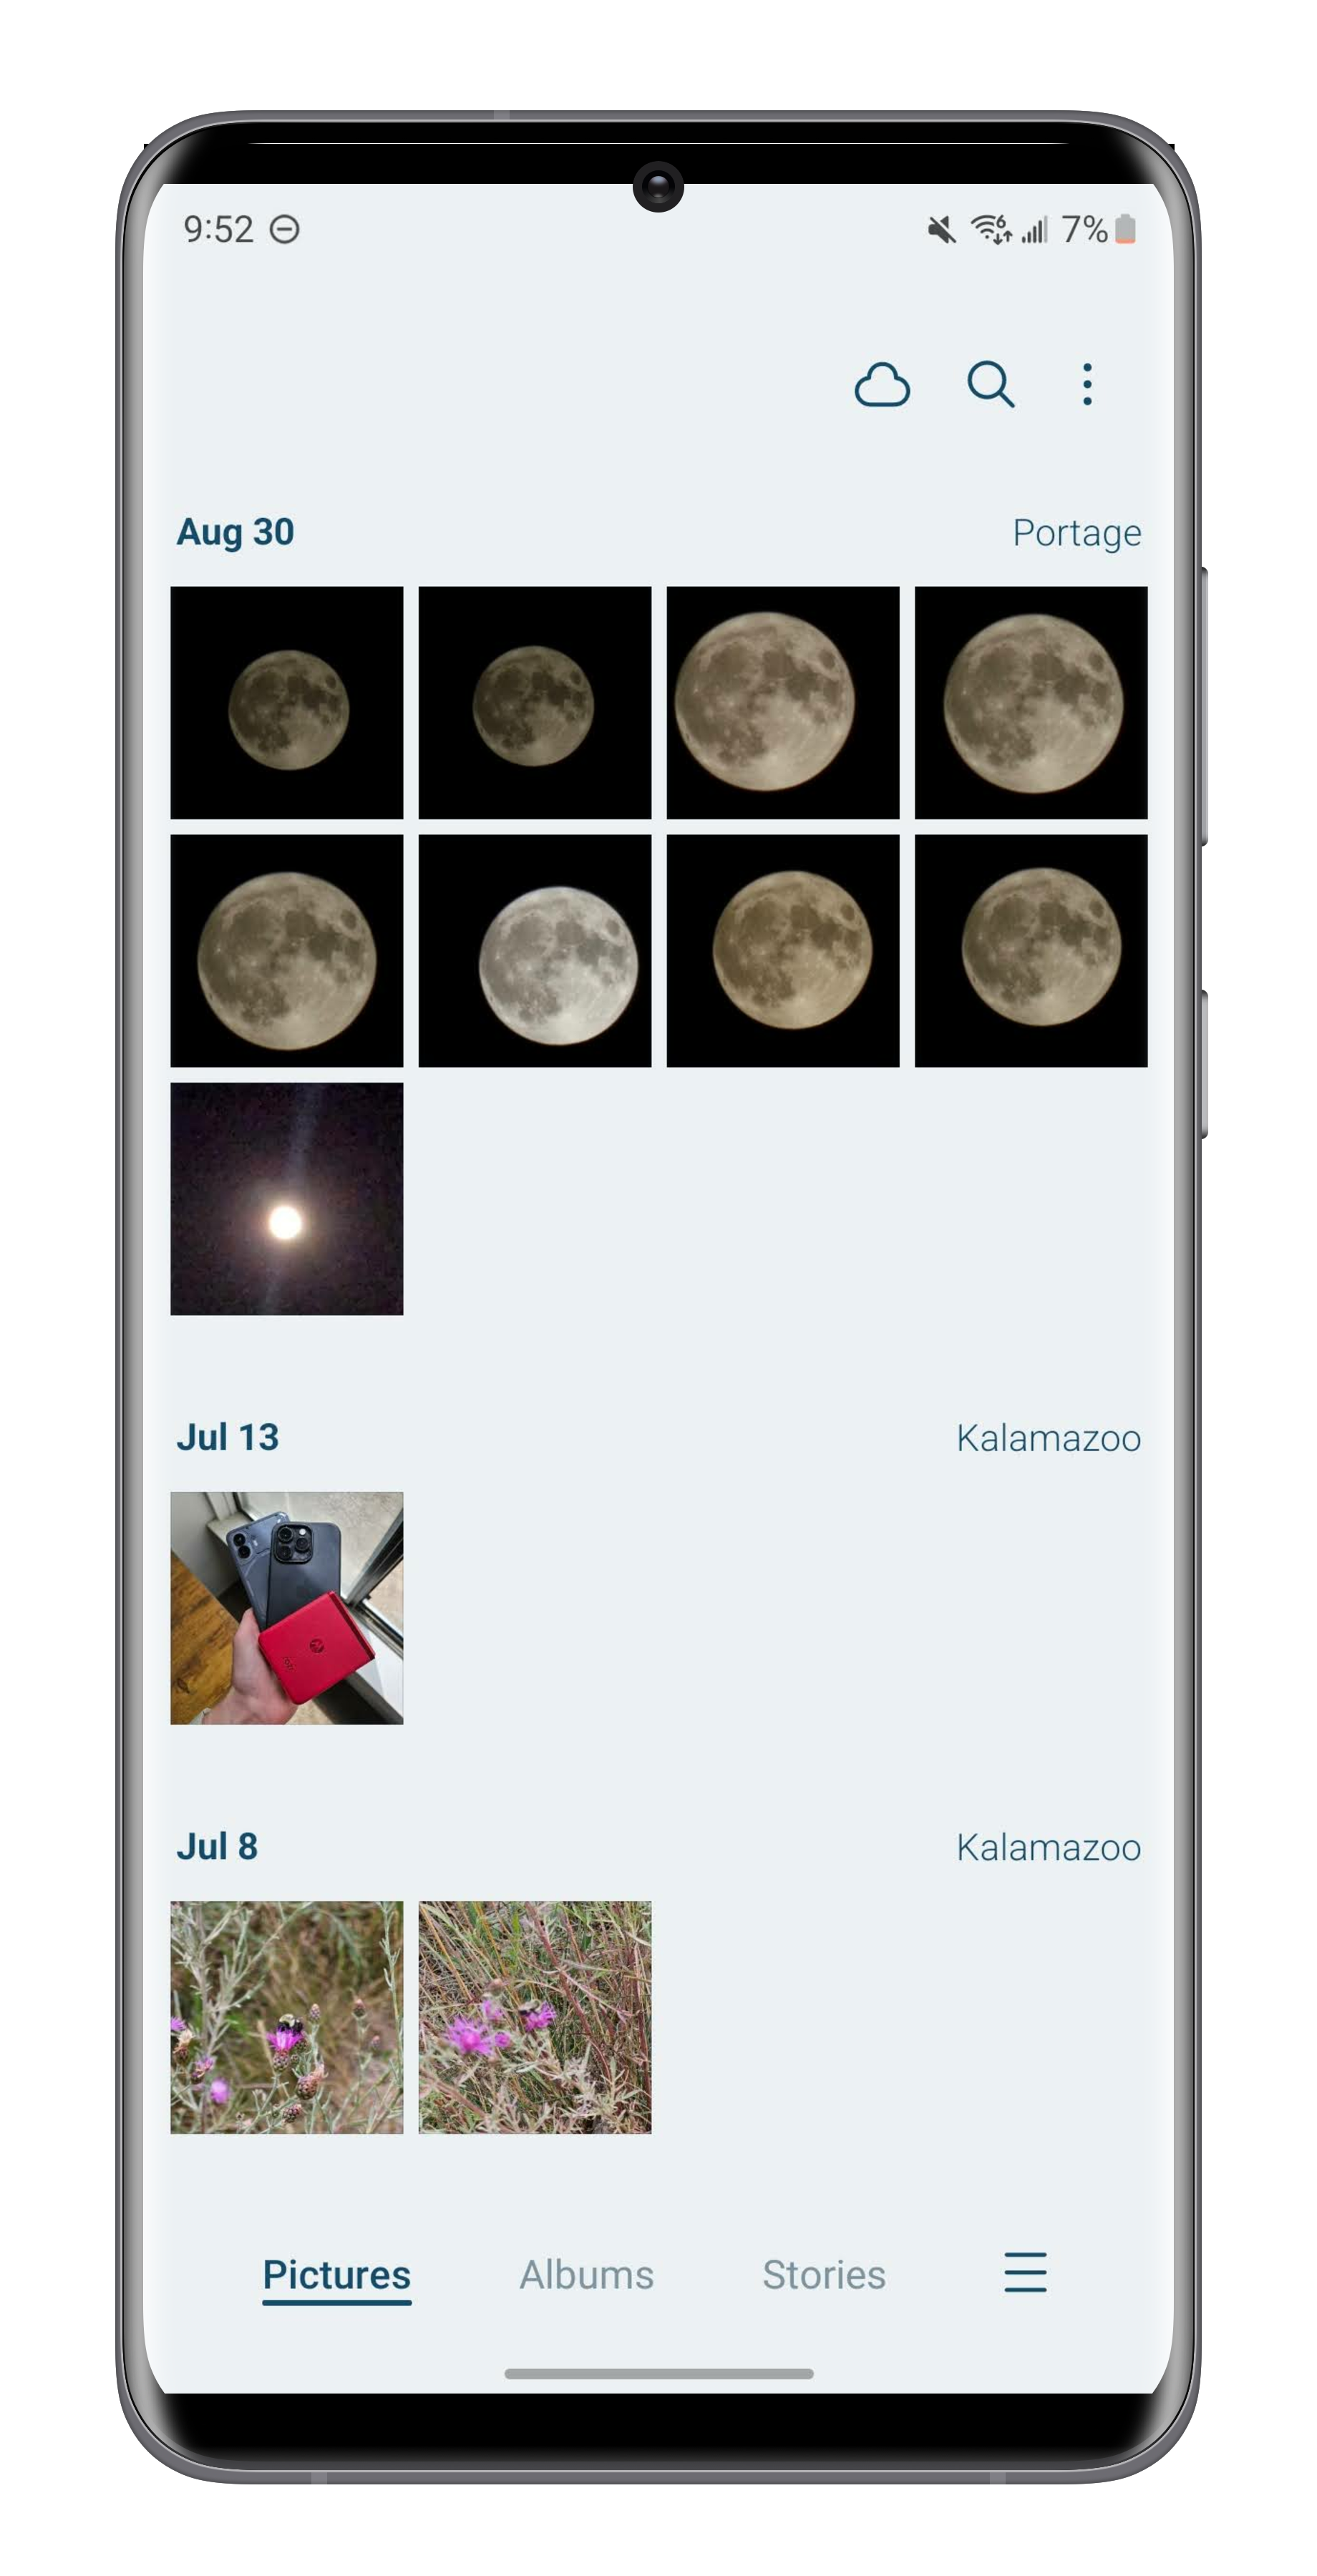
Step 2: Open the Google Photos app.
Step 3: Select Library from the bottom right corner.
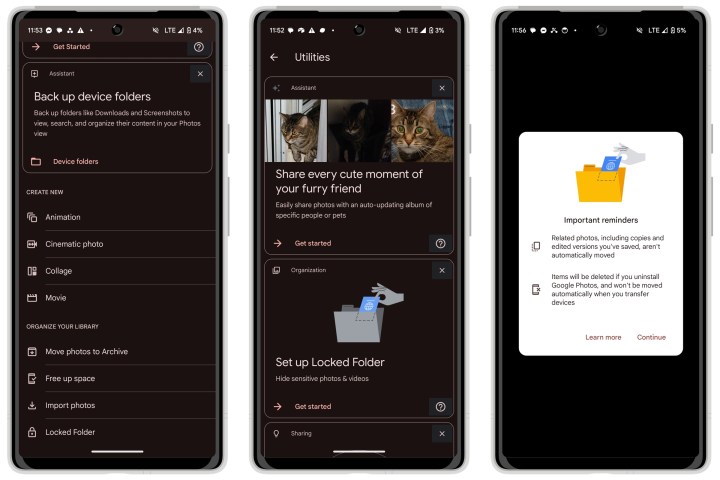
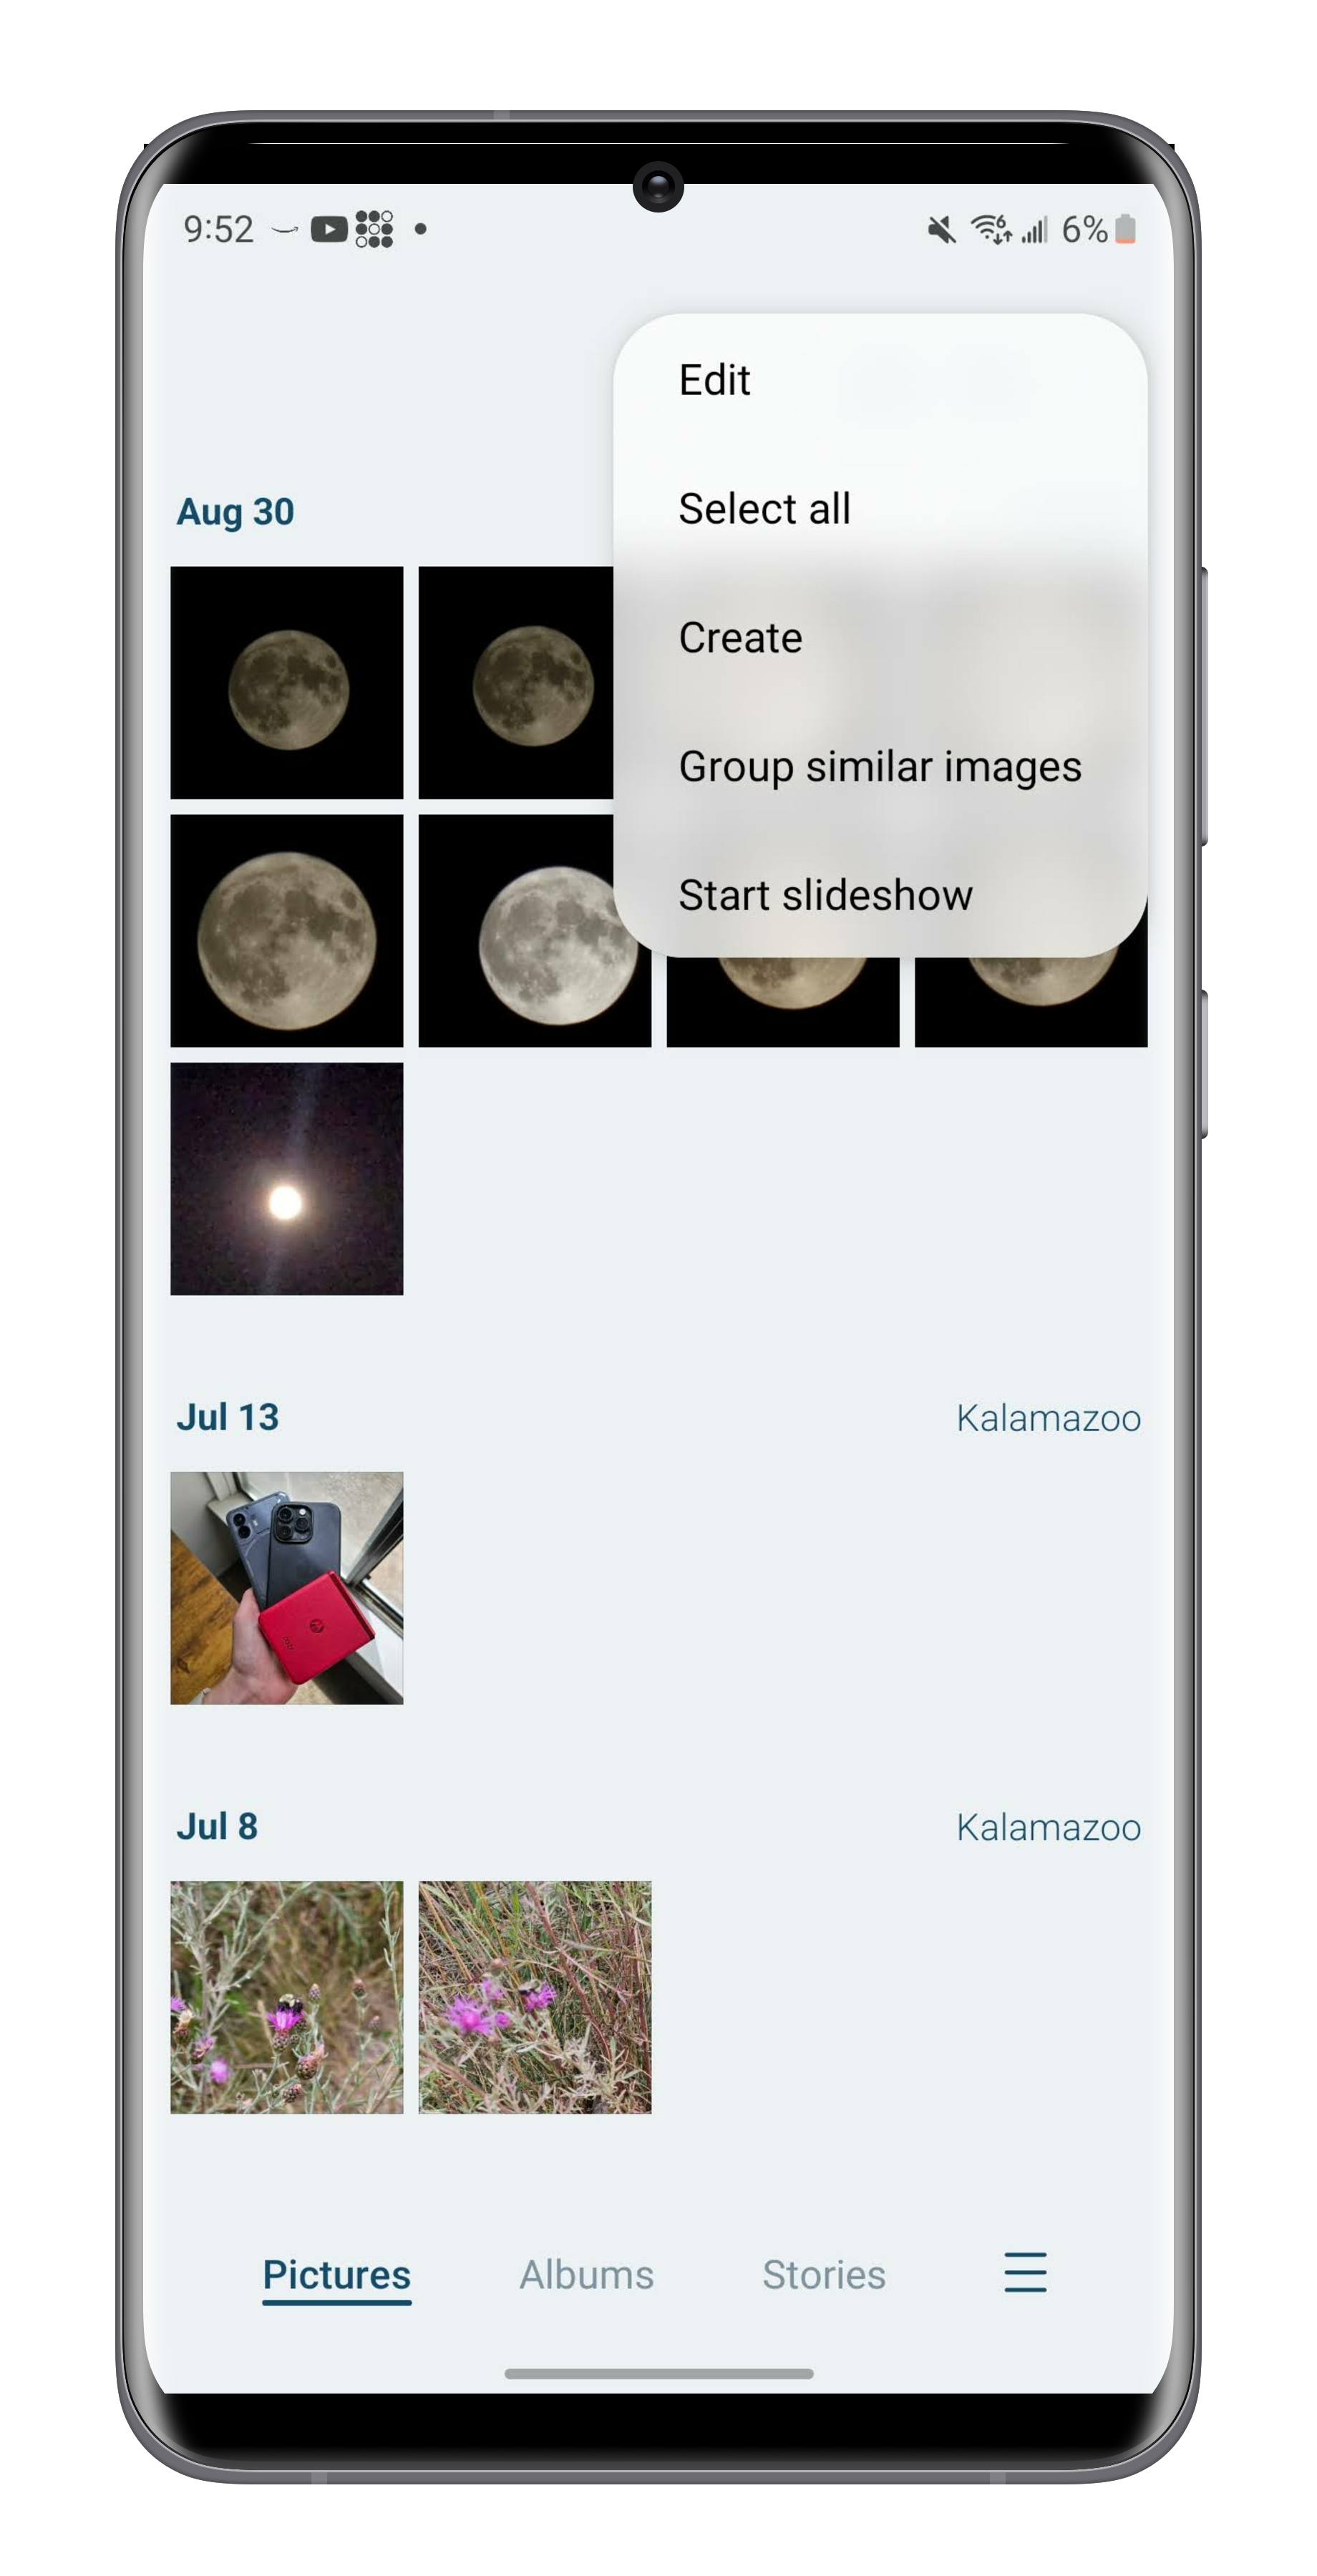
Step 4: Select Utilities from the options at the top.

Step 5: Choose Get started under "Set up Locked Folder" if the banner appears. Otherwise, scroll down and select Locked Folder.
Step 6: Select the Set up button.
Step 7: Follow the instructions to authenticate with your fingerprint or passcode.
Step 8: If your Locked Folder is empty, you'll be shown a screen that says there's "Nothing here yet." Choose the Move items button to select items from your main photo library and move them to your locked folder.
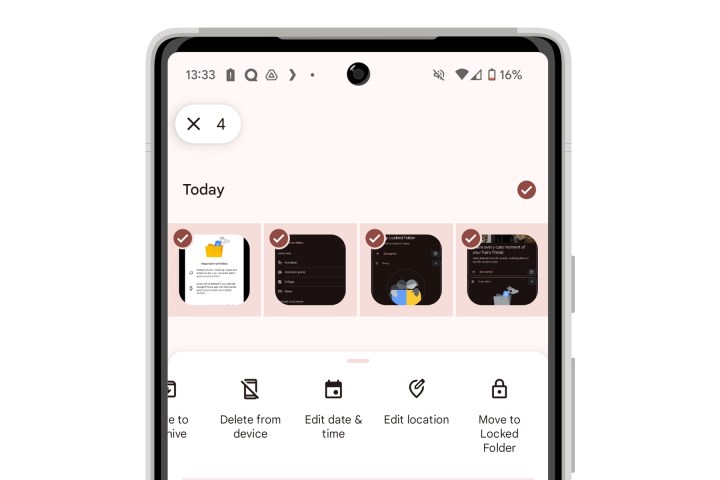
Step 9: If you already have photos in your Locked Folder, you'll see them displayed here. You can select the add photos button near the top-right corner of the screen to add additional photos to your Locked Folder. Alternatively, you can also move photos to the Locked Folder by selecting them from the main gallery and choosing Move to Locked Folder from the options menu that comes up.
Step 10: If you want to securely back up the photos in your Locked Folder, you can turn this on by selecting your profile pictures in the top-right corner of the Google Photos app and choosing Photos settings > Backup > Back up Locked Folder. Note that Google only began rolling out this feature on August 29, 2023, so it may not be available for everyone just yet.
Step 11: To access the photos in your Locked Folder in the future, just open the Google Photos app, select Library > Utilities > Locked Folder and authenticate using your fingerprint or passcode.
Note that to protect your privacy and security, Android will not allow you to capture screenshots within the Locked Folder. Any screenshots you attempt to take with the Locked Folder open will product a blank black image. This is expected behavior.

How to hide photos on a Samsung phone
While you can install Google Photos on a Samsung smartphone just as easily as you can on any other Android device, many Samsung folks prefer to use Samsung's Gallery app, which is understandable as it's a great choice for those toting a Galaxy S23 Ultra, or Galaxy Z Flip 5 with their unique camera features.
Thankfully, Samsung fans also have a way to hide their personal photos in the Samsung Gallery app, using Samsung's Secure Folder feature.
Step 1: First, you'll need to enable Secure Folder if you haven't already done so. This can be found under Settings > Biometrics and security > Secure folder. You'll need to sign in with your Samsung account and choose a preferred lock method to protect your secure folder.
Step 2: Next, launch the Samsung Gallery app on your phone.
Step 3: Select Pictures from the menu bar at the bottom to show all of your photos or Albums if you would like to select photos from a specific album. You can also choose to move an entire album to your Secure Folder.
Step 4: Once you're looking at the photo(s) you want to hide, select the three-dot button in the top-right corner and select Edit from the pop-up menu that appears. Alternatively, you can also enter edit mode by pressing and holding on the first photo, video, or album that you would like to hide.
Step 5: Select the photos or videos that you would like to move to your Secure Folder. You can also select an entire album from the Albums view.
Step 6: Select the More button at the bottom.
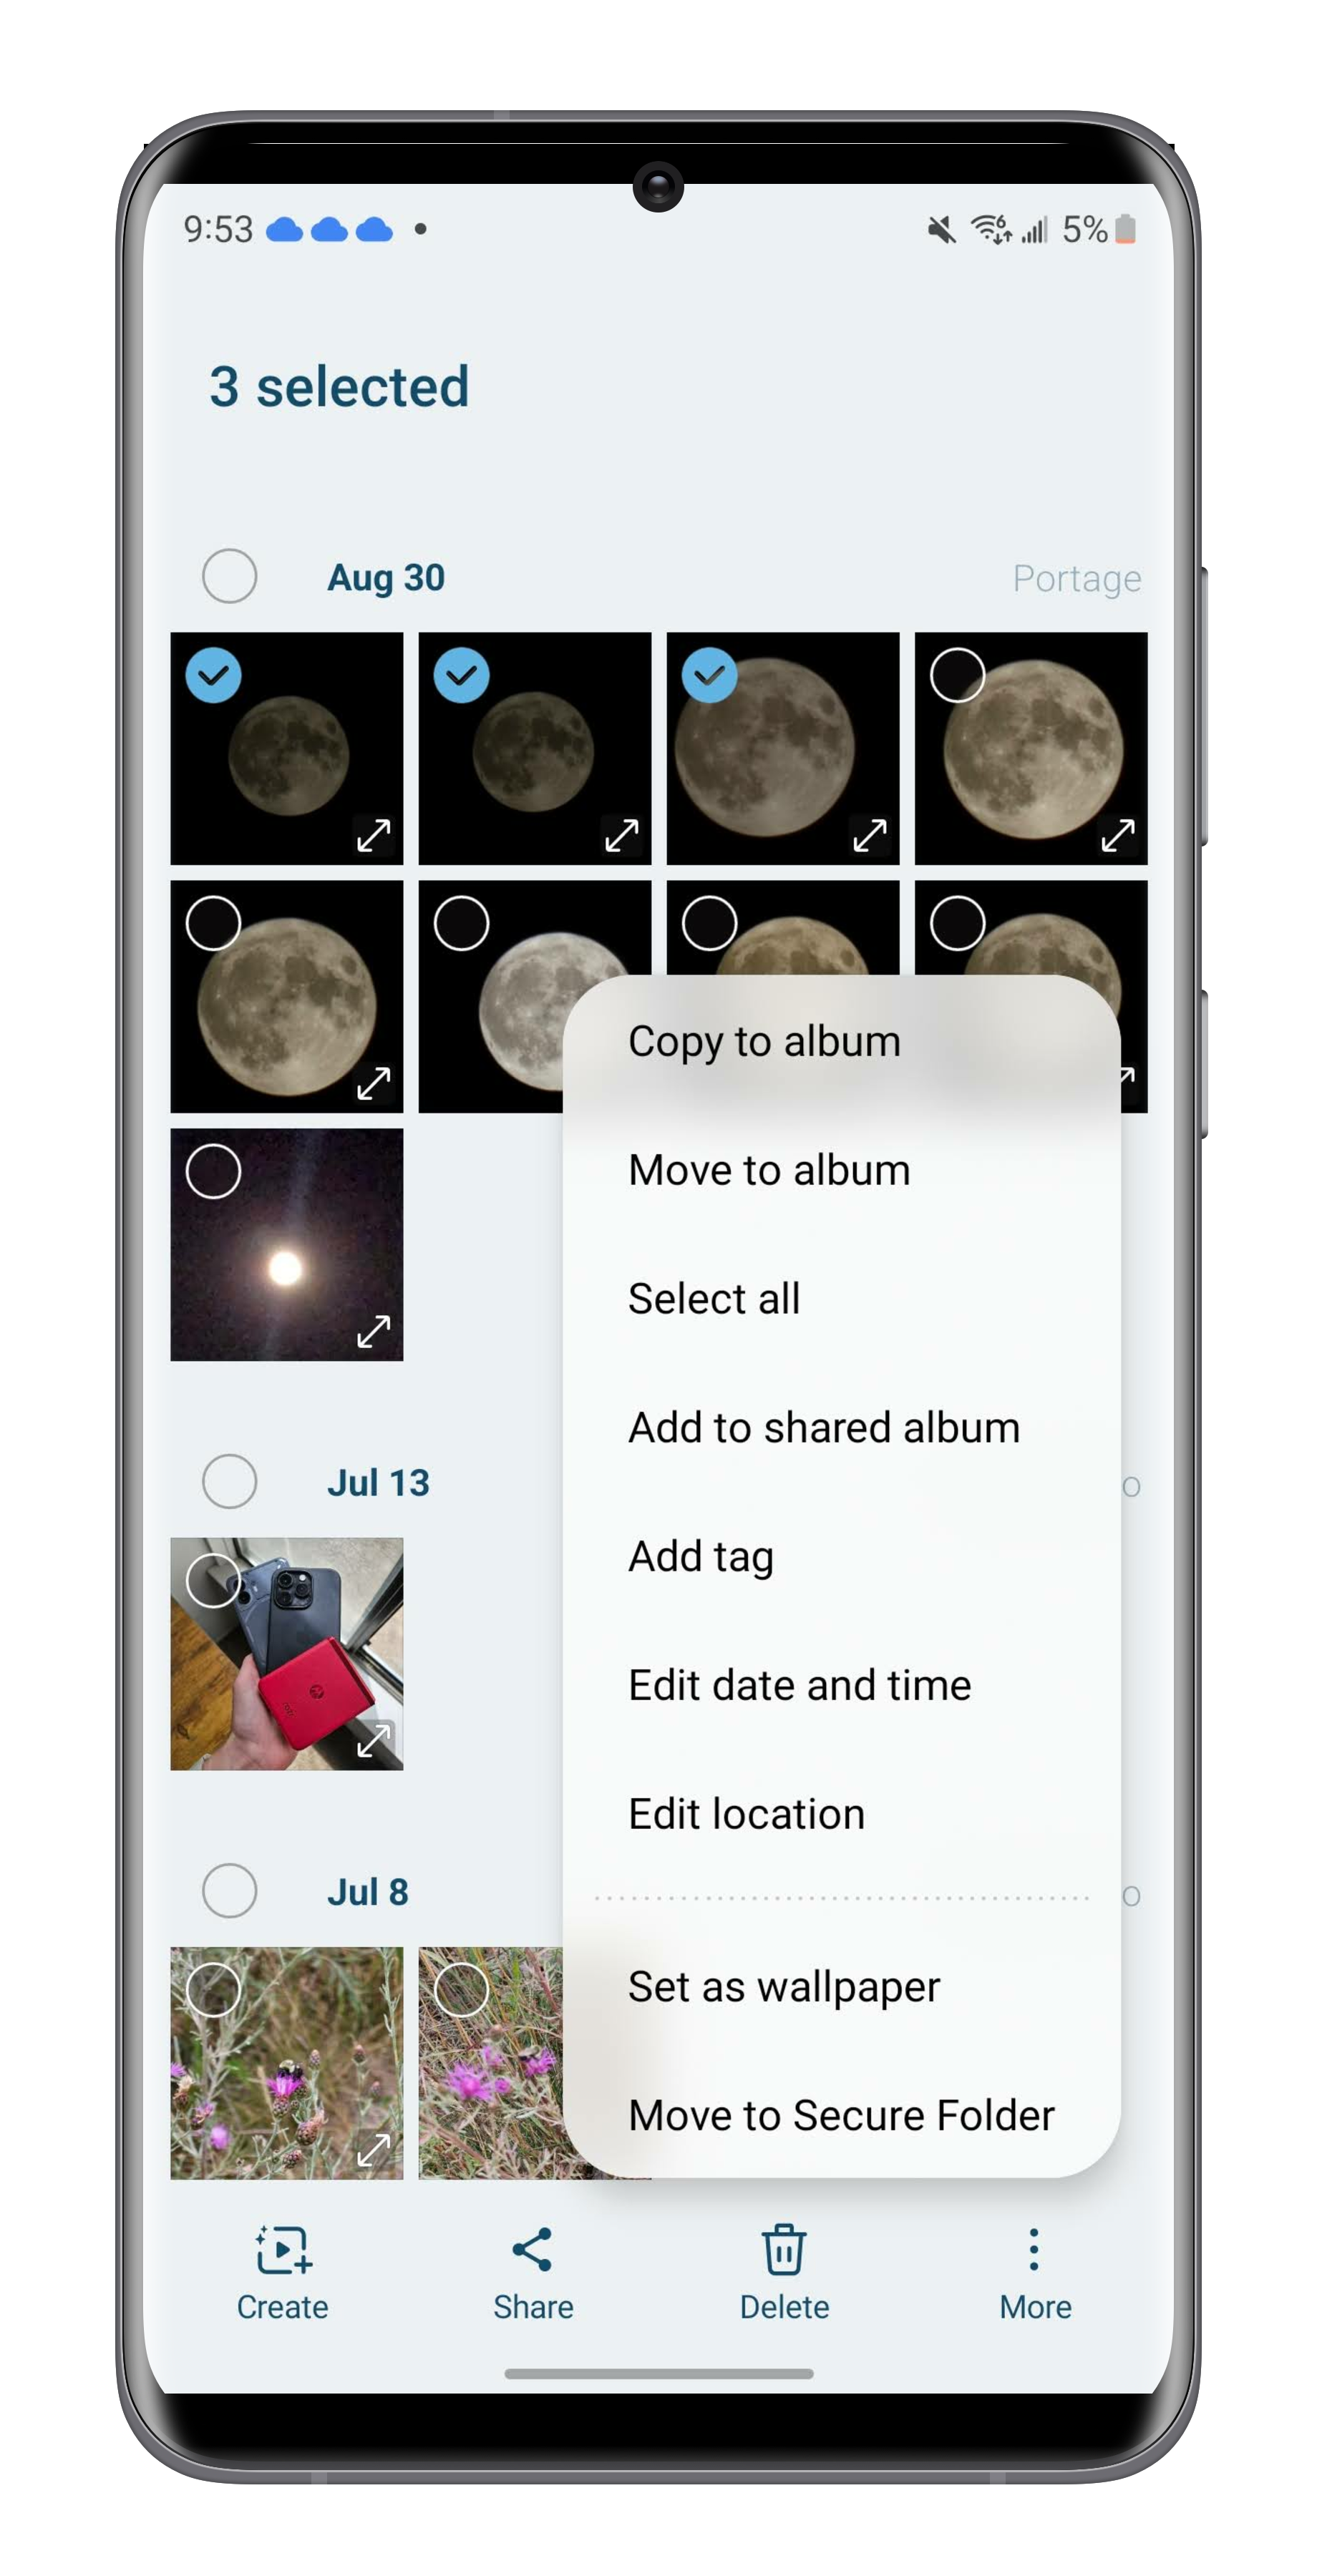
Step 7: Choose Move to Secure Folder and enter your PIN or authenticate with your fingerprint when prompted.
Note that since the Secure Folder is a separate, encrypted storage area, it may take some time to move your items to the Secure Folder. You can check on the progress of this by swiping down from the top of the screen to check your notifications.
Step 8: Once the move is complete, the selected items should vanish from your main Samsung Gallery app. To view them, you'll need to open the Secure Folder app on your phone and open the Samsung Gallery from there.
Be aware that items in your Secure Folder are not backed up or synchronized to any cloud services. Although Samsung previously allowed users to back up Secure Folder contents to Samsung Cloud, that was discontinued in early 2021. Secure Folder can be transferred to a new Samsung phone using Smart Switch if you're running One UI 5 or later, but we'd strongly recommend making a separate backup of your photos in some other private location before moving them into your Secure Folder, since data stored in this area may not be recoverable if something happens to your phone.
Editors' Recommendations
- How to reset Apple AirPods and AirPods Pro
- The best tablets in 2024: top 11 tablets you can buy now
- How to get Android apps on a Chromebook
- How to find your lost phone (tips for iPhone and Android)
- How to use iMessage on an Android phone or tablet