How to make mixed reality demos that merge real and virtual worlds
Recently I had fun doing some experiments in mixed reality, showing a door to another world, or my balcony having a view to a virtual reality place. Some people asked me how I did that and in this post, I’m sharing my knowledge giving you some hints about how to replicate the same experience in Unity. It won’t be a step-by-step tutorial, but if you have some Unity skills, it will be enough for you to deliver a mixed reality experience.
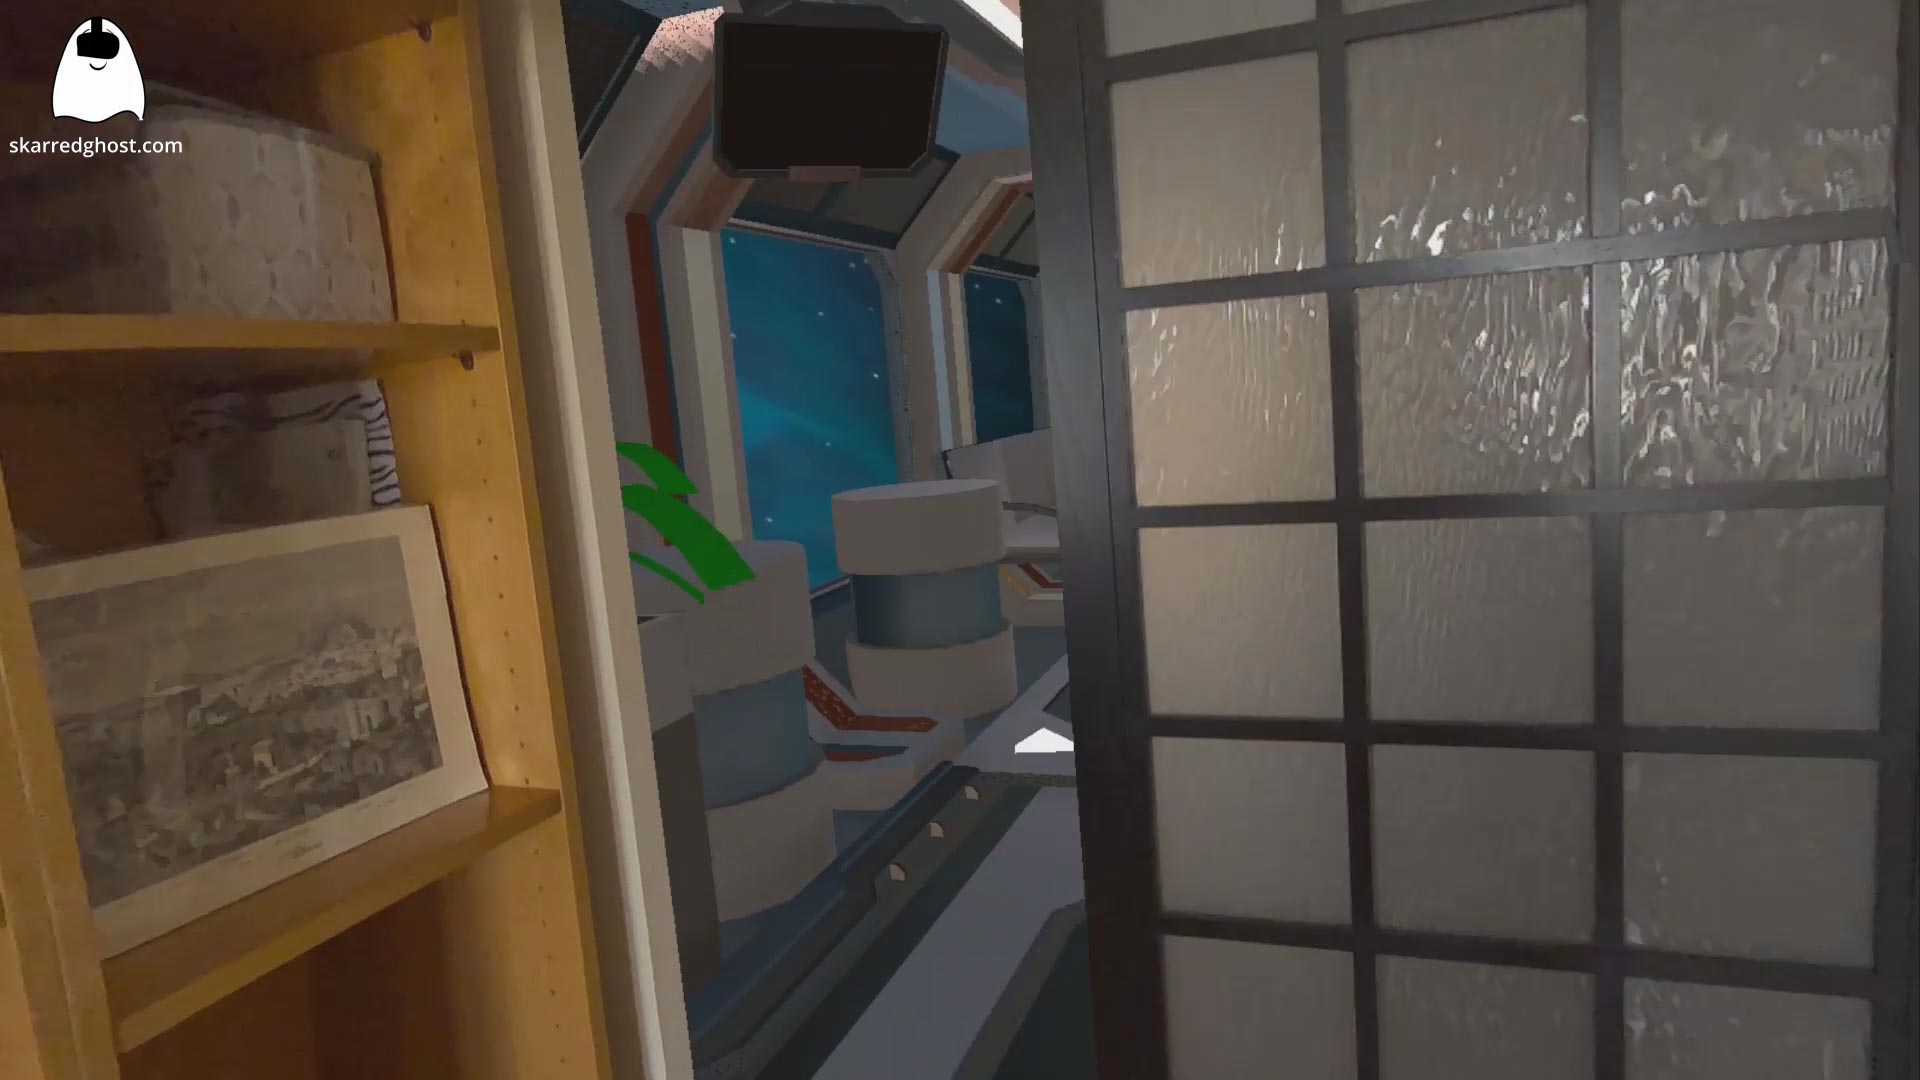
View post on imgur.com
Let me start with the basic ingredients that I use in my experimentations and then I will give you some specific hints on two of the experiences I created.
Testing on PC
While all the demos I created are for the standalone Quest 3, I did most of my development on PC using the Link. Meta did a great job in allowing the streaming of all the mixed reality data from the Quest to the PC for development purposes. Thanks to this, while you are in Unity, with the Quest connected via USB to the PC, you can press Play to test the application locally with full access to passthrough stream, hand tracking data, and scene data. This means that you can test on PC your mixed reality app exactly as it would run in the build, with the difference that a build to Android would cost you many minutes while pressing play in Unity costs 5 seconds.
The streaming of data for development purposes must be unlocked in the Meta Quest Link app on your computer (previously known as the Oculus app), or it won’t work.

Without this facility, I would have never been able to prototype my mixed reality demos this fast.
Meta building blocks
Another amazing feature that Meta added to its Unity SDK and that everyone else should copy, is the “Building Blocks” facility. Thanks to Building Blocks you can add some preset functionalities to your application by just dragging and dropping. The system will take care of configuring the scene and adding the required dependencies to make everything work.

So, if in the past I had to write a long blog post to teach you how to build a passthrough AR application on Quest, now it’s a matter of three clicks. And I’m not even exaggerating, this is literally what you need.
To create the type of applications I built in the prototype, which are mixed reality experiences using spatial understanding and natural hand interactions, you just have to:
- Import the Meta XR All-In-One SDK
- Delete the default Main Camera in the scene
- Open the Building Blocks menu by selecting Oculus -> Tools -> Building Blocks (yes, the menu still says “Oculus”…)
- Add the following blocks to your scene:
- Camera Rig
- Passthrough
- Room Model
- Either Real Hands or Virtual Hands depending on if you want the user to interact with bare hands or if you want some virtual hands superimposed on his real hands
- Open Oculus -> Tools -> Project Setup Tool and fix all the major issues that the system flags to you
Over. If you build the project at this point, you already have an application in mixed reality that paints with a checkerboard pattern all the elements you have in your scene (e.g. the sofa, the desk, the window in your room). And all of this happened effortlessly.
Scene Setup
The Meta Quest 3 lets you perform an operation called “Scene Setup” on the space you are in. This consists in the configuration of the environment, where you flag which are the notable elements you have in the room. With Scene Setup, you can set up your room boundaries and mark where your door, your window, your desk, sofa, computer screen, etc… are. This is still a manual process, but the last Meta Quest runtime added a semi-automatic detection, so the headset can automatically detect the walls, the floor, the ceiling, and also some notable elements, like doors and windows. After this automatic detection, the system prompts the user asking to modify the setup manually to adjust it to the actual room configuration, fixing some eventual errors that the automatic system made.
The procedure of the Scene Setup must be done only once per room: the headset can memorize more than one space, so if you need to do your tests in multiple rooms (e.g. your office and your living room), you can. Doing the setup only once is very handy, but at the same time, it means that it does not get updated. If something in your room changes, like for instance you move a chair, you have to repeat the whole setup process, or you will have ghost objects in VR in the position they were before they were moved. My suggestion is to do your work always in the same room, and to do the Scene Setup for that room very accurately, adding all the furniture objects that you can, so you can use that room for extensive mixed reality testing.
Accessing scene elements
When a mixed reality application with the “Room Model” block added is run, the system accesses the data from the Scene Setup of the current room and spawns a prefab for every found element. By default, the Meta SDK’s SceneManager spawns a “cubic” prefab for every 3D object (e.g sofas, desks, etc…) and a “plane” for every planar object (e.g. doors, windows, floors, walls, etc…). This prefab is configurable by the developer. Even better, the system offers a way also to specify custom prefabs for specific objects: for instance, you may want to just draw a plane for every planar surface, but put a big warning sign on every window. In this case, you can specify a prefab override for all elements of type WINDOW and see it spawning at runtime on every window.

Sometimes you want to find at runtime one of these elements in the scene to do some operations with it: for instance, you may have a script that wants to enable/disable the elements you have attached to the desk. If you want to do that, there are various ways… a pretty naive one that is fine for a quick prototype (but pretty dirty for a production app) is to look in the scene for all the objects that the SceneManager has spawned and cycle through them until you find an object of the desired type.
I strongly suggest to use extensively the scene elements to make your experience more flexible, both for your personal use and application distribution. Let me explain what I mean using the example of the magic mirror I recently did:
I could have done this video in two ways: the naive one would have been to put the virtual mirror as a root game object in my Unity Scene, with the absolute coordinates of the physical mirror in my room, with the same dimensions of the physical mirror. This would have worked fine for the video, but would have made my demo work only in very specific conditions: it could not work with other mirrors, for other headsets, or even for my own room if I reset the origin of the tracking space of my Quest. So what I did was instead creating the virtual mirror as a prefab that the SceneManager spawns for every object of type WALL_ART (there is no “mirror” type on Scene Setup, so I needed to use another one), and assumes the same position, rotation, and dimension of that detected element.
By doing this, my application can work in every room, for everyone. And it can also work for me even if the reference system of my Quest changes: while I was doing my tests with the door portal (another demo I did), I started by doing some quick prototyping assuming the absolute pose of the door, but then after 10 minutes I realized that the Quest changed its reference system, so all the objects I carefully put in my scene, where totally misaligned with my room space. So the important lesson is: attach all the augmentations to some landmark of the room. If you are unsure about what to use, use the FLOOR.
Just be careful of one thing: the default script by Meta scales the prefabs that are added to the scene (because this is how it fits a cube and a plane to the real size of your elements). You have to take this into count: in the case of the mirror, it was a good thing: I set the mirror as a 1-meter quad, and the system automatically scaled it to fit my real mirror. But in case you don’t want it, either you create a new script to manage the object generation, or you counter-scale the objects, or you have to attach your objects after the scaling happened (like I do in the script I pasted above).
Showing passthrough
The secret sauce of these fancy mixed reality demos is showing the passthrough vision on top of virtual objects. Because it’s easy to show the passthrough around you (it’s just about adding the “Passthrough” block) and it’s easy to put virtual elements on top of it. But what about when you want to make the passthrough occlude something? For instance, in the door demo, I should see the virtual world only through the door hole, but the wall in my room should occlude it.

To make this happen you just have to use a passthrough shader, as I already told you when I did my tutorial on Augmented Virtuality applications on Quest. The one I usually employ is included in the Meta SDK and is called “Punch Through Passthrough”. If you assign this shader to an object, all the parts in your sight where this object is visible will be filled with passthrough: this means that if you use this shader on a plane, all the objects behind that plane won’t be rendered, and the user will see the passthrough, but all the virtual elements in front of that plane will be correctly shown. In the editor the passthrough appears black, but when you press Play, the passthrough is overlaid to it. This shader is the thing through which you can make most of the magic of my videos (apart from my sexy Italian accent, of course).
Adding interactions
How can you add 3D interactions in your mixed reality scene? Well… by Building Blocks of course! Meta already added a lot of interactions that you can just drag and drop to prototype easily.

For instance, in many of my demos, I used some menus with some buttons I can push with my hands, and that have a nice physical effect of being pushed. You may have thought I am a Unity master for having made them, while actually I just added a “Poke Interaction” block for every button I wanted to use and then I registered for their WhenStateChanged events in the scripts (when the new state is Selected it means the user is pushing the button).
View post on imgur.com
On-device testing
I did almost all my development inside the Unity editor, but then the final testing had to be done on the device, because running a demo on a simulated PC environment or an Android device has many differences. The actual demo on the device is important to evaluate the framerate when running on Quest and also how the things merge well into your world: for instance, sometimes I realized that the buttons I put on a wall were too close to the wall surface, so I was not able to push them with my fingers.
The balcony demo
Now that we have seen all the main ingredients of these mixed reality prototypes, let’s evaluate how I did two of my demos, the one with the balcony and the one on the sliding door.
For the balcony demo, first of all, I set up the project using the Meta Building Blocks as I showed you above. Then I took some measurements of my real balcony and I roughly recreated its shape using some quads (in a production app I would have probably modeled a balcony mesh, but for a prototype, quads were quicker). I assigned the passthrough shader to these objects so that they could show my real balcony. I also assigned the passthrough shader to all the walls, floor, and ceiling spawned by the SceneManager, so that around me I could see my room correctly.

Then I put the virtual world so that my room floated above it, at roughly the same height as my real apartment is regarding to the street. To make sure this alignment would coherently stay in every run, I attached this to the FLOOR element. So basically I created a custom prefab for the FLOOR element with integrated both the balcony and the virtual world. Using the Play mode in Unity, I’ve perfected the alignment of the virtual balcony to my real balcony and the virtual environment so that the view looked best. Since when the play mode ends all data are lost, I copied the data from the components at runtime and then pasted them inside the Floor prefab.

Long story short, the balcony demo is just a virtual environment, with elements using the Passthrough shader everywhere with the exception of where there is the hole in the balcony.
The door demo
The door demo was made similarly: I configured the project to use passthrough mixed reality and scene understanding. Then I found three virtual environments on the Asset Store and attached them to a custom DOOR prefab, so that all the virtual places where outside the door. Then I added three Poke Interaction buttons and made sure that every button enabled an environment and disabled the other ones. This way I made the menu that let you choose which reality you wanted. I also added another button that disabled all the environments so that the user could select its reality.
The use of the passthrough shader was also fundamental here to hide the virtual environments everywhere but in the door hole. But here there is an additional complication: how to implement the door hole? The Scene Manager returns a full plane for the wall where the door is on, so there is no hole you can use to let the user see through the door. I had to use a little trick here: I did not apply the passthrough shader to the walls. But when a door is found, I use some mathematical magic to create a series of big quads that surround it, but that do not cover the area of the door. Then I apply the passthrough shader to these quads, so all the area of the wall is covered by the passthrough shader, but there is exactly a hole in the door location where you can see the virtual walls that are beyond the door.

But what about the sliding door, then? I had to use another little trick here because Meta does not allow us to track objects nor to do image analysis. Since I have a sliding door that you move with your finger, I use the index finger position. There is a trigger collider on the door and one on my index fingertip: when the two colliders collide, I use the finger position to determine where the right side of the door should be. The sliding door is another quad with the Passthrough shader: if it moves to the right (or shrinks towards the right), it unveils the parts of the door hole that are on the left.

And that’s it! Once you get a grasp of the basic building blocks, making mixed reality prototypes with the Meta SDK in Unity becomes incredibly simple. I hope these hints have been useful for you… and if you do some MR experiments with the lessons learned here, let me know what you did! I’m very curious to see it…
Disclaimer: this blog contains advertisement and affiliate links to sustain itself. If you click on an affiliate link, I'll be very happy because I'll earn a small commission on your purchase. You can find my boring full disclosure here.