
One of the primary factors that separates an augmented reality device from a standard heads-up display such as Google Glass is dimensional depth perception. This can be created by either RGB cameras, infrared depth cameras, or both, depending on the level of accuracy you're aiming for.
This understanding of depth allows our augmented reality devices to know the locations of usable surfaces. The result of this understanding is that we can place virtual objects on top of real objects in the real world. Or, at least, the functional illusion is created.
In the previous tutorial on building an AR mobile app for Android, we created our AppController to handle the overall processing and flow of the application. In this lesson, we will use point cloud data generated by the camera to create planes that help the user indicate where a viable surface is.
We will take what we learned in lesson two on prefabs and build on that, creating a prefab that starts small. As more of the real-world surface is detected, it will instantiate and attach more copies of the prefab to make the usable virtual surface larger. While that may sound a bit complex, Google and Unity have both done a good bit to make the system easy to implement.
Step 1: Create a Flat Plane
For our purposes, when a real-world surface is detected, we need a way to represent this in the virtual space. In this case, we will be creating a flat plane that can be used. And while this solution will not work in every situation, as many surfaces may have objects on them, this will work in a majority of cases.
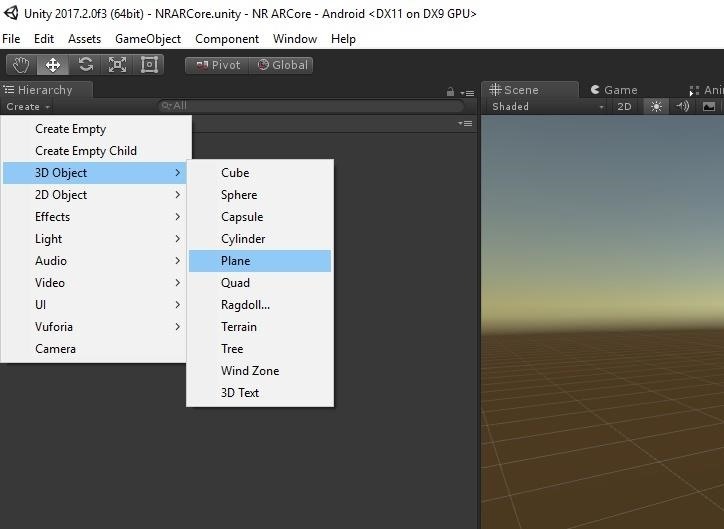
Click on the "Create" menu, select "3D Object," and then click "Plane." Name the object VisualTrackedPlane or something you will remember.
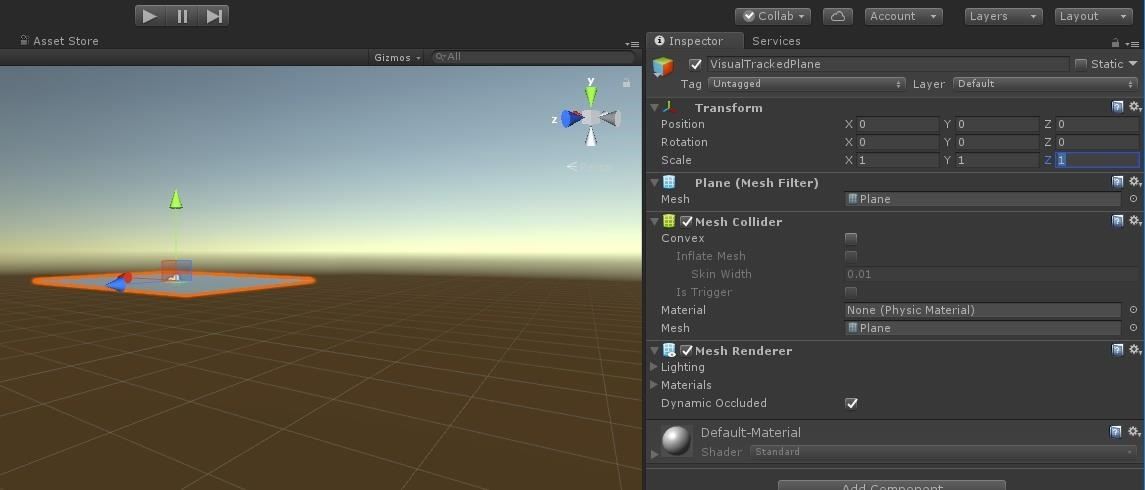
Next, look at the Transform component of the object in the Inspector, and make sure the Position of the object is 0, 0, 0. Also, check that the scale is 1, 1, 1. If there is an offset on this object, when your prefab was instantiated, it would always be offset as well.
Step 2: Apply the Texture
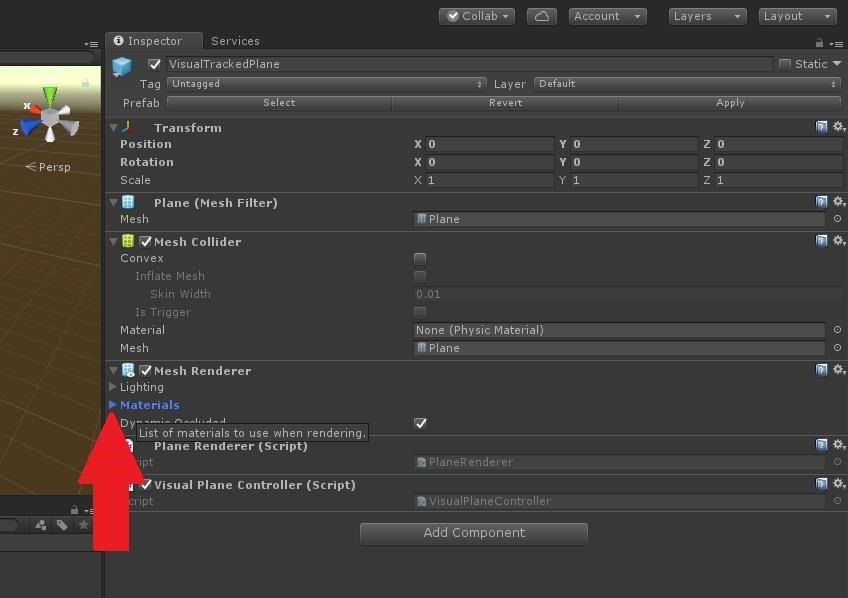
Now we need to select a texture so the virtual surface is viewable by the user. In the Mesh Renderer component, click on the arrow next to Materials.
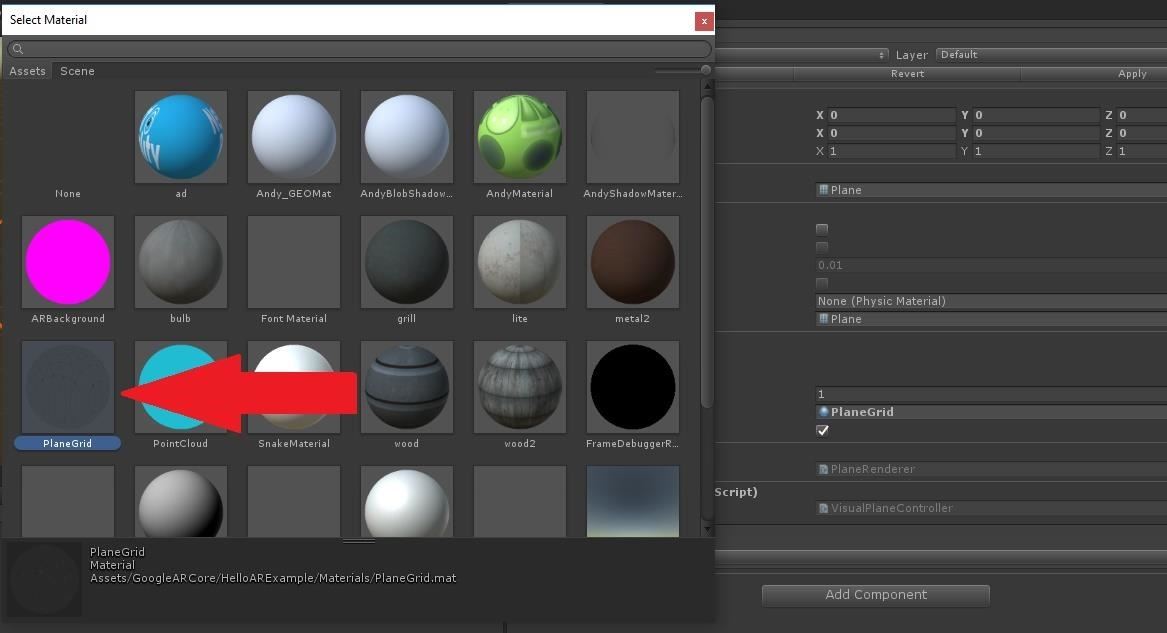
After it expands, click on the small donut by the object's 1st material to bring up the Select Material window.

In the Select Material window, choose the "PlaneGrid" material.
Step 3: Add the Plane Renderer Class to the Object
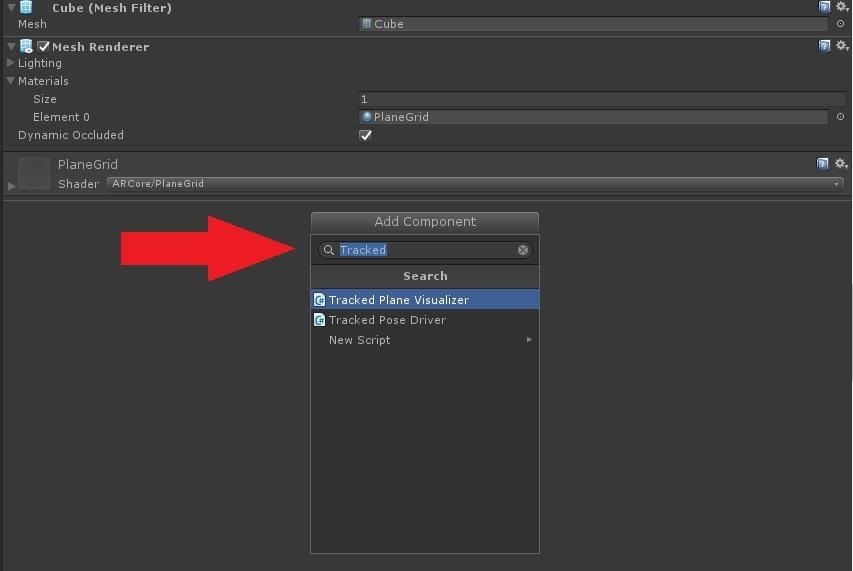
Now, let's get to the heart of this learning experiment. We will use the provided "Tracked Plane Visualizer" class on our prefab in order to see the surface as it is detected and then extended. Click on the "Add Component" button, then type "Tracked" into the search box, and then click on "Tracked Plane Visualizer."
Step 4: Turn Our Object into a Prefab
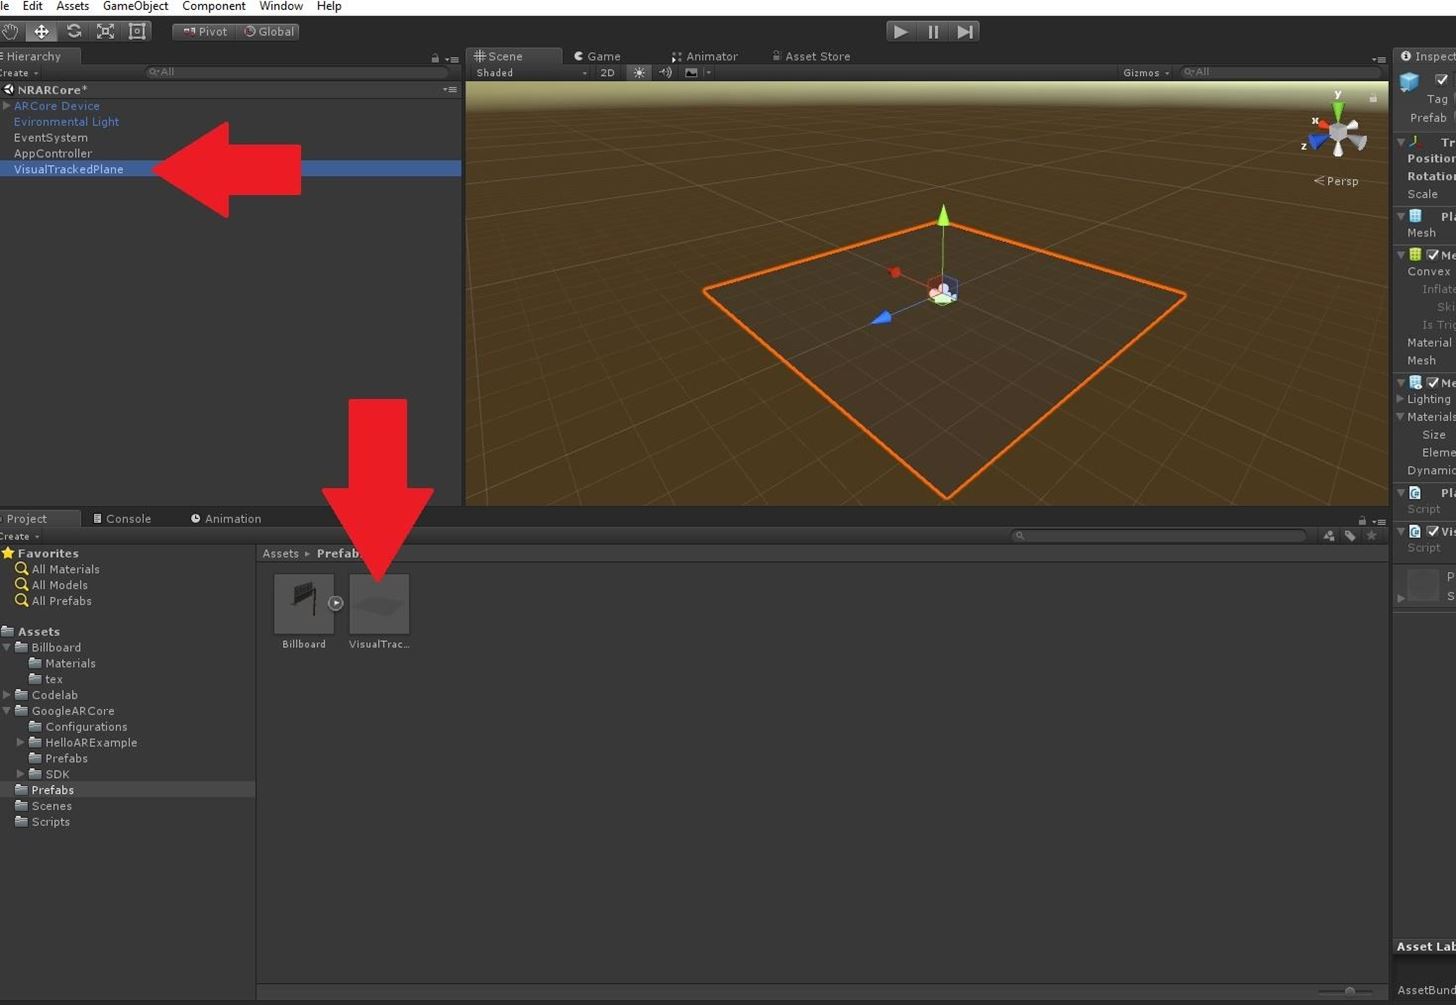
To create a prefab, select the "VisualTrackedPlane" in the Hierarchy window, then drag it to the "Prefabs" folder in your Projects window.
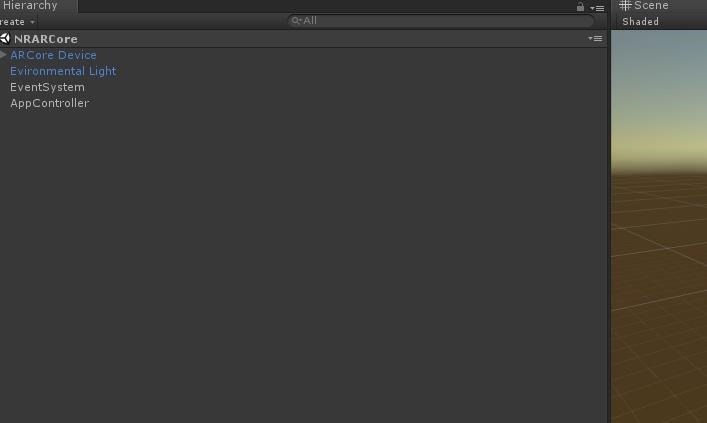
Now, delete the "VisualTrackedPlane" from the Hierarchy view.
Step 5: Update the AppController
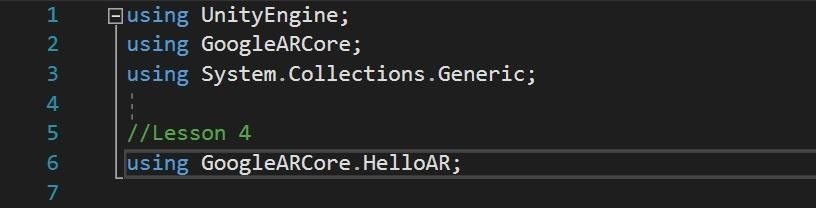
Now that we have our prefab created, we need to update our AppController class to handle working with the new prefab. The code for the updated version can be copied and pasted from Pastebin. If you look through the code, you will notice three spots that have "//Lesson 4." These sections are the new code added in this part of the tutorial. We will now go through these changes just so it's easy to understand.
The TrackedPlaneVisualizer class we added in Step 3 is a class from the HelloAR_ example that comes with ARCore. Because of this, we need to add the namespace it belongs so we can use it.
Next, as you can see in the example below, we need to add a public GameObject declaration so that we can create a link between our AppController and the prefab we previously created.

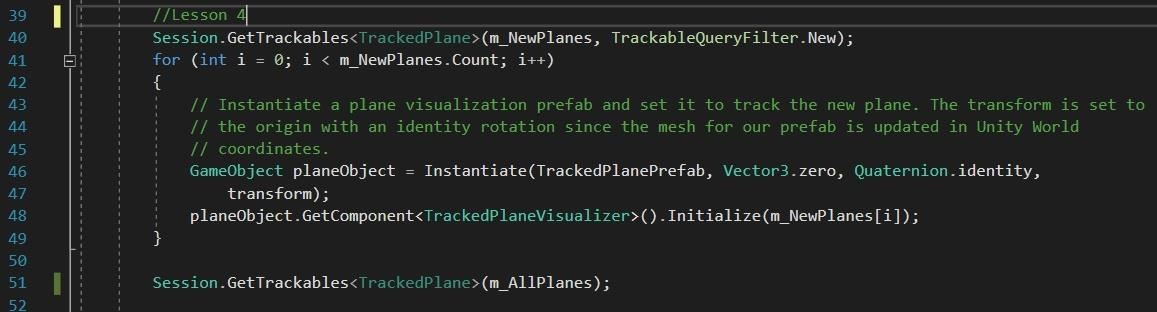
Finally, we have a block of code that is doing the heavy lifting.
First, on line 40, we see the Session class call the GetTrackables function of generic type TrackedPlane. This function is looking for a list of trackable objects and a filter set to new. This line of code will look for any newly created trackable planes and add them to the m_NewPlanes list.
Next, we take the total number of new planes represented in the m_NewPlanes.Count reference, and we instantiate a copy of our prefab for each one. Finally, we get the TrackedPlaneVisualizer component and run its initialize function for each new prefab. This will set the color and rotation of the prefab.
Step 6: Run Our Test on Our Mobile Device
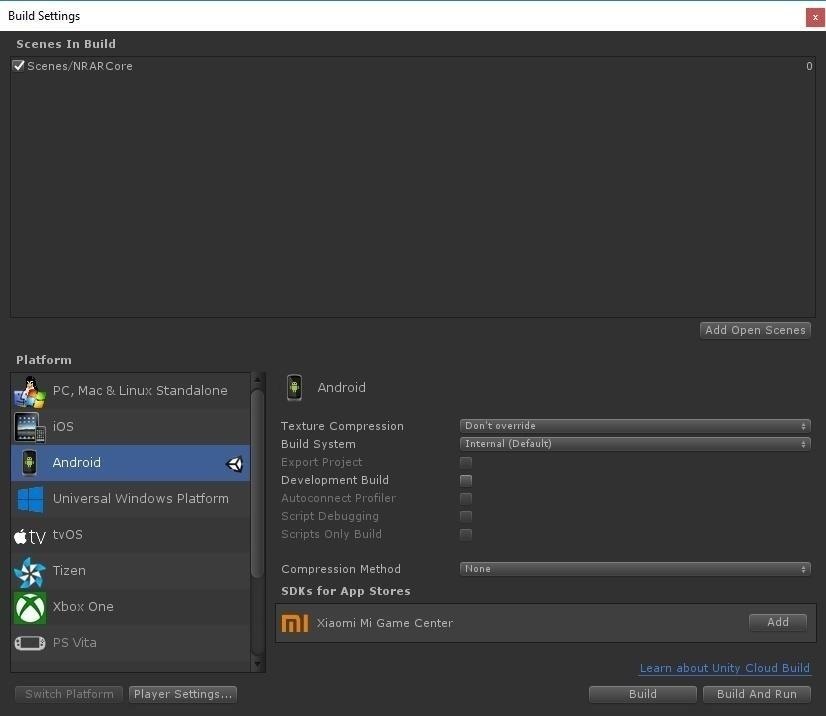
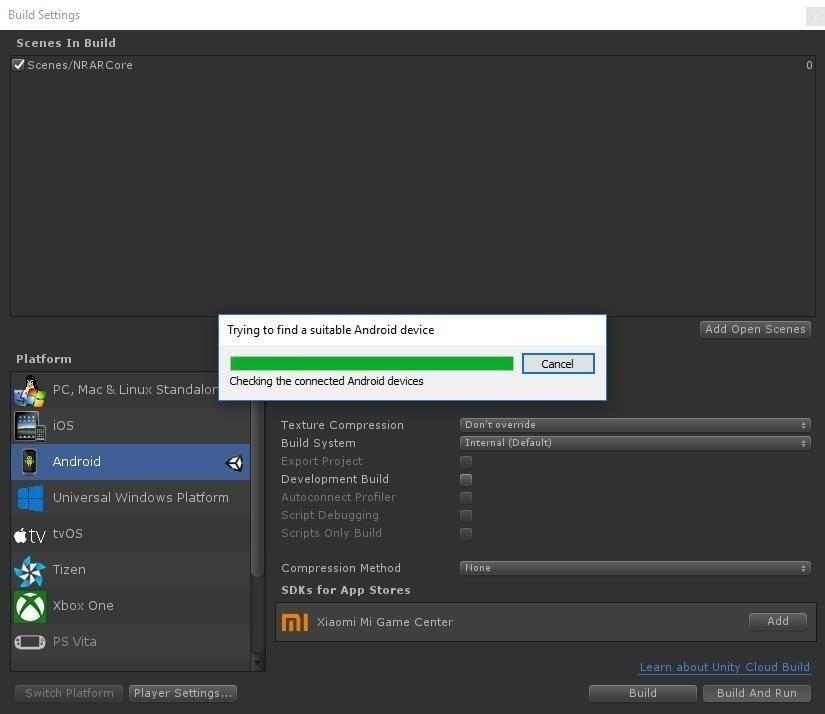
We are ready to build our app and test it out. Press Ctrl+Shift+B to bring up the Build Settings. Click on the "Add Open Scenes" button to add the scene we are in. All the other settings should be ready to go from a few lessons ago. Click "Build And Run."
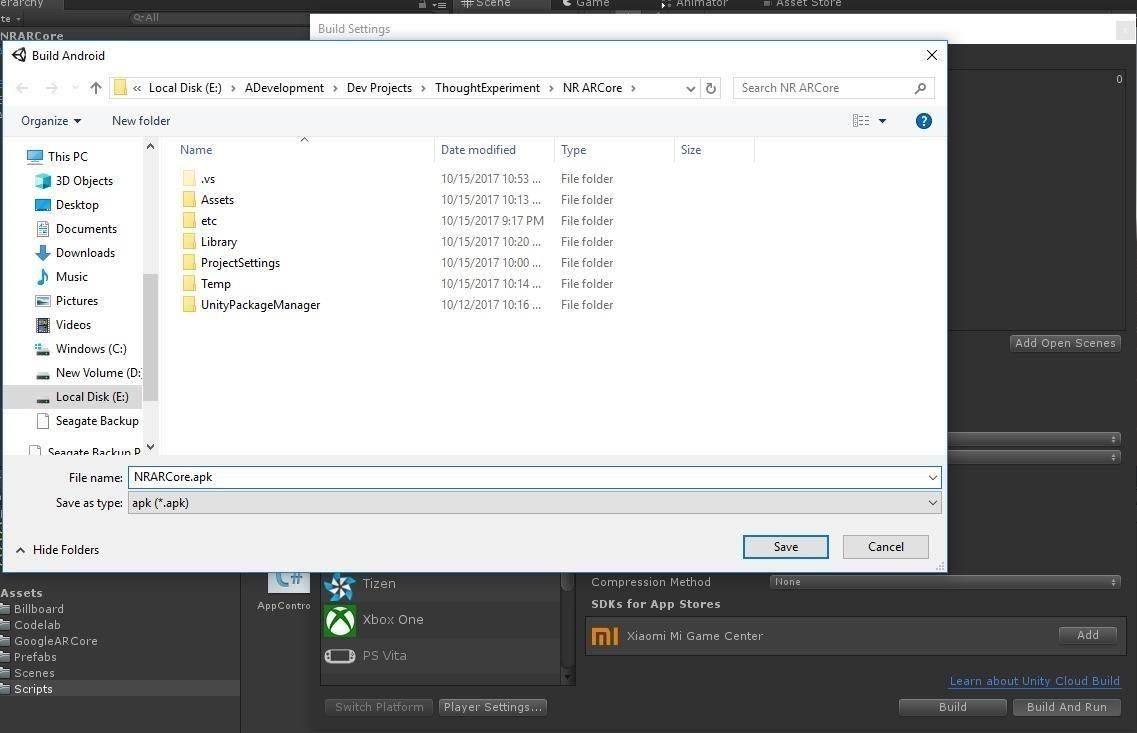
When the Build Android window appears, type NRARCore into the field, or a name you will remember for you APK file, and click the "Save" button.
Now it will go through the build process. Follow the green progress bar.
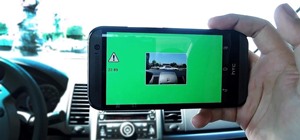
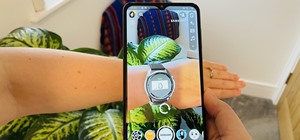
When it is finished, it will run the application on your phone automatically. The first time it runs, it may ask for permission to use the camera. Select "Yes." Otherwise, it will not work, as it requires the use of the camera.
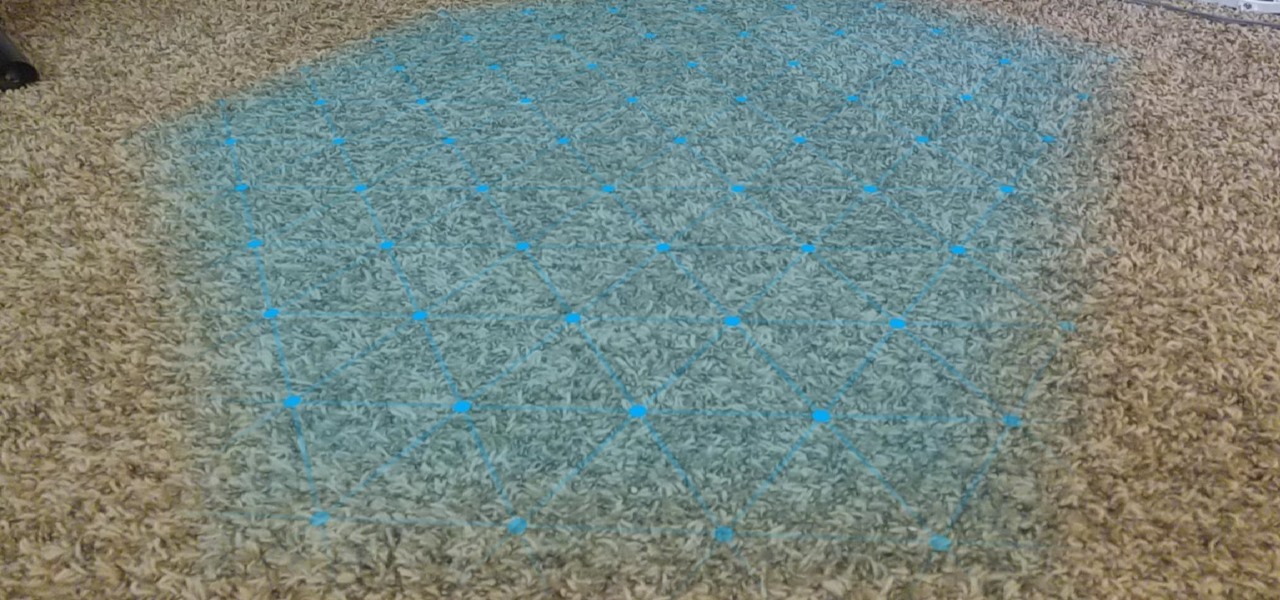
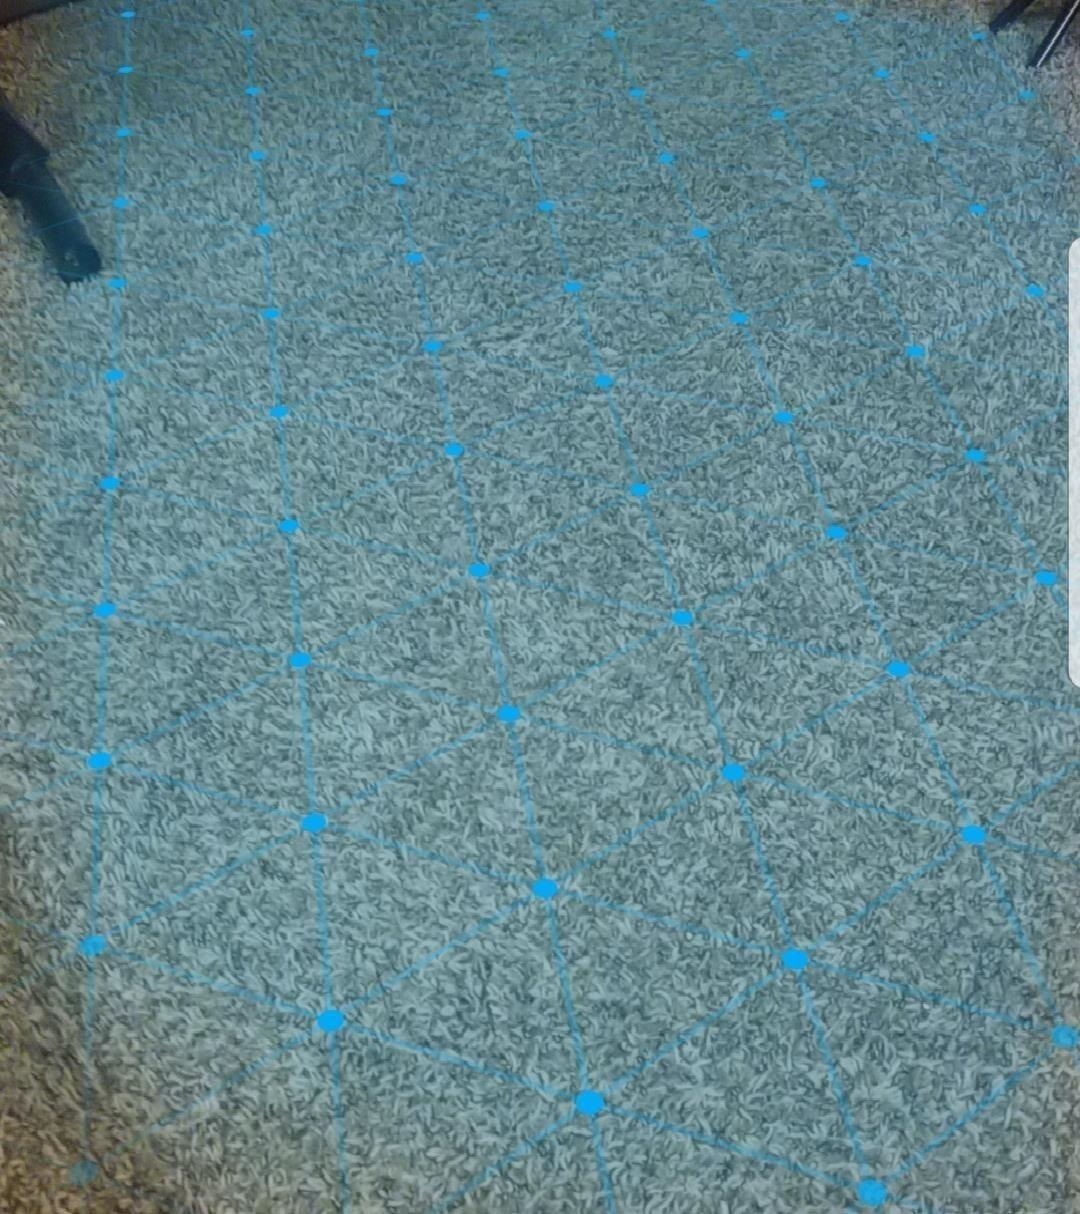
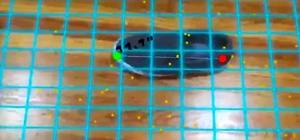
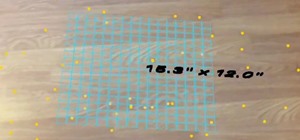
If you point the camera at the floor or other surfaces around you, you will see a random-colored diamond-shaped grid appear. This is the ARCore system letting us know that the surface we are looking at is usable.
Exciting stuff, huh? And it gets even better the more you learn.
In this part of the tutorial, we created a mostly transparent prefab that will represent our surfaces. We then added functions to our AppController that updates the planes as new planes come into existence. This will allow the surface to increase in size as more area is discovered and give our users plenty of space to put virtual objects in the world around them. That is, once we add the ability to add digital objects to the world. And that, along with scaling our objects, is what we will tackle in the next lesson.
Just updated your iPhone? You'll find new emoji, enhanced security, podcast transcripts, Apple Cash virtual numbers, and other useful features. There are even new additions hidden within Safari. Find out what's new and changed on your iPhone with the iOS 17.4 update.


4 Comments
Excellent tutorial, really enjoyed it, but it doesnt work.
Everything is fine, and it builds, but when it opens on my phone there is no grid.
Nothing shows up no matter what surface i point my Pixel 2 at.
We will use the provided "Tracked Plane Visualizer" class on our prefab .
Where is this class?
@SUHAS HE: Class comes with GoogleARCore.
I have the same problem Like Gareth Denny. Maybe because i havnt the AppController(Script) in the Hierarchy Window (like the Author shows us in images)? How is it possible to get a script inside hierarchy...
I dont have the Tracked Plane Visualizer, can
someone copy script ?
Share Your Thoughts