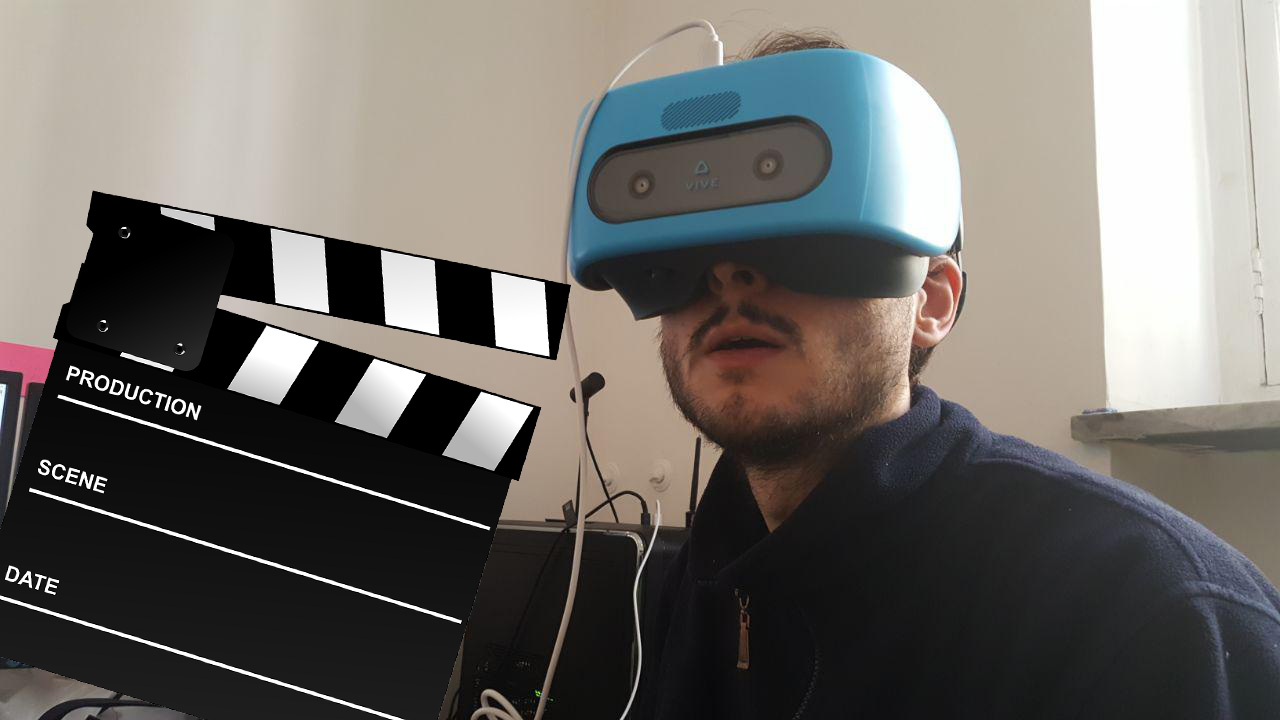
How to record (or stream) videos easily with your Vive Focus and a Windows 10 PC
Some weeks ago, I have published my post where I detailed how to install the 6 DOF Controllers devkit for the Vive Focus. Later on, I published on my social media a video of the controllers in action, shot directly from inside my Vive Focus.
As you can see, this video is in a nice monocular undistorted (actually, there are some distortions… so, “less distorted”) format that is different from the ones that I was used to
Do you see how it is much worse than the first one? And visuals are not the only advantage of this new solution I am going to propose you… with this method you have also full mirroring of the audio!
After I have published the nice video above on Linkedin, many people asked me how I managed to shoot it that way… so, let me write a cool tutorial for you.
Before we start

To record Vive Focus videos in this new way, you need to have:
- A Vive Focus (YOU DON’T SAY?);
- A Windows 10 PC;
- A video recording software on your PC (OBS is ok);
- The PC and the Vive Focus being connected to the same (wireless) network.
Are you at this stage? Cool, then we can go on.
Prepare your PC
To perform the streaming, you have to configure your PC as a Miracast receiver (yes, as if it were some kind of Chromecast). Doing this with Windows 10 is pretty easy: you have just to follow some simple steps:
- Open your Start menu, and start typing “connect”;
- Select what Windows 10 will give to you: it should be something like “Projecting to this PC”;
- In the settings window that will pop-up, specify that the projection to the PC should be allowed always or that it should be allowed only in secure networks;
- Confirm everything.
Prepare your Vive Focus
Your PC is now a fancy Miracast receiver and is ready to show the stream that a Miracast transmitter will cast to it. Luckily, the Vive Focus streams very well via Miracast…
All that you have to do is:
- Turn on your Vive Focus;
- Open the Settings page;
- Select “More Settings”;
- Select “Cast”;
- In the upcoming window, you should find the name of your PC as one of the devices you can cast to. Select it with your controller. If you can’t find it, check that you haven’t asked for a PIN on your PC or try using another Wi-fi network.
Finalization
Flip a bit your Vive Focus and check the monitor of your PC. Windows should have displayed a notification to ask you if you want to authorize the incoming stream. You already know what is the right answer…
And after that
If you are demoing the device, you’re done at this stage. If, instead, you want to record the stream, launch the video recording software that you have installed on your PC and start recording its screen. Windows sees the streaming from the Focus as a window, so you can really record it as you record every other game.
Now you can record awesome videos, as I did with this mixed reality Matrix experience that I’ve developed for the Focus (you can find it on Viveport under the name “Enter The
Difference with other methods
What are the pros and cons of using this solution over using ADB,
Pros:
- It’s easier to configure;
- Works wirelessly like a charm;
- Visuals are monocular and less distorted;
- You can also stream audio;
Cons:
- Image quality is inferior to the one of the recording via
adb . You can see that from the above video; - Miracast doesn’t work well on all Wi-fi networks.
So, I absolutely recommend this method for streaming, but it may not be the optimal one for recording (it is always better to record directly on the device).
I hope this tutorial has been useful for you, and if it is the case, subscribe to my just renewed newsletter!
Disclaimer: this blog contains advertisement and affiliate links to sustain itself. If you click on an affiliate link, I'll be very happy because I'll earn a small commission on your purchase. You can find my boring full disclosure here.