

Have you ever seen pictures or videos of balloons being let go into the sky and randomly floating away in all directions? It's something you often see in classic posters or movies. Well, guess what? Now you'll be able to do that without having to buy hundreds of balloons, all you'll need is ARKit!
In this tutorial, you'll learn how to make a simple augmented reality app for iPads and iPhones by using ARKit. Specifically, we'll go over how we can release a group of virtual balloons and have them float in random directions into the sky using "world tracking" and SceneKit physics and animations.
What Will You Learn?
We'll be learning how to animate many 3D objects in the AR world in a random fashion. ARKit allows us to create many 3D objects, apply force to them and still maintain a great frame rate. We'll also get some help by using the hitTest we covered previously.
Minimum Requirements
- Mac running macOS 10.13.2 or later.
- Xcode 9.4 or above.
- A device with iOS 11+ on an A9 or higher processor. Basically, the iPhone 6S and up, the iPad Pro (9.7-inch, 10.5-inch, or 12.9-inch; first-generation and second-generation), and the 2017 iPad or later.
- Swift 4.0. Although Swift 3.2 will work on Xcode 9.4, I strongly recommend downloading the latest Xcode to stay up to date.
- An Apple Developer account. However, it should be noted that you don't need a paid Apple Developer account. Apple allows you to deploy apps on a test device using an unpaid Apple Developer account. That said, you will need a paid Developer account in order to put your app in the App Store. (See Apple's site to see how the program works before registering for your free Apple Developer account.)
Step 1: Download the Assets You Will Need
To make it easier to follow along with this tutorial, I've created a folder with the required 3D asset needed for the project. These files will make this guide easier to follow and understand, so download the zipped folder containing the assets and unzip it.
Step 2: Set Up the AR Project in Xcode
If you're not sure how to do this, follow Step 2 in our article on piloting a 3D plane using hitTest to set up your AR project in Xcode. Be sure to give your project a different name, such as NextReality_Tutorial6. Make sure to do a quick test run before continuing on with the tutorial below.
Step 3: Import Assets into Your Project
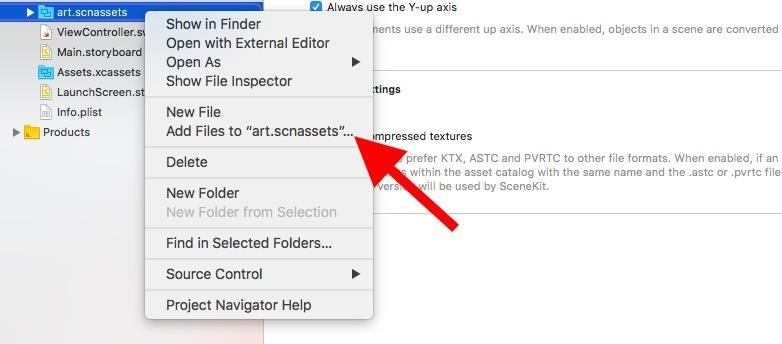
In your Xcode project, go to the project navigator in the left sidebar. Right-click on the "art.scnassets" folder, which is where you will keep your 3D SceneKit format files, then select the "Add Files to 'art.scnassets'" option. Add the following file from the unzipped "Assets" folder you downloaded in Step 1 above: "red_balloon.dae".
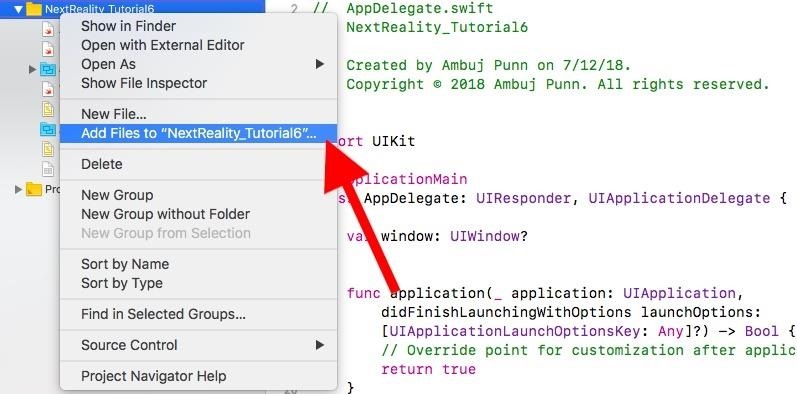
Again, in the project navigator, right-click on the yellow folder for "NextReality_Tutorial6" (or whatever you named your project). Choose the "Add Files to 'NextReality_Tutorial6'" option.
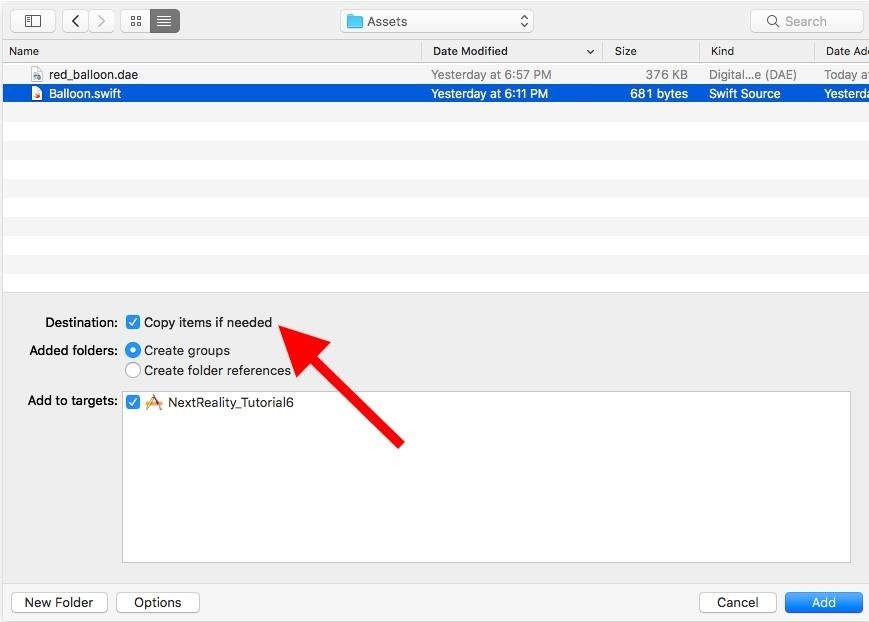
Navigate to the unzipped "Assets" folder, and choose the "Balloon.swift" file. Make sure to check "Copy items if needed" and leave everything else as is. Then, click on "Add."
"Balloon.swift" should be added into your project, and your project navigator should look something like this:
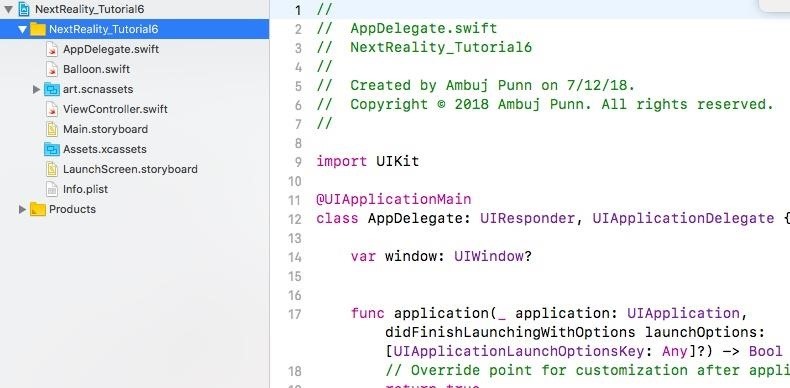
This file will take care of rendering the red balloon.
Step 4: Use hitTest to Place as Many 3D Balloons as Possible
To quickly go over ARKit's hitTest, take a look at our tutorial on hitTest.
Open the "ViewController.swift" class by double-clicking it. The rest of this tutorial will be focused on editing this document. If you want to follow along with the final Step 4 code, just open that link to see it on GitHub.
In the "ViewController.swift" file, modify the scene creation line in the viewDidLoad() method. Change it from:
let scene = SCNScene(named: "art.scnassets/ship.scn")!To the following (which ensures that we're not creating a scene with the old ship model):
let scene = SCNScene()Now, let's enable feature points. Under this line in viewDidLoad():
sceneView.showsStatistics = trueAdd the following:
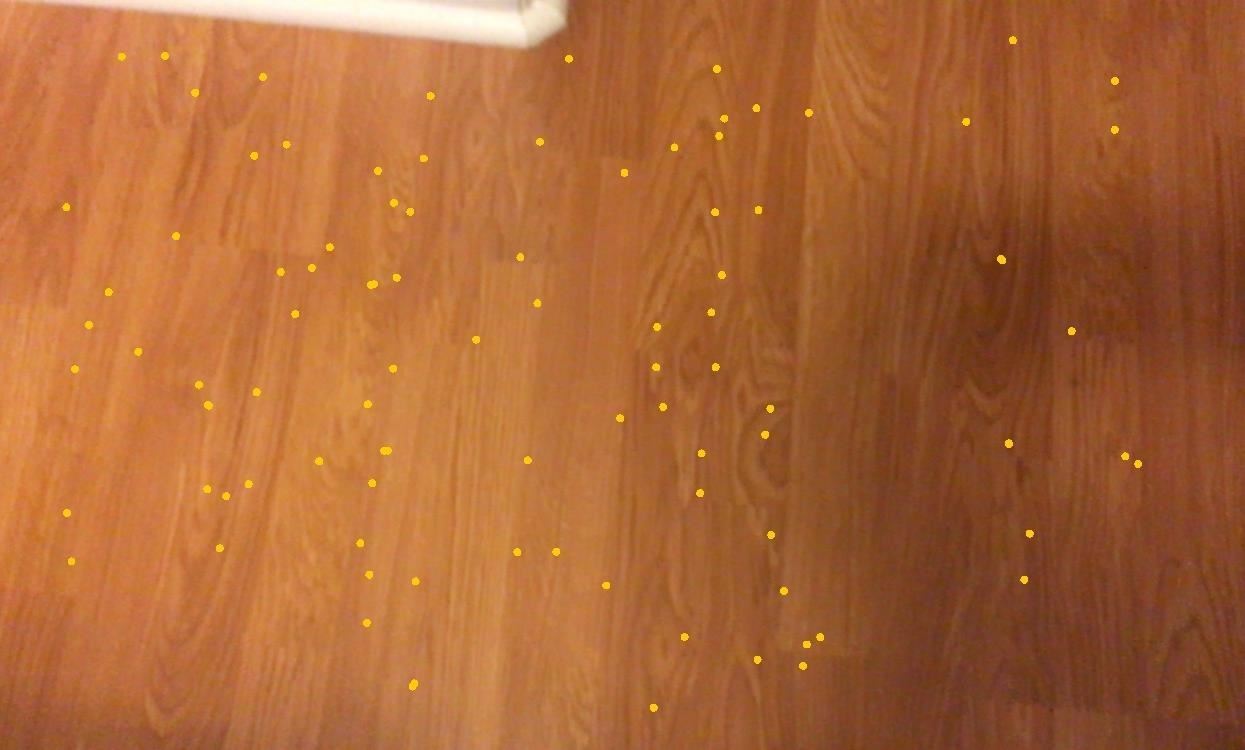
sceneView.debugOptions = ARSCNDebugOptions.showFeaturePointsRun your app on your phone and walk around. Focus on a well lit area on the ground, and you should be able to see yellow feature points like this:
Next, add a gesture recognizer to the end of the viewDidLoad() method, which adds a touch event to our view controller. Every time a tap happens, the tapped() method is called.
let gestureRecognizer = UITapGestureRecognizer(target: self, action: #selector(tapped))
sceneView.addGestureRecognizer(gestureRecognizer)
Now, add the tapped() method at the end of the file, but before the last curly bracket:
@objc func tapped(gesture: UITapGestureRecognizer) {
    let touchPosition = gesture.location(in: sceneView)

    // Translate that 2D point to a 3D point using hitTest (featurePoint), wherever there is a featurePoint, add a balloon there
    let hitTestResults = sceneView.hitTest(touchPosition, types: .featurePoint)

    guard let hitTest = hitTestResults.first else {
        return
    }

    addBalloon(hitTest: hitTest)
}
Here, we're conducting a hitTest based on any feature point that ARKit detects in the 3D world. Once we have our hitTest, we call addBalloon() to add the balloon into the scene.
Next, let's add the addBalloon() method at the end of the file, but before the last curly bracket:
func addBalloon(hitTest: ARHitTestResult) {
let scene = SCNScene(named: "art.scnassets/red_balloon.dae")
let balloonNode = Balloon(scene: scene!)
balloonNode.position = SCNVector3(hitTest.worldTransform.columns.3.x, hitTest.worldTransform.columns.3.y, hitTest.worldTransform.columns.3.z)
sceneView.scene.rootNode.addChildNode(balloonNode)
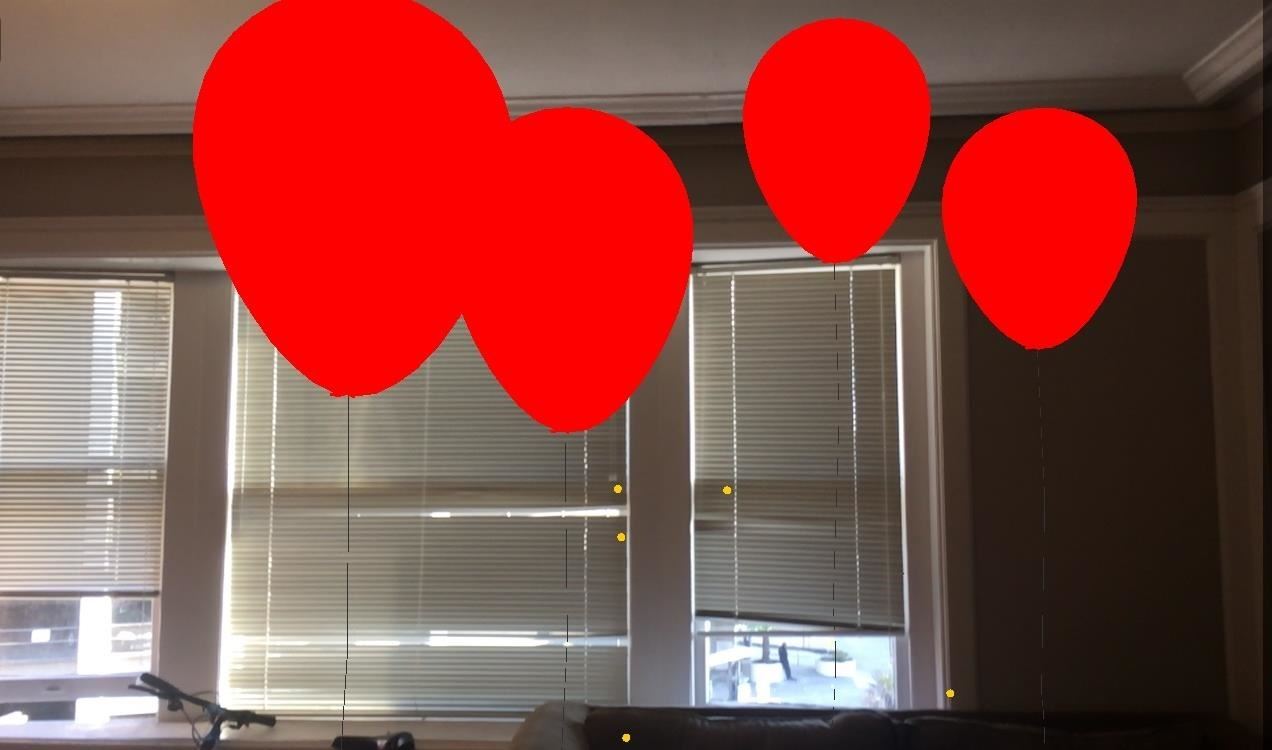
}Run your app and walk around until you start seeing some yellow feature points. Tap anywhere you see feature points and you should start seeing red balloons being placed, something like this:
Checkpoint: Your entire project at the conclusion of this step should look like the final Step 4 code on my GitHub.
Step 5: Make the Balloons "Float" into the Sky in Random Directions
Now, all we have left to do is to add dynamic forces to our balloons in randomized directions as soon as they are added into the scene. Feel free to follow along with the final Step 5 code as you input the content below.
Let's append some logic to the addBalloon() method. At the end of the addBalloon() method after this line:
sceneView.scene.rootNode.addChildNode(balloonNode)Add the following code:
balloonNode.physicsBody = SCNPhysicsBody(type: .dynamic, shape: nil)
balloonNode.physicsBody?.isAffectedByGravity = false
balloonNode.physicsBody?.damping = 0.0
// Randomize direction for horizontal movement
let negativeHorizontal = Int(arc4random_uniform(2)) == 0 ? -1 : 1
let xCord = 10 + Float(arc4random_uniform(50))
let yCord = 20 + Float(arc4random_uniform(100))
balloonNode.physicsBody?.applyForce(SCNVector3(Float(negativeHorizontal)*xCord,yCord,0), asImpulse: false)
This is similar to how we added the dynamic physics effects in the rocket tutorial. However, we apply the force in a randomized direction for each balloon ranging from 10 to 60 meters for the x-coordinate (horizontally) and 20 to 120 meters for the y-coordinate (vertically). We'll also randomly choose whether the x-coordinate should be negative or not (so the balloon can move in both the left and right directions). This ensures all our balloons float away in different directions with different horizontal and vertical speeds.
What are you waiting for? Run the app, go somewhere outside, hopefully during the daytime, and let your balloons fly! They should all start floating upwards in random directions immediately. It should look something like this:
Checkpoint: Your entire project at the conclusion of this step should look like the final Step 5 code on my GitHub.
What We've Accomplished
Great job! You were successfully able to place a group of balloons out into the world around you and have them float in random directions into the sky. This is really exciting as the power of SceneKit allows us to dynamically add forces (hence the floating behavior) in any direction possible. World Tracking through ARKit enables us to continue seeing the balloons in the sky as we move away from them. Fascinating, don't you think?
If you need the full code for this project, you can find it in my GitHub repo. I hope you enjoyed this ARKit tutorial, and if you have any comments or feedback, please feel free to leave it in the comments section. Happy coding!
Just updated your iPhone? You'll find new emoji, enhanced security, podcast transcripts, Apple Cash virtual numbers, and other useful features. There are even new additions hidden within Safari. Find out what's new and changed on your iPhone with the iOS 17.4 update.


1 Comment
This is great tutorial.
Share Your Thoughts