
This article is the latest in AR Insider’s editorial contributor program. Find out more or contact us to participate here. Authors’ opinions are their own.
Making AR Avatars – From Scanning To Social
How Warner Music Created the CARYS AR Avatar for Fans
by Dave Cardwell
Warner Music wanted to create an engaging content experience for fans of the musician CARYS for her song “Princesses Don’t Cry” of viral TikTok fame. They wanted to capture her signature dance, which was popularized with the #PrincessDanceChallenge hashtag.
The experience needed to be:
— Easy to share on social media to reach her fans and followers
— Easy to use since many users may never have used AR before
— Global since she has fans on every continent
Together with JAXX (creative lead), Spin VFX (visual effects studio) and Brio VR (real-time rendering platform), they developed an all-new AR concept that was released to audiences on social media, inviting them to create videos with the CARYS avatar. You can see end result here.
How did this all come together? In this article, we’ll explain how… and how you can make an AR avatar yourself, using standard software for professional results.
Step 1: 3D Scanning
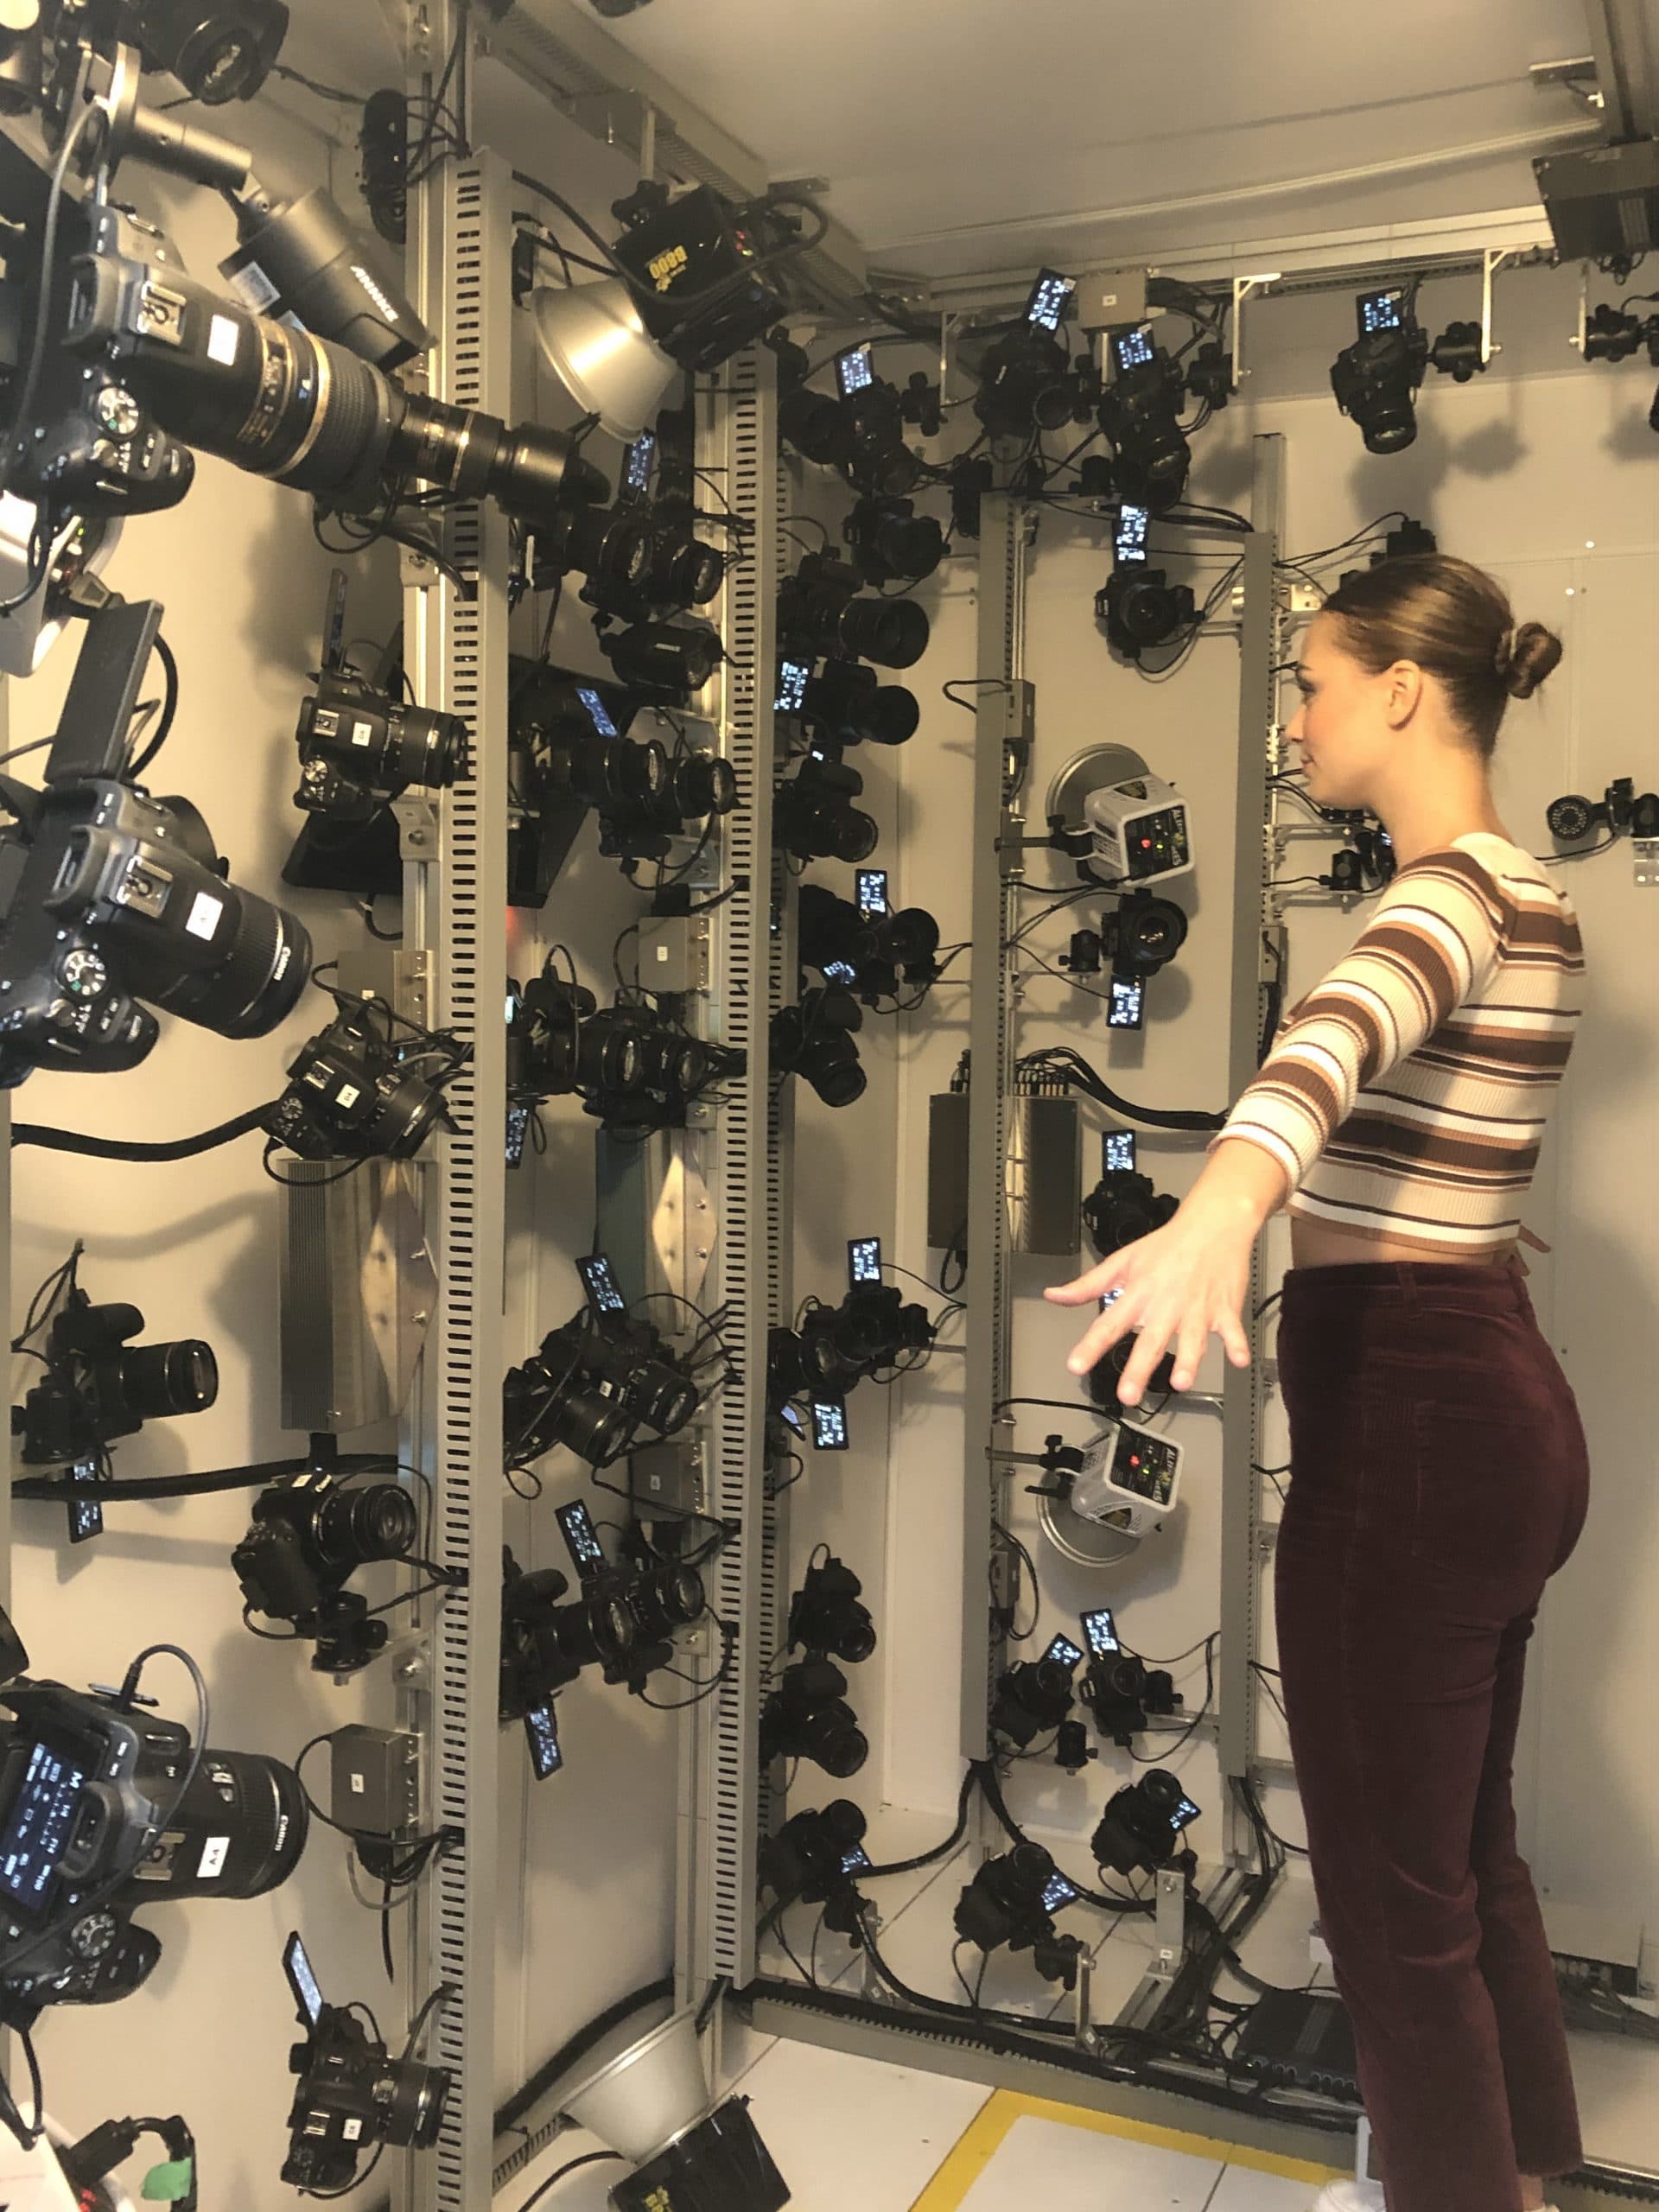
To scan CARYS, we used SpinVFX’s 3D scanning rig, complete with 144 DSLR cameras (see image below). The rig is mobile, and is typically used for on-set scanning for film and TV shoots, such as The Umbrella Academy.
For this project, CARYS was captured in a single 3D scan. Additionally, the SpinVFX scanning team used the scanning rig to capture every pose of the dance for reference. Changing facial expressions are part of the dance too, so close up photos of her face were also taken.
TIP: Although you may have a great 3D scan or model, reference material is always important to have. Try to capture as much as possible.
How to 3D Scan (Photogrammetry)
Scanning is al so possible without a Hollywood-quality 3D scanning rig. Lots of free scanning software is available online, or even through mobile apps like Display.Land. You can also create a 3D scan from basic, 2D photos using a phone or camera. Use a high-resolution camera if possible since the greater number of pixels that you have, the more detail you’ll get in the scan.
Keep in mind to:
— Choose a subject with a lot of texture or variation (i.e. in their clothing). However, avoid reflective or shiny materials (i.e. jewelry).
— Shoot your photos/scan in a bright space with even lighting and no hard shadows. However, be sure that the lighting is not over-exposed.
— Lock the camera exposure so that the brightness between each image is maintained.
— Ensure a 40% overlap between photos, with a minimum of 60 pictures.
— The model should stand in a ‘T’ or ‘A’ pose (if you’re shooting an object, use thin objects like toothpicks to prop up overlapping appendages).
— Begin by shooting from further away with the whole subject in the frame.
— Complete a 360 at eye level, lower angle, and then elevated angle, then move closer and complete 360 of the face or other important details.
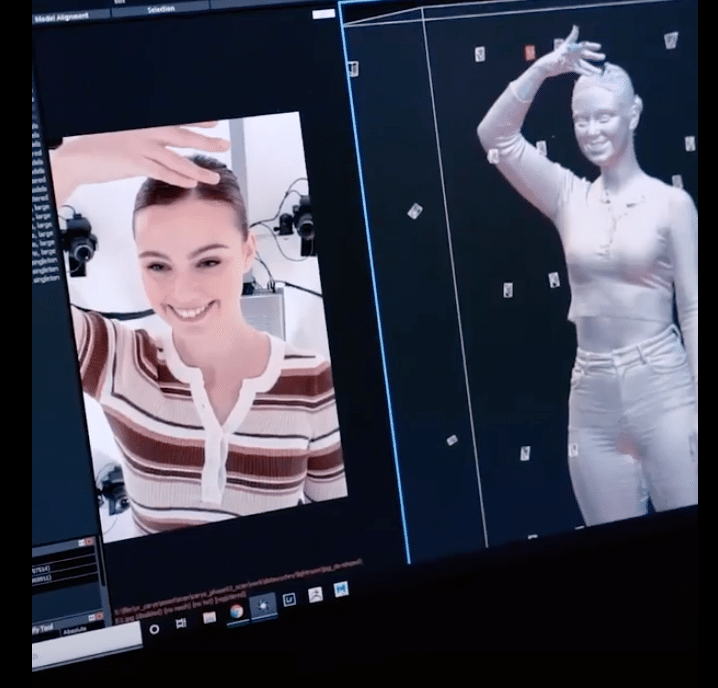
These photos will be aligned in the scanning software to recreate a 3D mesh. For processing the photos, you can use software such as Agisoft Photoscan, Capture Reality, Meshlab, and Meshroom from AliceVision (Free).
Step 2: Cleaning Up Your 3D Model
After your mesh has been scanned you will end up with a model composed of several million polygons. However, this will make it too heavy to run on mobile devices.
To ensure that your avatar will run smoothly in augmented reality, you will need to ‘clean up’ and remodel your scan so that it is both friendly for animation, and will perform well in AR. Optimal attributes include:
— Max poly-count for mobile Augmented Reality is 100K;
— Best performance poly-count for mobile Augmented Reality is 40K.
— You should aim for a max final-scene size of 10MB for the best performance on phones.
To clean up the scan, select a tool to trace new polygons that fit your scan. Maya, Mudbox, 3D-Coat, Zbrush, Blender, Meshlab, Meshmixer, etc. all have good tools for this.
SpinVFX used Maya, and the retopology tools within it, to get a clean result of CARYS. Zbrush, Mudbox or 3DCoat can also be used to fill holes, smooth out noise and create a new topology in the 3D scan. Be sure to have enough edge loops around the joints of the character so that they can deform properly when you get to the animation stage.
When the mesh is ready, add UVs and fill the texture space so that fewer pixels are wasted in the final texture. UV editing tools can be found in many DCC software packages. Maya, 3D Max, Rizom UV, Blender, Modo, Zbrush, and 3DCoat all have great UV tools.
Step 3: Texture
The advantage of photogrammetry is that once the photos have been aligned in 3D space, you can import your clean, UV’d model back into that space, and reapply the photos for a beautiful look in no time.
For CARYS, we imported the clean model back into RealityCapture software and projected the photos back into the model. After your textures are projected in the scanning software you can use tools like Substance Painter, Mudbox or Mari to clean up any errors in the projection. The final textures will later be imported into BrioVR. Optimal texture attributes include:
— Max number of textures: < 8
— Max texture size: 2048×2048
— Max number of materials: 8-10
Be sure that for one mesh you use one material, no materials in face sets. If you need to create the shading for different materials within one mesh, just create this within your PBR textures and that should get you the same results.
TIP: if you would like to include transparency in AR, you should add this into the diffuse or base color texture as a .png file.
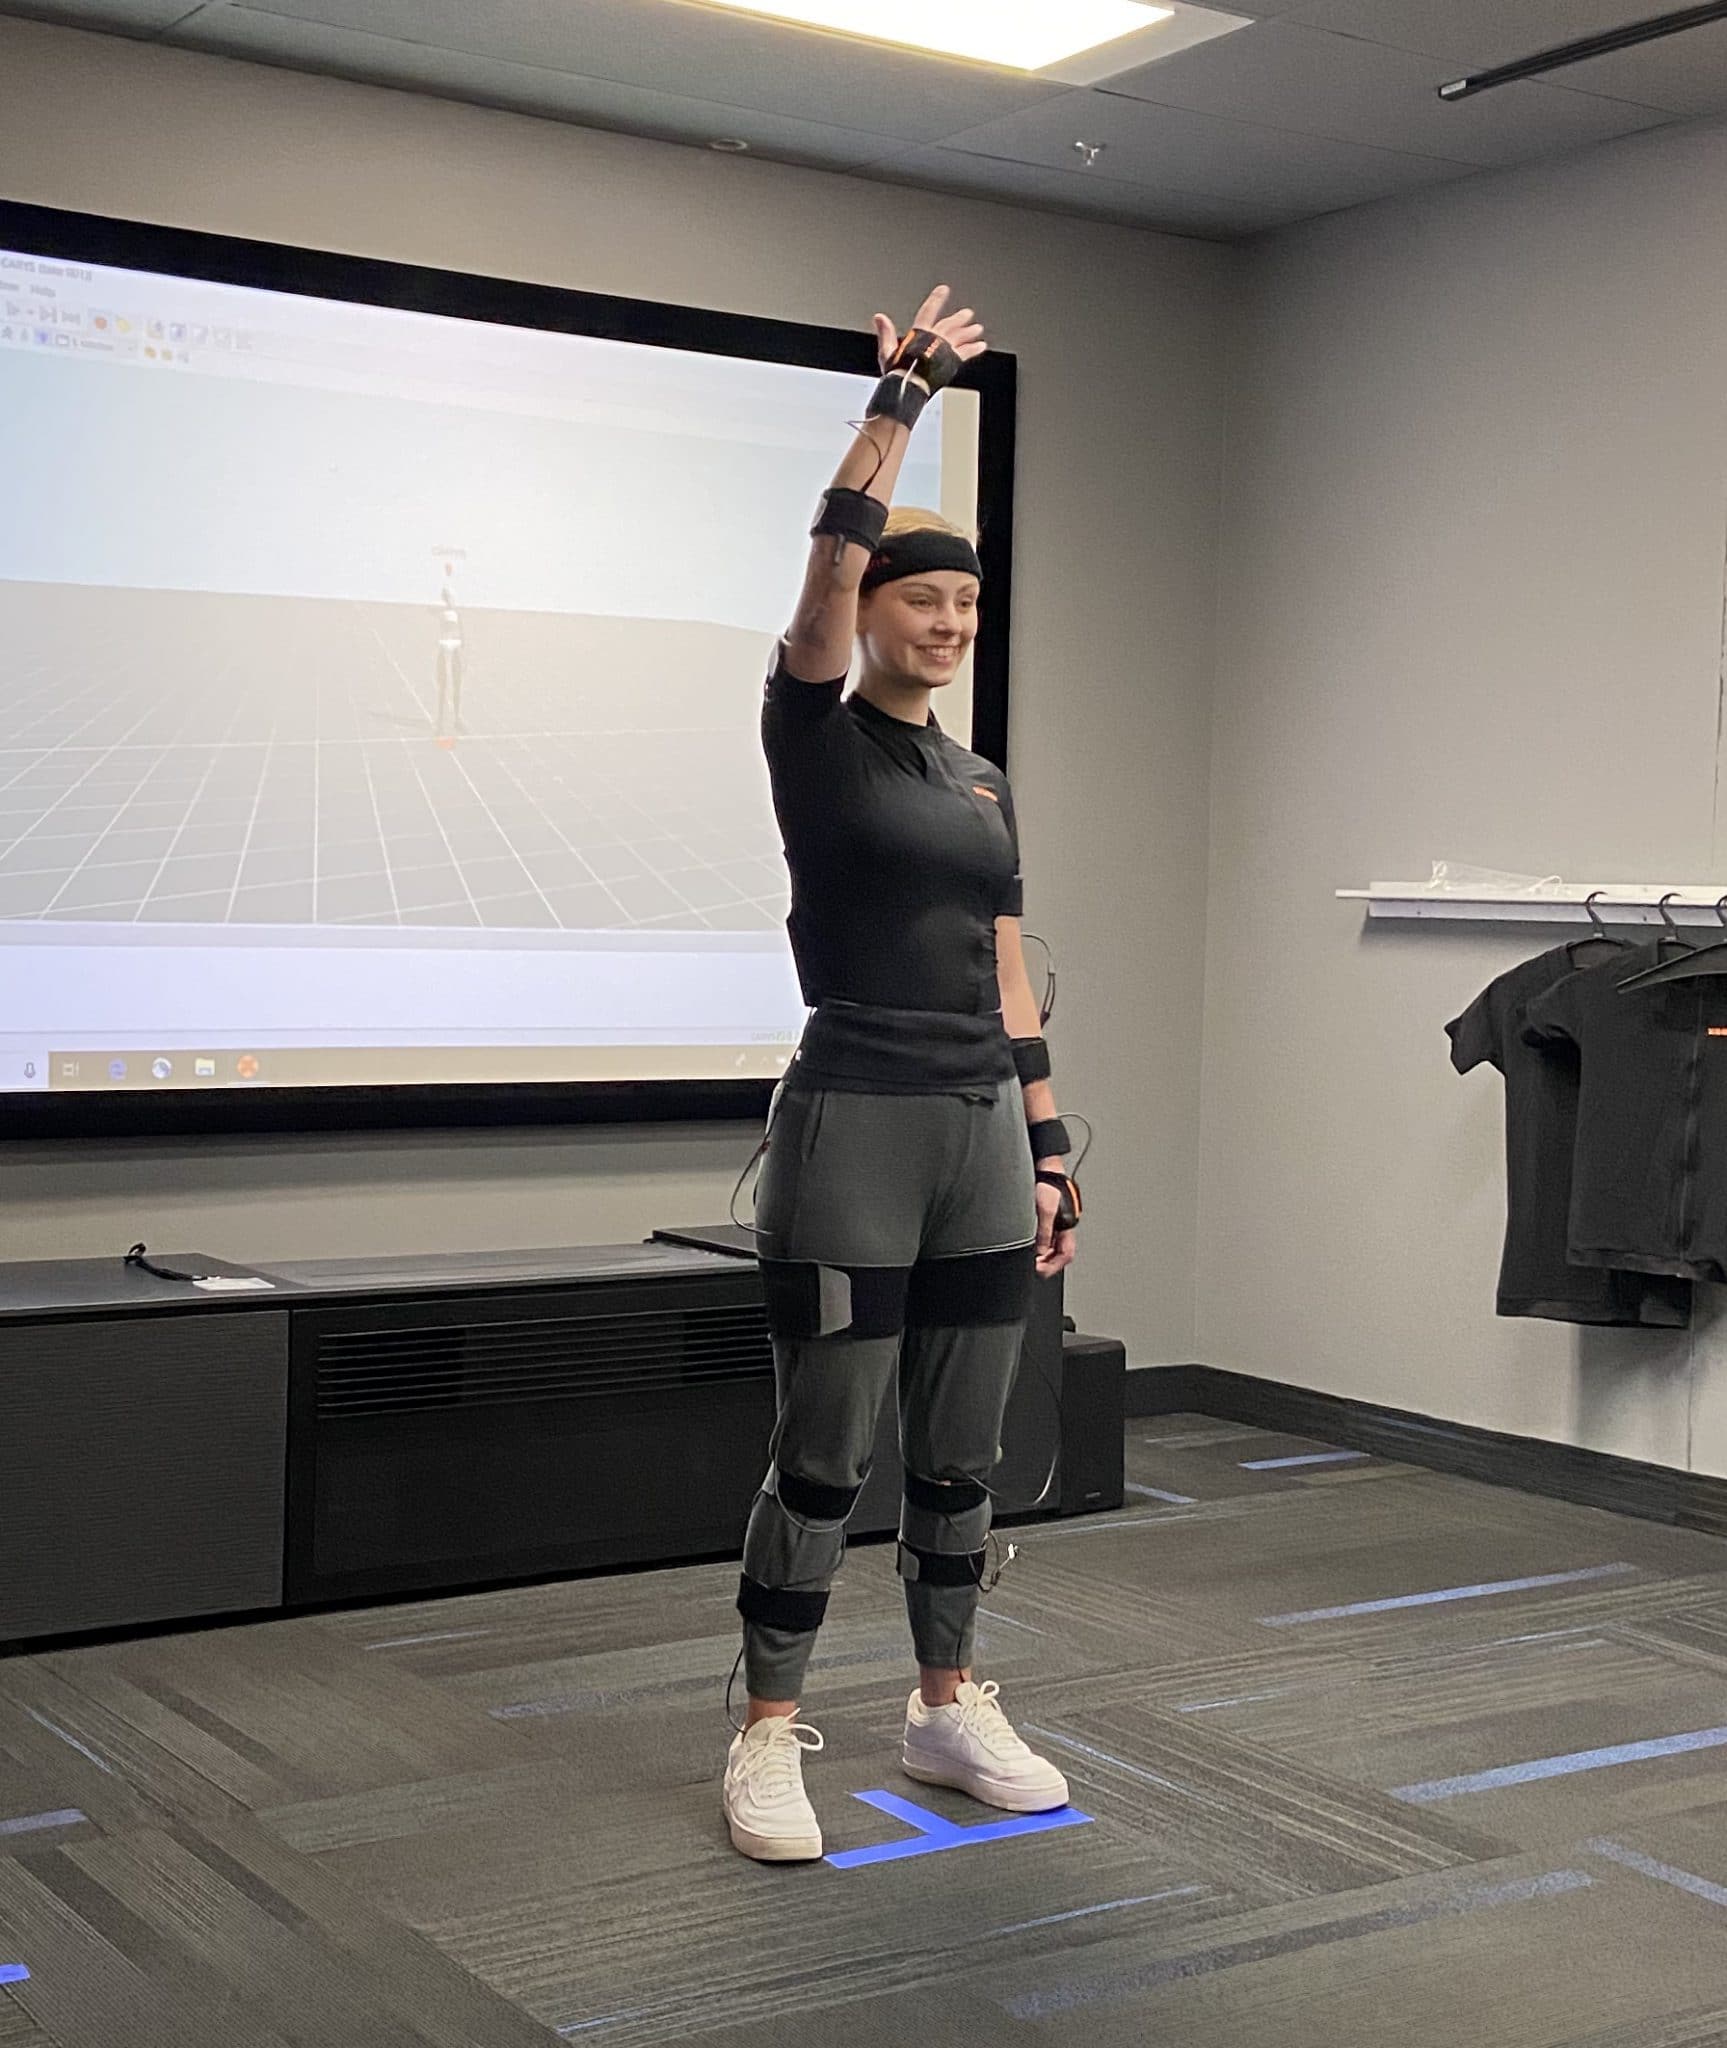
Step 4: Motion Capture for Animation
While the CARYS model was being prepared, she was invited to the SpinVFX studio to perform the dance in their strap-based motion capture suit. In order to accurately recreate her, her movements needed to be captured very precisely. The motion would later be imported into BrioVR for playback.
This is a camera-less system, but witness cameras were set up to record her from two different angles while she performed several ‘takes’. This reference material was critical to ensuring accuracy in not only the major joints, but the smaller appendages too (i.e. fingers, etc.).
Rigging
With the model and Motion capture complete, a rig was created with a simplified set of controls. Careful attention was spent to balance the deformation of the joints so that movement was anatomically correct while playing back on the AR device. Optimal attributes include:
— You must have 1 connected skeleton hierarchy in your scene
— Max number of joints in the skeleton: 254
— When you create your skeleton, be sure that no more than 4 joints have any influence on a single vertex.
Animation
The Max frame range is <400 fps. The more frames in the animation the larger the file size will be resulting in longer load times and poorer performance.
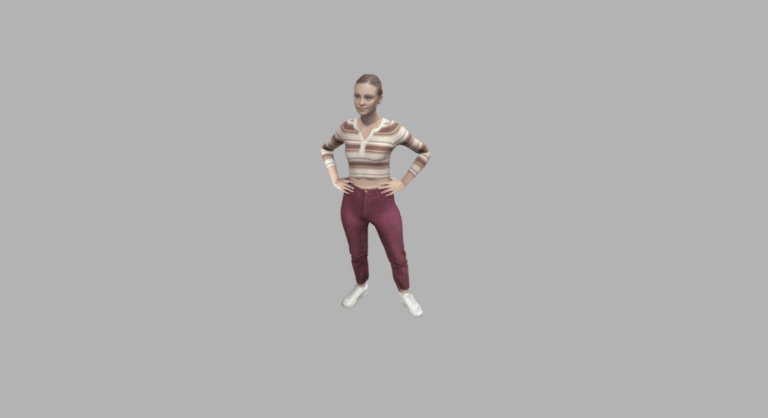
When the CARYS rig was ready, there was an opportunity to perfect the motion capture data in the animation stage in Maya. Adding subtle finger, head and shoulder movements, made her appear more realistic and life-like.
Animation in AR plays on a loop, so ensure that your animation completes the loop smoothly. For CARYS, we added a pose at the end to ensure that we could loop her back to the beginning in a single, cohesive motion, rather than ‘snapping’ her back to the starting position.
The final model, skeleton and animation were then exported in .FBX file format for BrioVR.
Step 5: Preparing your AR Avatar
The .FBX file is then imported into BrioVR where you can add other objects, add lights and materials, and set up your custom branding in the publish settings. It can automatically convert OBJ and/or FBX to GLTF or USDZ as part of the publishing process.
From there, you’ll be provided a unique URL that runs equally on iOS and Android. That link can be shared anywhere online that links can be distributed, including all social media platforms. It can also be embedded as an i-frame on websites.
Although AR is for mobile and tablet devices only, desktop users can view the scene in 3D. A unique QR code will appear for them to scan to launch the AR experience.
Augmented Reality lets you view digital assets and models in the context of the real world. And that end target continues to come within the grasp of creative professionals and producers. The above process will help you get professional results.
 Dave Cardwell is Creative Director and Partner at Brio VR.


