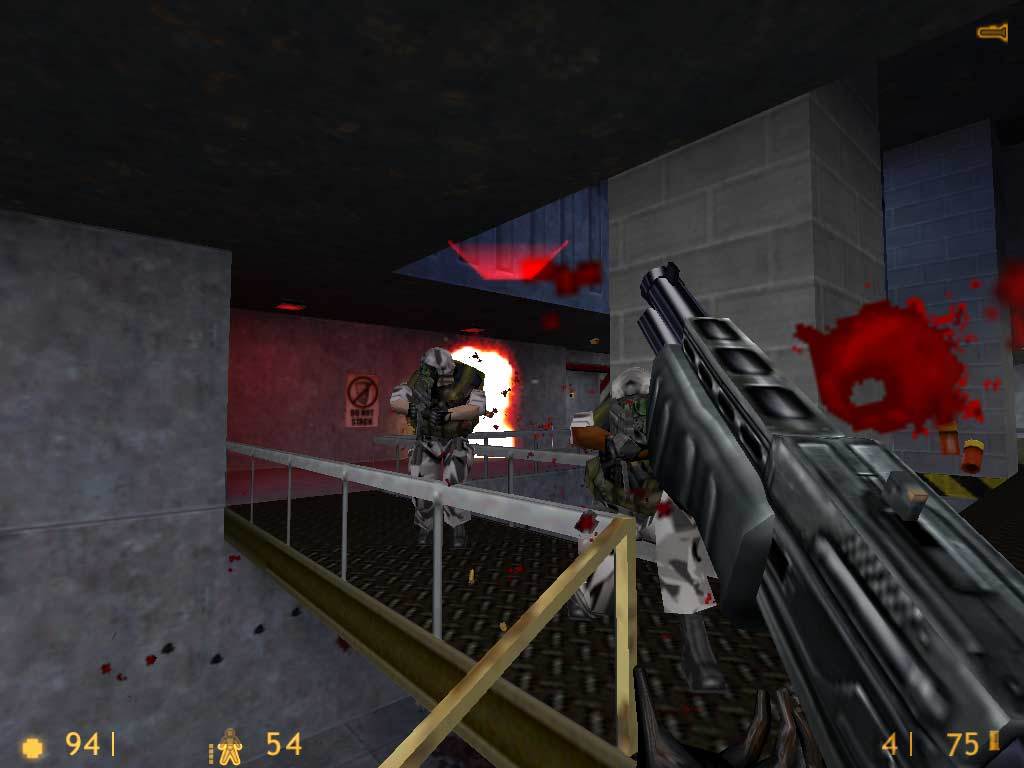
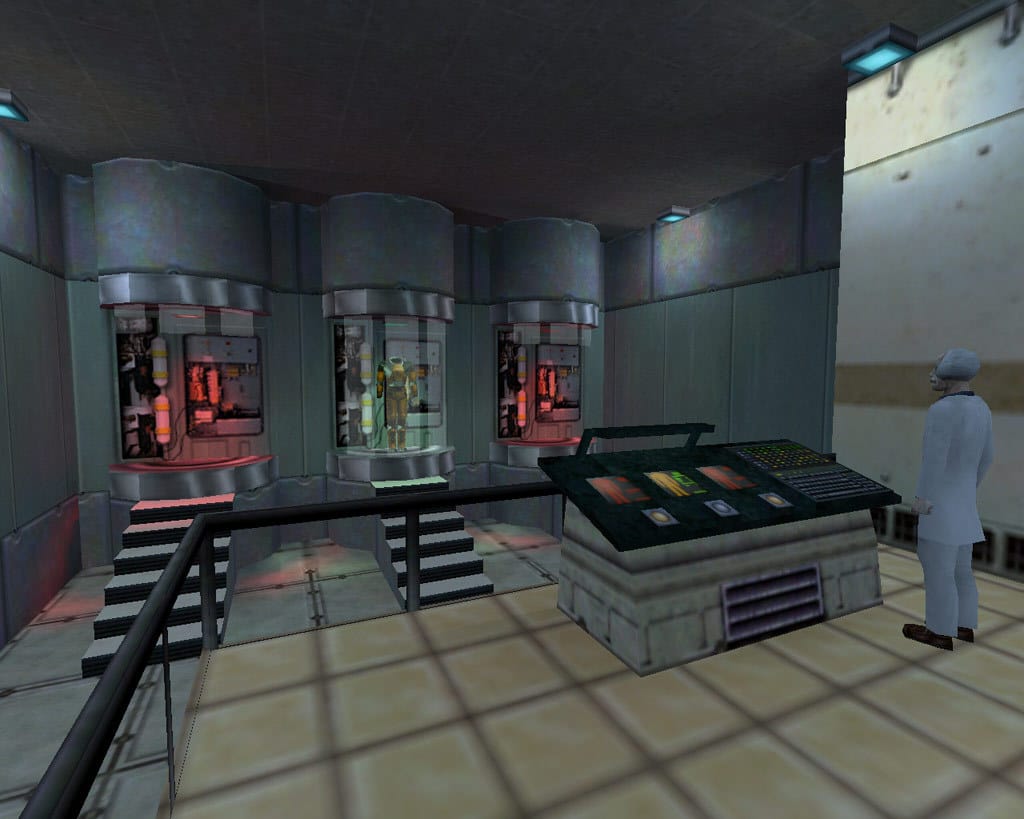
Ahead of the release of Valve’s upcoming flagship VR title, Half-Life: Alyx, you might be looking to play through some of the earlier entries in the Half-Life series.
While all of the games in the series so far are traditional games and only available to play officially on PC and Mac computers, a sideloaded Oculus Quest app allows you to play the original Half-Life game in VR with full 6DoF on your headset.
The application itself, Lambda1VR, only acts as an engine to run Half-Life in VR on your Quest. The developer behind the Lambda1VR mod, Dr Beef, tells modders they “need to legally own Half-Life” to play it in VR. The team behind Half-Life: Alyx said recently they encourage players to familiarize themselves with the Half-Life series, especially Half-Life 2, and as of this writing the company sells the games as a set to own permanently for $36.

Preparation
In order to install Lambda1VR and Half-Life on your Quest, you will need to be familiar with sideloading content on your Quest and make sure your Quest is also in developer mode. If you’ve sideloaded content via SideQuest before, then you can move onto the next section.
If you haven’t sideloaded anything before, or don’t even know what that means, check out our guide on how to sideload content on the Oculus Quest. For the purposes of installing Half-Life, you’ll want to follow the sideloading guide right up until the “Sideloading content from the SideQuest store page” section.
If you’ve followed everything up until that point, you can move on with the guide below.
Downloading a copy of Half-Life
The Lambda1VR application itself won’t work without a copy of the Half-Life game files, which you’ll need to copy over from a computer that has the game installed.
Before proceeding, just make sure you have a copy of the original Half-Life game (not Half-Life 2 or Half-Life: Source) downloaded from Steam, on the same computer that you use SideQuest on.
Install Lambda1VR
Connect your Quest to your computer and open up SideQuest. The Lambda1VR application will be available in the Games and Apps section. Simply click on the listing, press “Install Latest” and SideQuest will do the rest.
To check the progress of installation or ensure everything installed correctly, you can click on ‘Tasks’ button on the top right, and if the app was downloaded and installed correctly, you will see a bar reading “APK file installed ok!!”
However, the Lambda1VR app won’t work on its own. You still need to copy over the Half-Life files.
Install Half-Life on your Quest
There are two ways to do the next step, which involves copying over the Half-Life files to your Quest.
You can stay in SideQuest and use SideQuest’s built-in File Explorer for the Quest, but we’ve found it is easier to your system’s File Explorer to copy files to your Quest. For the purposes of this tutorial, we’ll be using Windows Explorer.
1. Navigate to the root folder of your Oculus Quest.
Once your Quest is plugged into your computer, it should show up in your file explorer just like any other hard drive on your computer. The root folder will have folders such as Alarms, Android, DCIM, Download, Oculus, Screenshots and many others.
For Mac users, you may need to use the SideQuest file explorer or something like Android File Transfer to browse your Quest’s file system, as it likely won’t show up in Finder natively. The following steps might different in execution slightly, in that case, but are still applicable using different tools.
2. In the root folder, create a new folder called “xash”, without the quotation marks.
You will copy the Half-Life files into this folder in a later step.
3. Find the folder where you installed Half-Life on your system.
On Windows, you can find this at C:\\Program Files\Steam\steamapps\common\Half-Life.
On Mac, you’ll need to open your Library folder, which is hidden by default. Click on Finder, then on the top menu bar, click on Go, then Go To Folder, then type the following and press enter: ~/Library/Application Support
That should bring up a new Finder window with Application Support folder. From there, navigate to the folder Steam\SteamApps\common\Half-Life.
4. Copy the “valve” folder.
On both systems, the Half-Life folder will contain a lot of different files and folders. You do not need all of these to be copied to your Quest. In the Half-Life folder, simply locate the folder titled “valve” and copy it.
5. Paste the “valve” folder
With the Valve folder now copied, go back to your Quest root folder. Open the “xash” folder you created in Step 2 and paste the “valve” folder inside. This might take a while to copy across to your system.
NOTE: You want to copy the actual “valve” folder into the “xash” folder. The structure should look like Quest\xash\valve when finished, with all the subsequent files within the valve folder.
6. Restart your Quest.
Hold down the power button on your Quest to bring up the power menu and select restart.
Play Half-Life on your Quest
Lambda1VR will now appear in your Quest library under the “unknown sources” tab. You can stop reading right here and go and play the game if you want – it works fine. However, there are also a few tweaks you can make to improve performance and some of the textures, if you wish. These steps are optional and listed below.
HD Graphics
The standard install of Half-Life on Quest uses the original graphics. However, every Steam install of Half-Life also includes an HD version that slightly improves the models, most notably the NPCs. That being said, if you install all of the HD models, users have reported it can affect performance in Lambda1VR.
Users on the Lambda1VR subreddit recommend just upgrading the models for the Barney and Scientists files, in order to keep performance steady but upgrade some of the NPCs.
To do this, find the Half-Life installation folder just like you did in the steps above. Then:
1. Navigate to \Half-Life\valve_hd\models
2. Select all the Barney and Scientist files and copy them.
This includes barney.mdl up to barney05.mdl, and scientist.mdl through to scientist10.mdl.
3. Navigate to the xash folder on your Quest.
Open the xash folder, and then go to \Valve\models.
Paste the Barney and Scientist model files into the models folder. When asked, you do want to replace the existing files, as you’re overwriting the old models with the HD ones.
NOTE: Mac uses can sometimes encounter problems when attempting to install the HD graphics files. According to users on the Lambda1VR subreddit, any errors can be avoided by copying the files themselves (not the parent folders) and using Android File Transfer to do so.
When you relaunch the game, the updated models should take effect.
Improving Performance
If you want to improve the game’s performance, especially in more demanding areas of the game, you can follow the instructions from this post on the Lambda1VR subreddit, which involves editing a text file in the xash folder on your Quest.
Other Tweaks
For any other more advanced tweaks, we would highly recommend checking out this guide on the Lambda1VR subreddit, which goes a bit further than ours does in terms of customization with controls and other options. It also has instructions on how to play the Half-Life expansion, Blue Shift.
You can read more about the Lambda1VR mod on its website.
Have you checked out Half-Life in VR on your Quest? Let us know what you think in the comments below.
Note: This article was updated on the 26th of January to include some clarifications and edits for Mac users.


