
With the software installation out of the way, it's time to build the framework within which to work when building an augmented reality app for Android devices.
The journey to learn how to develop software can be a long and tough road. Fortunately, software developers, in ways dissimilar to other technical and creative spaces, generally do a great job of making the path forward easier for those that follow. This is likely due to the influence of the open-source philosophy that has reigned in software development over the last 20 years.
Regardless of the reasoning, the price of admission, beyond creating a simple "Hello, World" project, has been lowered significantly in recent years.
Another element introduced with this lowered barrier to entry is that the more advanced features have become much easier to access. We are now at a point where a person can get started in augmented reality development, which is a pretty complex collection of systems working together to function, with little knowledge of code, as you'll see in this continuation of our ARCore series.
Scenes & Prefabs
In this guide, we're going to cover two primary areas of Unity to build our framework: Scenes and Prefabs. Unity is based on the use of a container file called a Scene that stores all the assets we will be using at a given moment. An application can run off a single scene or as many as you may need, depending on the structure of your application.
It is easy to think of scenes as game levels, which can help in imagining how we can structure an application — but do not fall into the trap of thinking of Unity only as a game engine. While it was created as a game engine, now that augmented and virtual reality have begun to spread into the mainstream, it is better to look at Unity as a 3D engine.
Step 1: Create a New Scene
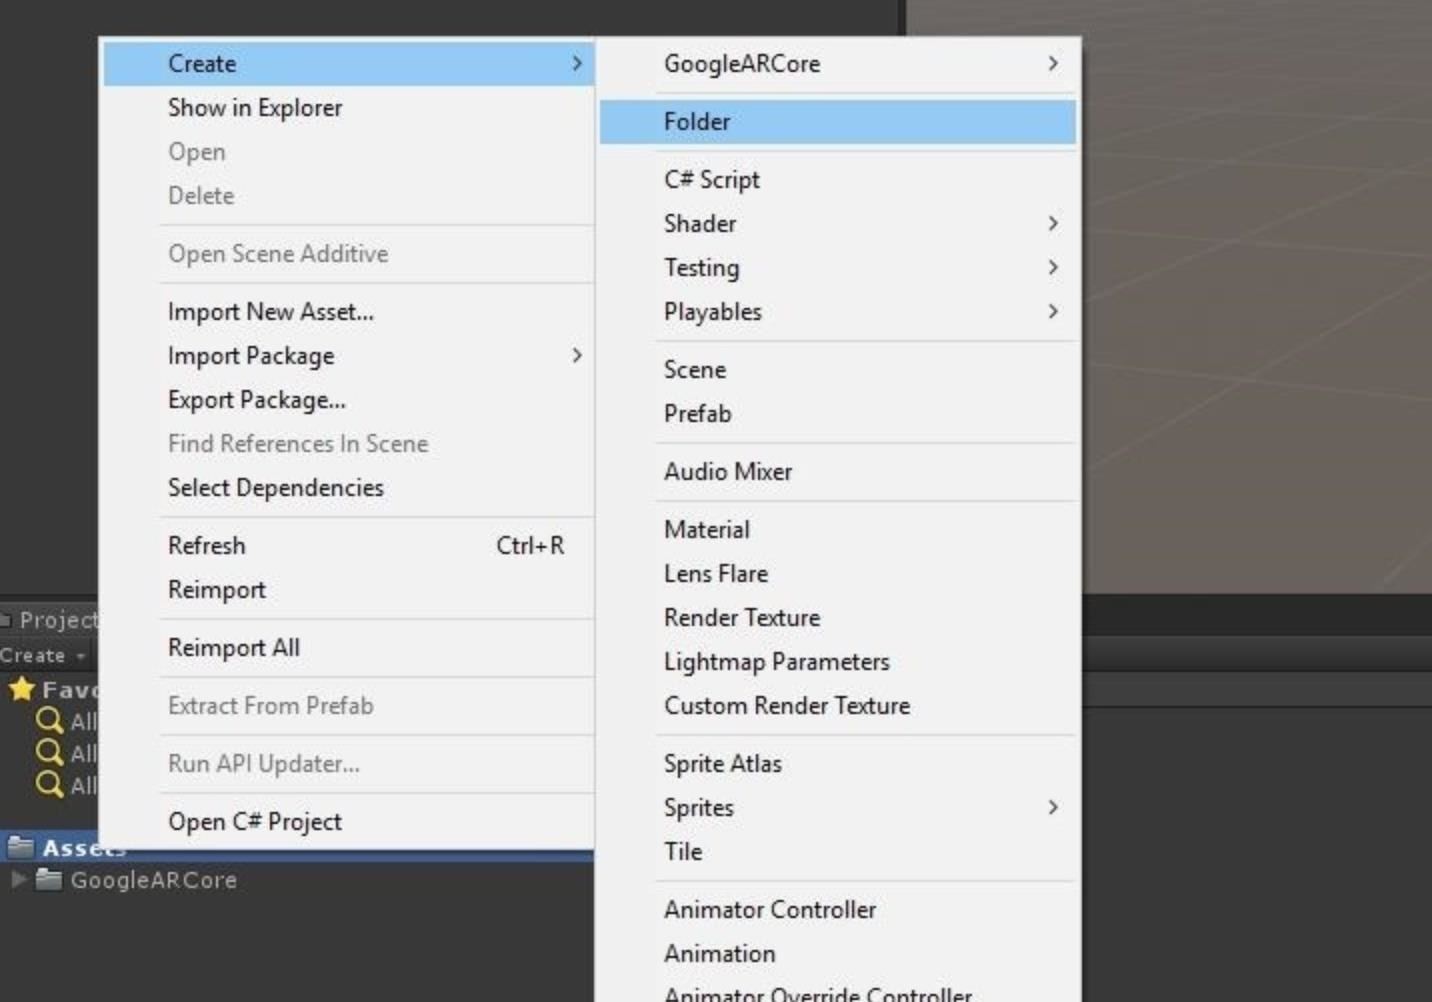
We need to create our scene, but we also need a place to store it. So let's create a folder for our scene. In the Project window, right-click on "Assets," then select "Create," then "Folder." Name the new folder Scenes.
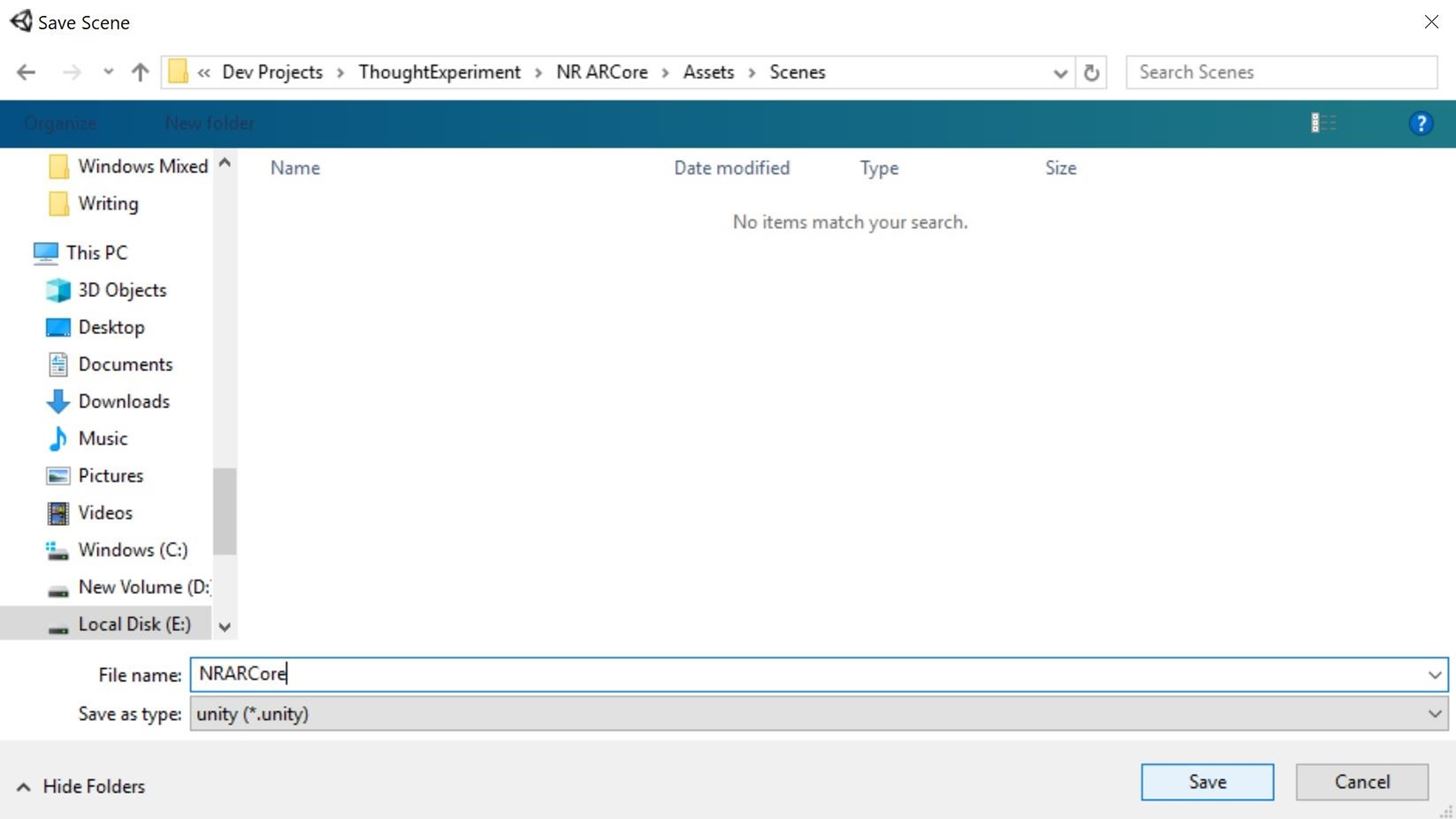
Next, click on "File" in the menu bar, then "Save Scene as." Navigate to your newly created "Scenes" folder. Type NRARCore (or whatever name that will help you remember the scene) into the File name field, and click on the "Save" button.
Step 2: Bring the ARCore Prefabs into the Scene
Prefabs are an asset type in Unity that allows us to store a collection of GameObjects and their related components in a way that is easy to instantiate into the engine in real time. All the settings that are saved when a prefab is created are stored along with the components themselves. Here we are going to pull in two prefabs that are part of the ARCore framework. Later, we will make our own prefab.
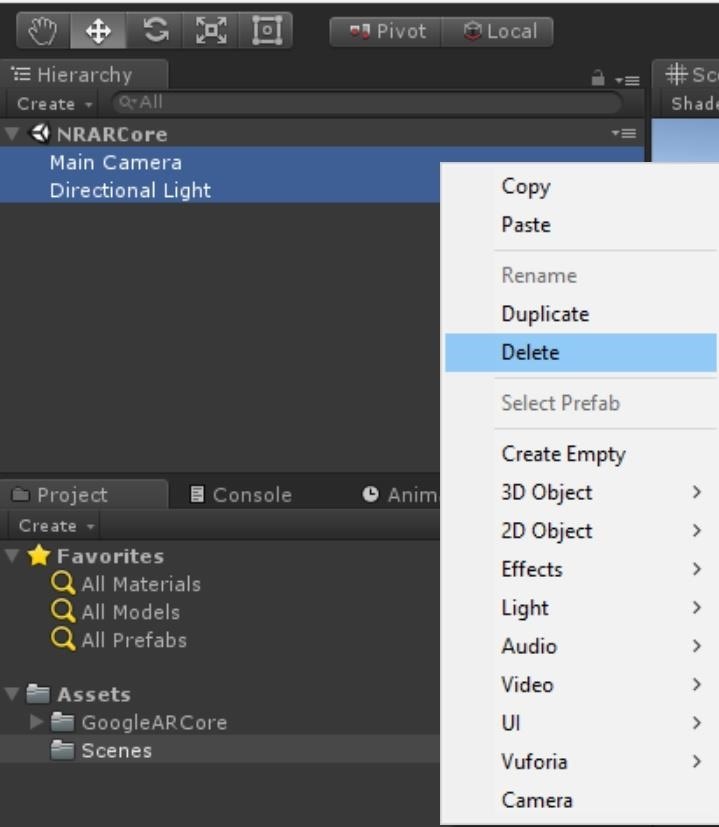
In Unity, in the Hierarchy window, select both "Main Camera" and "Directional Light." Right-click on them and select "Delete" when the menu appears.
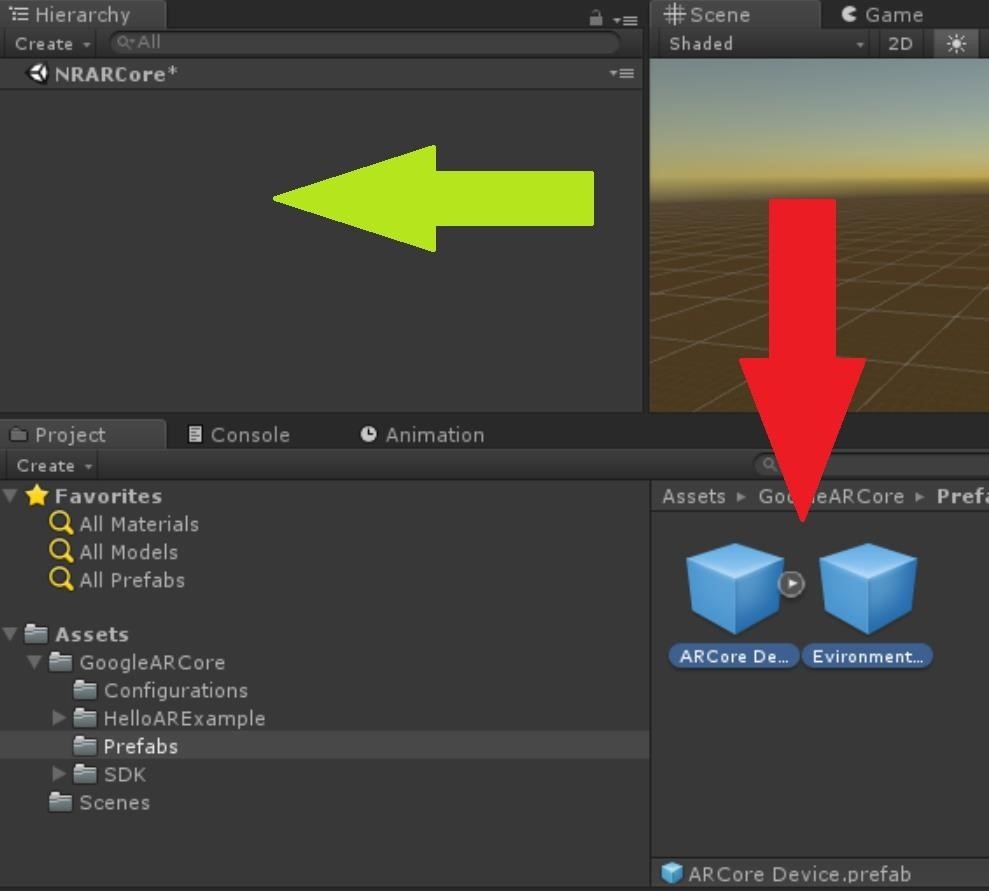
In the Project window, drill into the "Prefabs" directory in "GoogleARCore." Select the "ARCore Device" and "Environmental Light" prefabs (see the red arrow below), then drag and drop the pair of prefabs from the Project window to the Hierarchy window (the green arrow below).
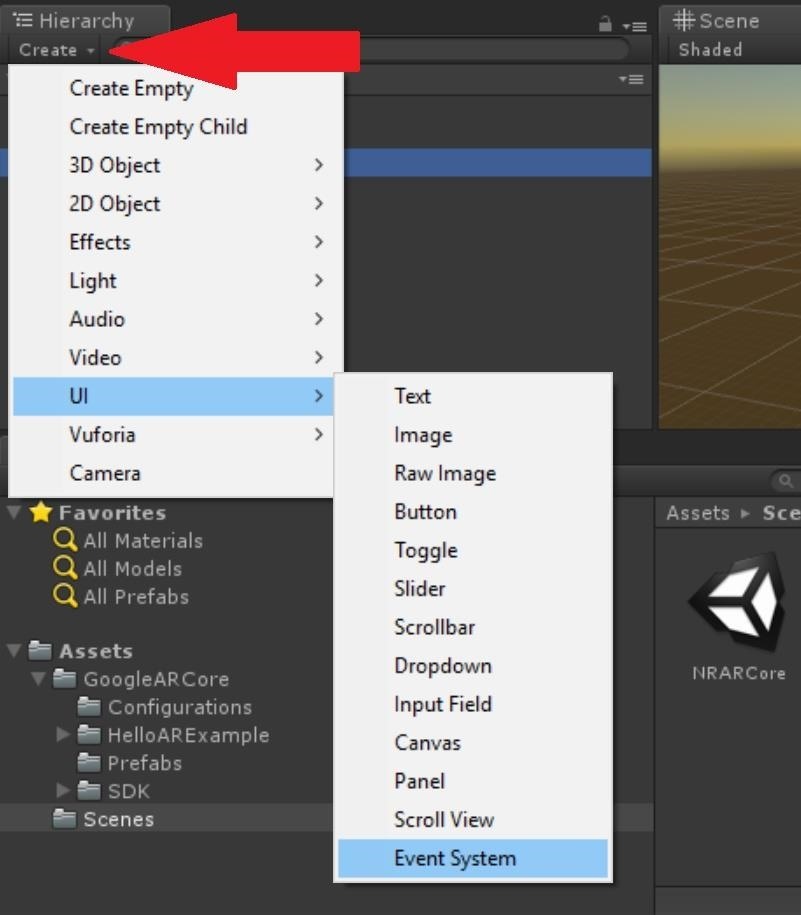
Next, click on the "Create" button in the Hierarchy window, select "UI," and then "Event System."
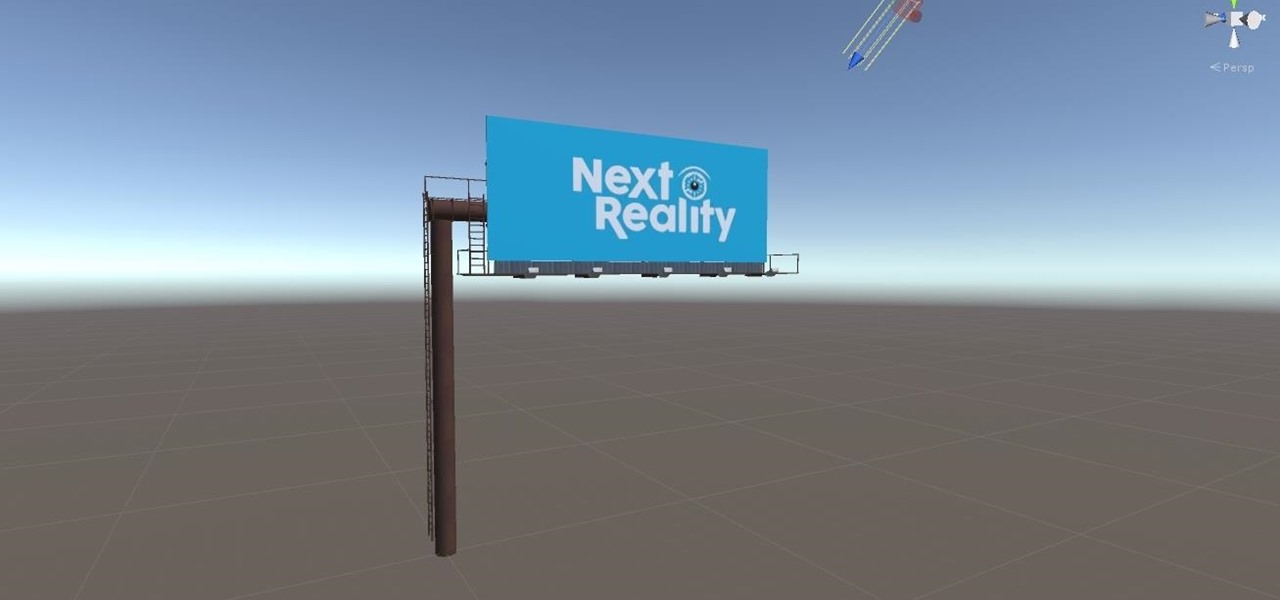
Step 3: Importing the Billboard & Texture
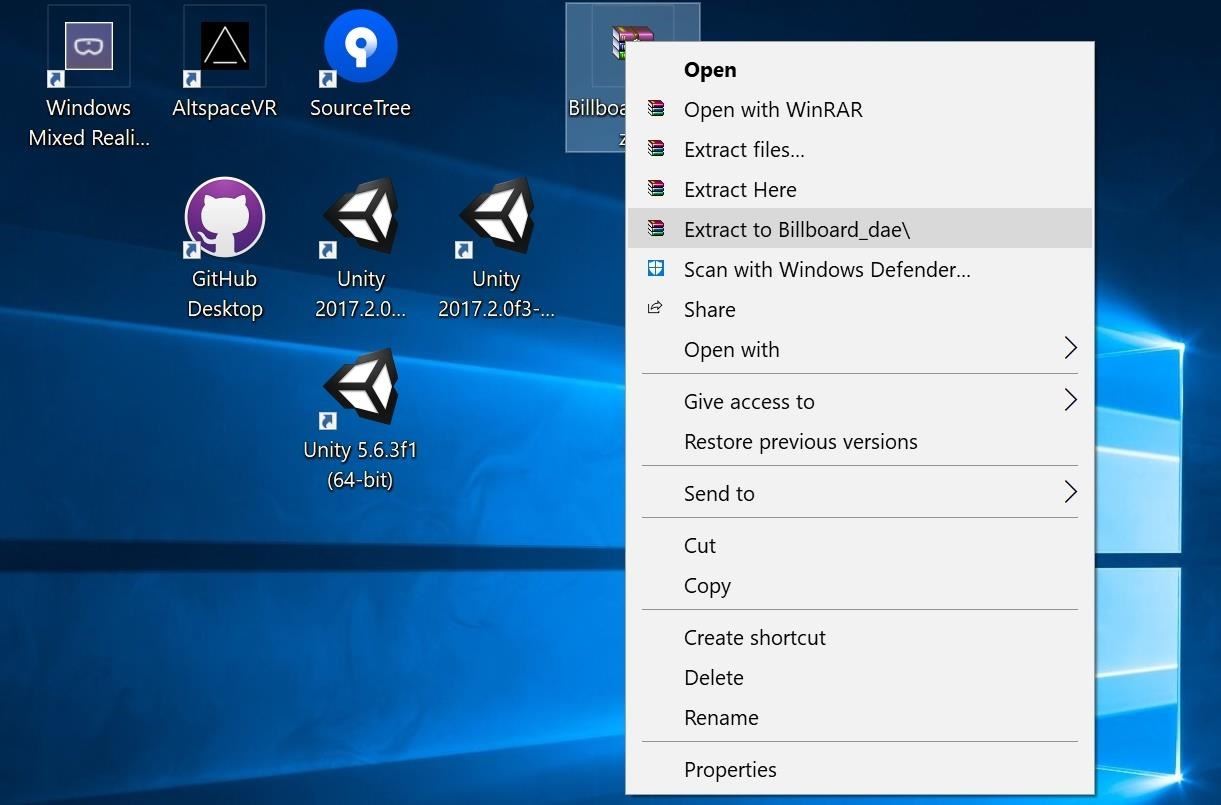
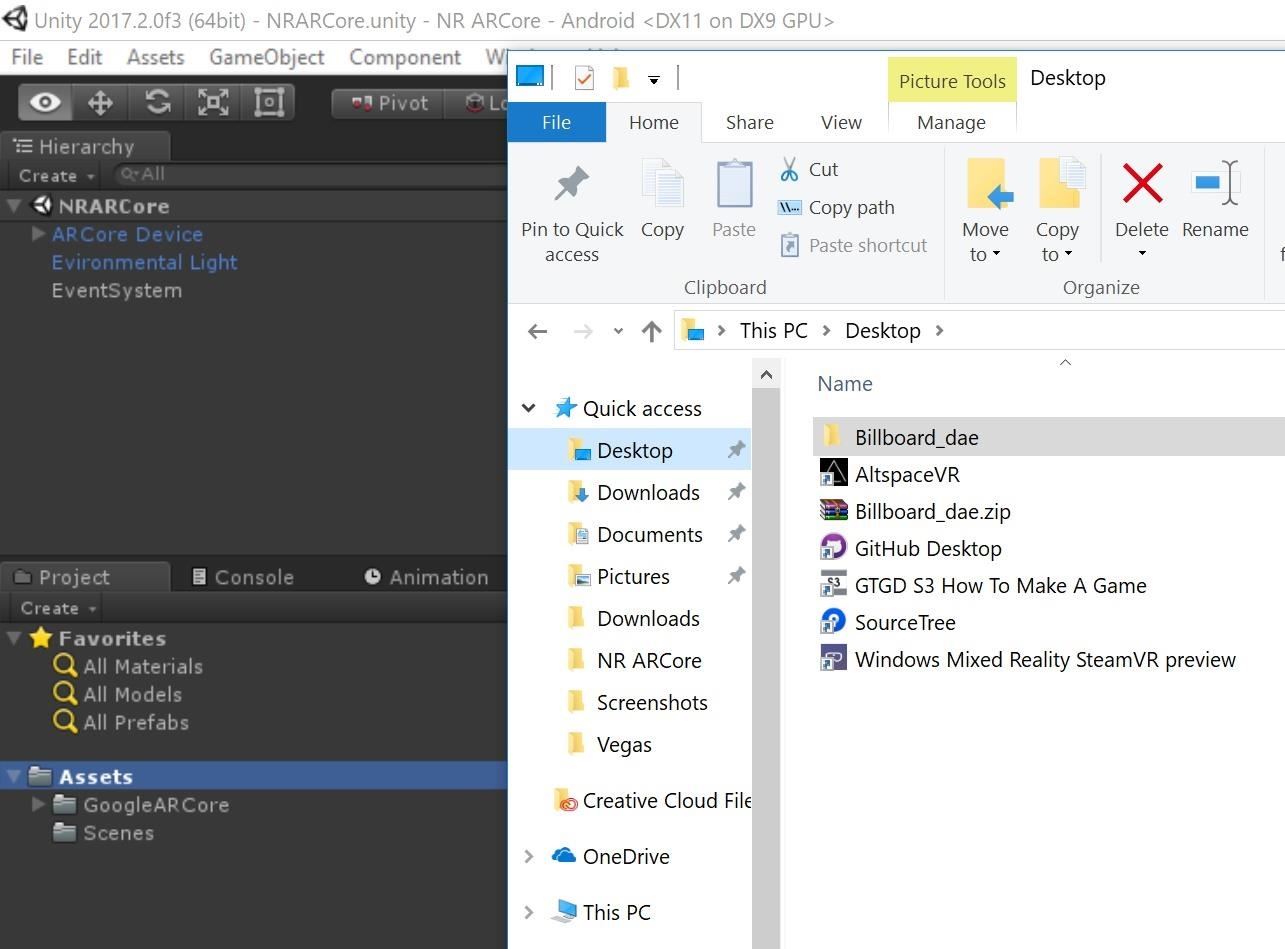
As mentioned before, we are going to create our own prefab. We are going to use the assets we downloaded in the previous lesson to do that. Find the location that you stored the billboard we downloaded previously. Extract it to a folder somewhere easy to access.
Copy the Next Reality texture that you saved from the previous lesson into the same folder.
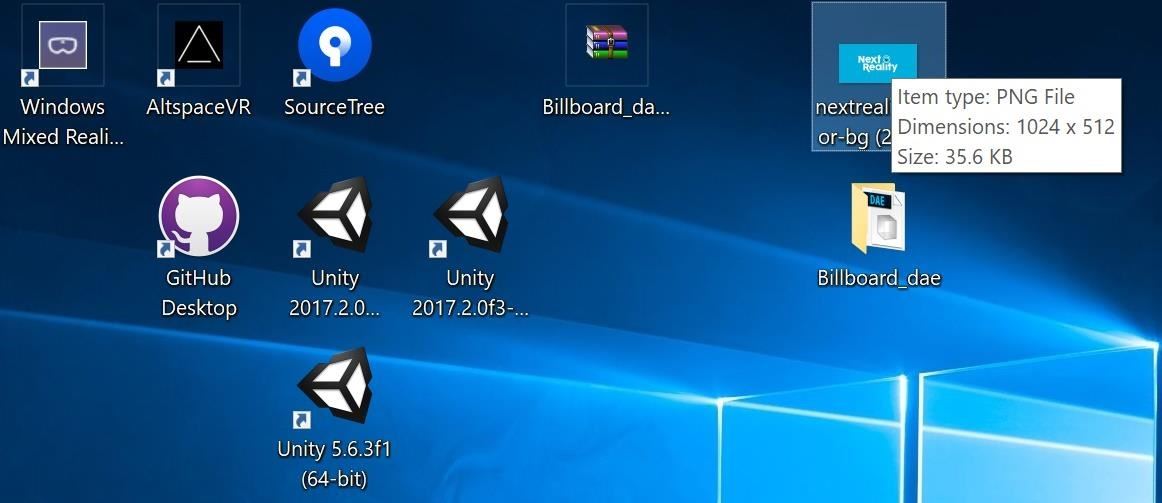
Overlap the Windows Explorer window on top of the Unity window so that you can see the "Assets" folder in the Project window. You can also use the side-by-side function that Windows 10 offers as well. Next, in Windwos Explorer, select the directory that has the billboard model and texture file. Drag and drop it on top of the "Assets" folder in Unity, then rename it "Billboard."
Step 4: Assign the Texture to the Billboard
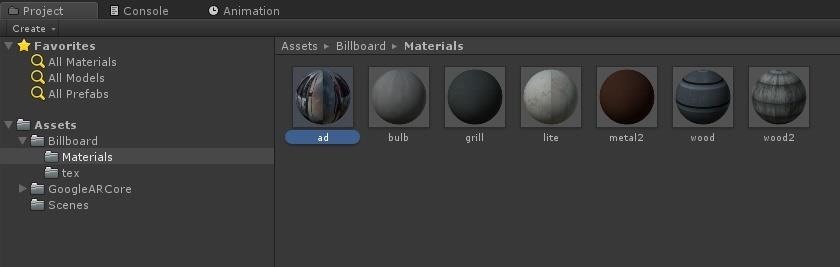
Our 3D objects require textures, or image files. These images are wrapped around the 3D objects in such a way that can color the object or (as the term "texture" implies) give the object the appearance of roughness or smoothness. In the importing process, a folder called "Materials" will be created. Double-click on that to open the folder.
When that options, cick on the "ad" material.
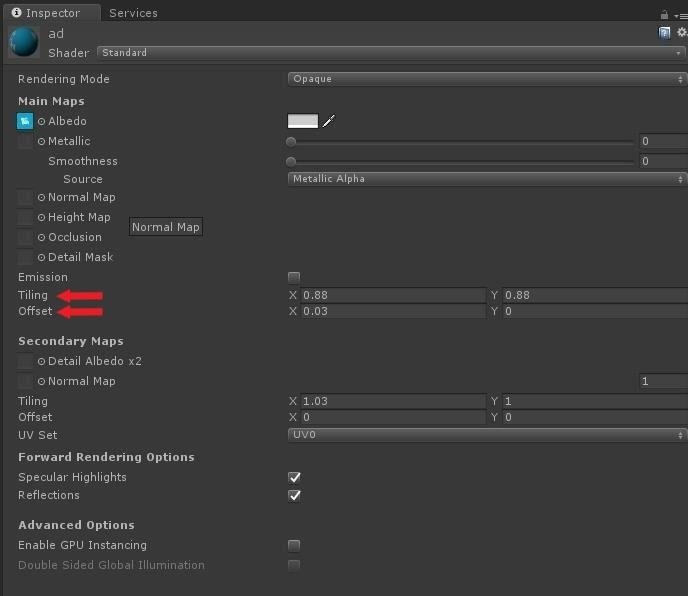
Look in the Inspector window to see the details related to our material. Click on the small donut symbol next to "Albedo."
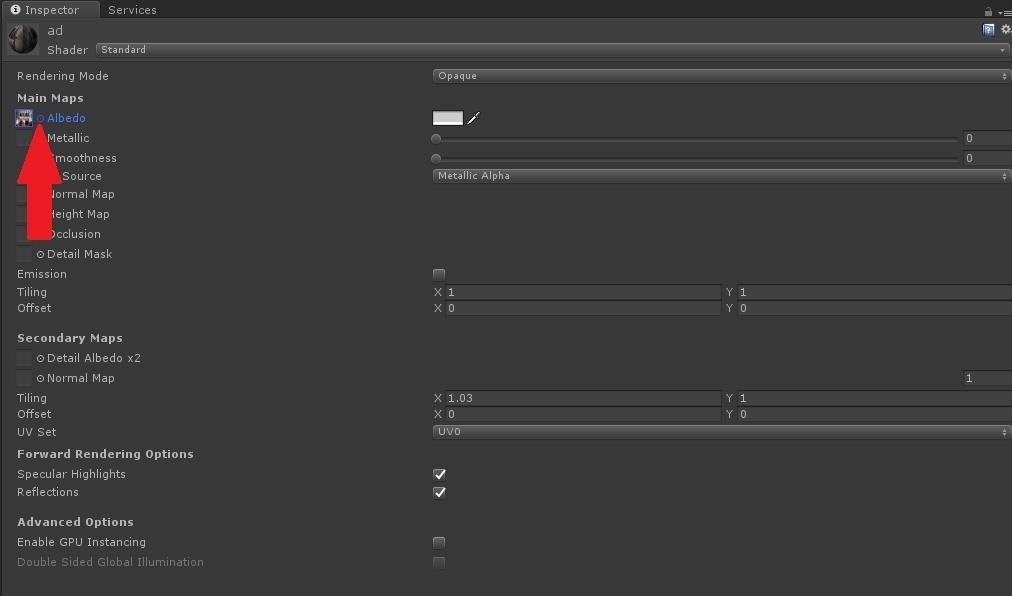
When the Select Texture window appears, double-click the "nextreality.color-bg(2).png file."
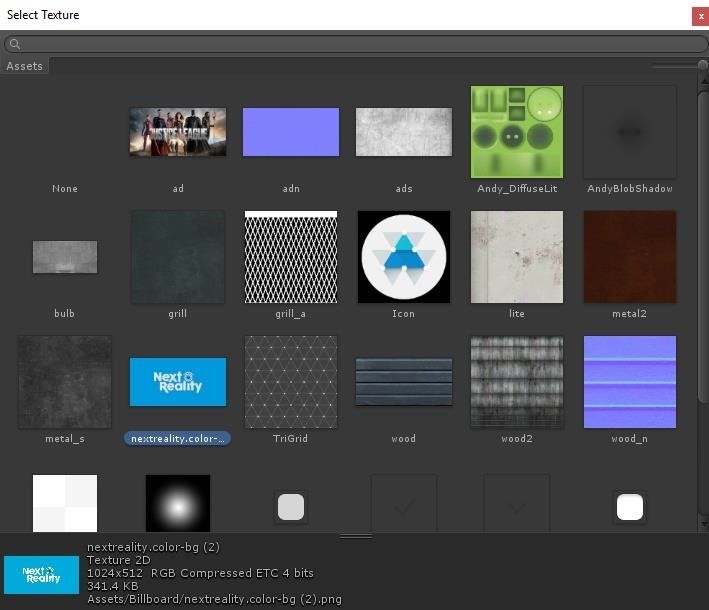
The texture did not fit in a way that I felt looked good, so we will make a few small adjustments. By the Tiling header, change X and Y to "0.88." Then, next to Offset, change the X element to "0.03" but keep the Y at 0.
Step 5: Create the Billboard Prefab
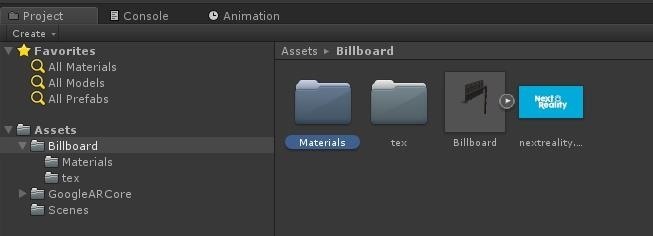
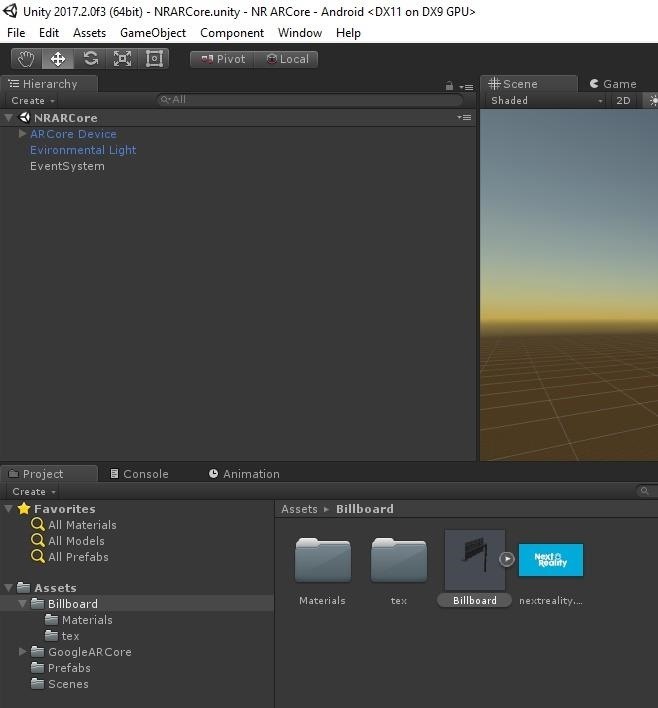
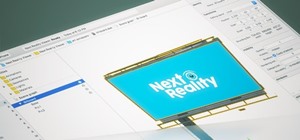
Now, let's take everything we have put together to create our billboard and turn it into a prefab. In the Project window under "Billboard" in "Assets," select the "Billboard" model itself. And, as we did before with the prefabs, drag and drop it into the Hierarchy window.
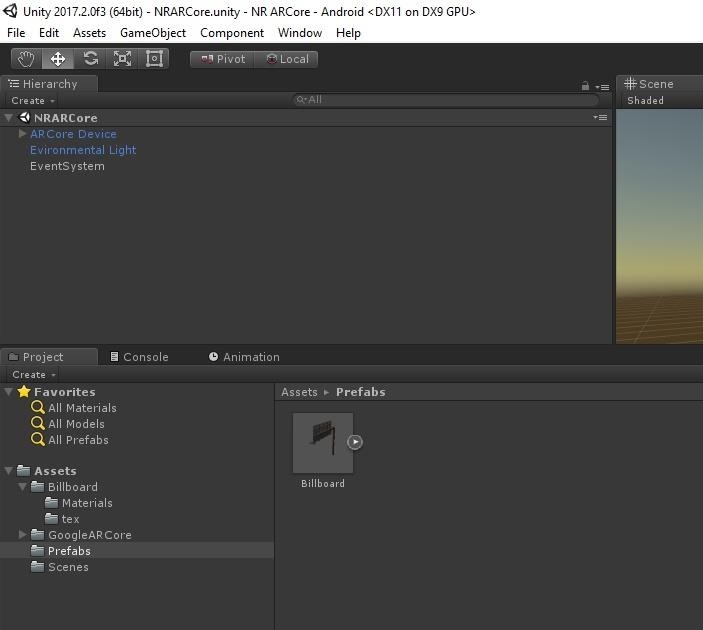
In the Project window, under "Assets," create a Prefabs folder. Then, drag and drop the "Billboard" object in the Hierarchy window into it.

Once the "Billboard" prefab exists — like the one below in the "Prefabs" folder — you can delete the "Billboard" object from the Hierarchy window.
We are almost done. In the next part, we will actually get to test and see the app work for the first time on our test device. From there, we will begin working on interaction. Let the fun begin!
Just updated your iPhone? You'll find new emoji, enhanced security, podcast transcripts, Apple Cash virtual numbers, and other useful features. There are even new additions hidden within Safari. Find out what's new and changed on your iPhone with the iOS 17.4 update.


Be the First to Comment
Share Your Thoughts