

There are hundreds, if not thousands, of programming languages and variations of those languages that exist. Currently, in the augmented reality space, it seems the Microsoft-created C# has won out as the overall top language of choice. While there are other options like JavaScript and C++, to name a few, C# seems to be the most worthwhile place to invest one's time and effort.
Of course, this is at least partially due to its heavy adoption by Unity, the most widely used engine for AR development.
In the previous part of our series on building an AR mobile app for Android, we created our scene. Now we are going to create the AppController, which will allow us to test our application. We will also go over the code that we are using in the controller. Then, we will set up our ARCore-compatible device to accept builds from Unity.
At this point, the purpose of our AppController is simple error catching, as you will see shortly. The majority of the work being accomplished by our app is currently coming from the prefabs we put in previously. Here is a quick breakdown of what these prefabs do for us:
The ARCore Device object contains two components other than transform: Tracked Pose Driver and Session Component. The Tracked Pose Driver handles the type of XR device, the Pose Source, the Tracking Type and the Update Type. The Session Component holds a cached reference to both our AR Session Configuration (a scriptable object that stores on and off options for certain AR functions) and First Person Camera.
Step 1: Create a C# Class
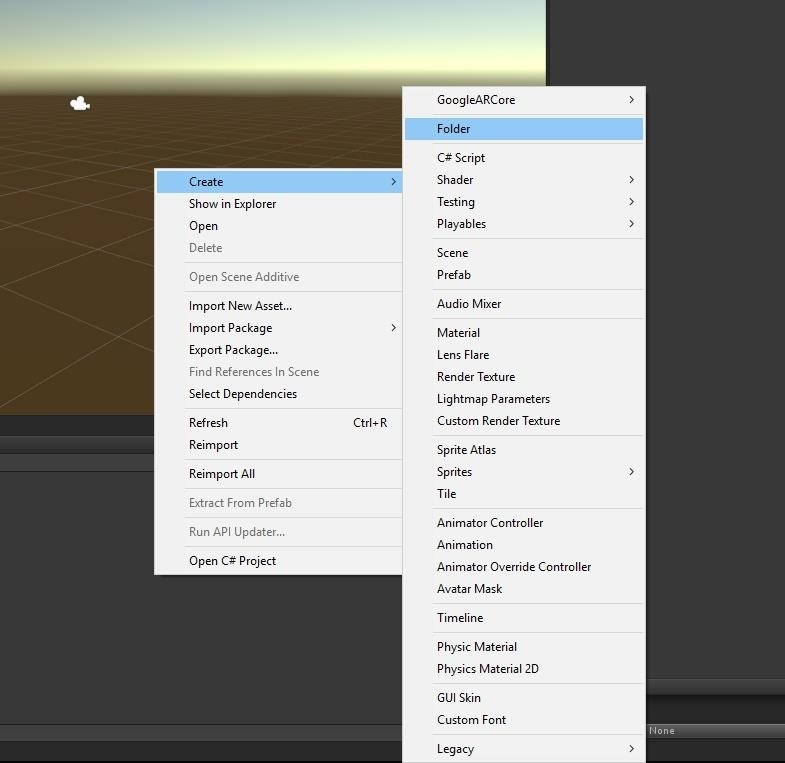
To begin this part of the tutorial, we need a place to put our script files, so we will create a Scripts folder. In the Project window, with the "Assets" folder selected, right-click in the open space and select "Create", then "Folder."
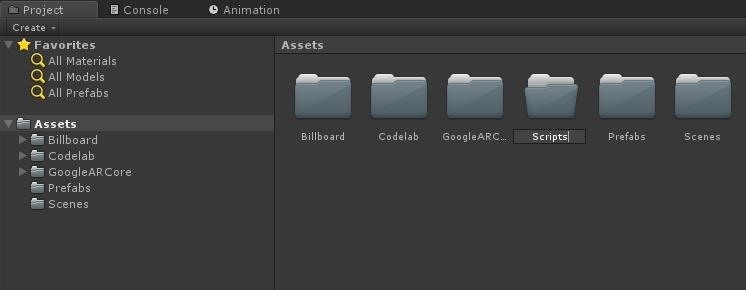
Name that folder Scripts when prompted.
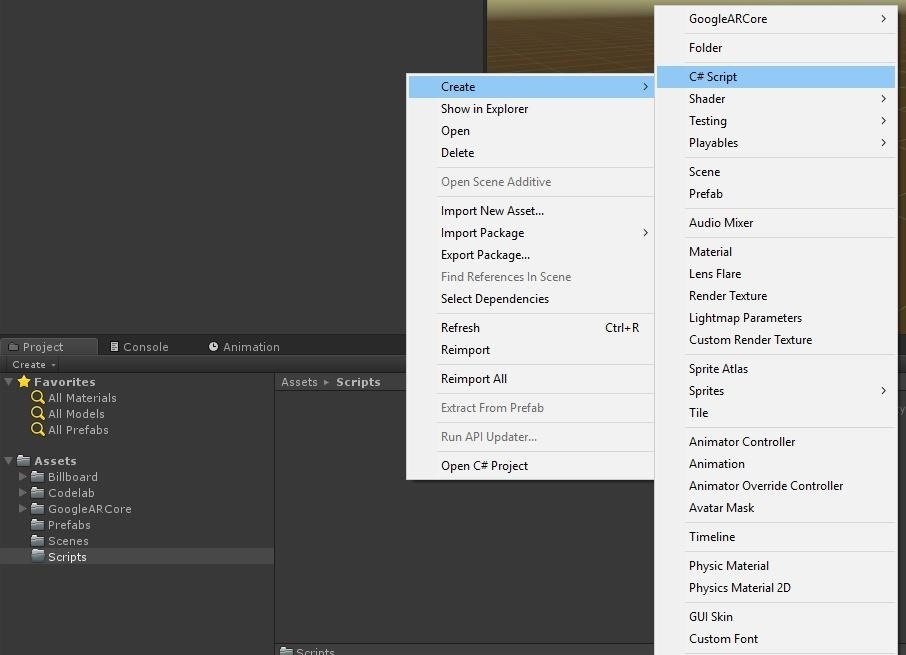
Now, double-click on the newly created folder to open it. Let's make it a little less empty. Again, right-click in the open space and select "Create," then "C# Script."
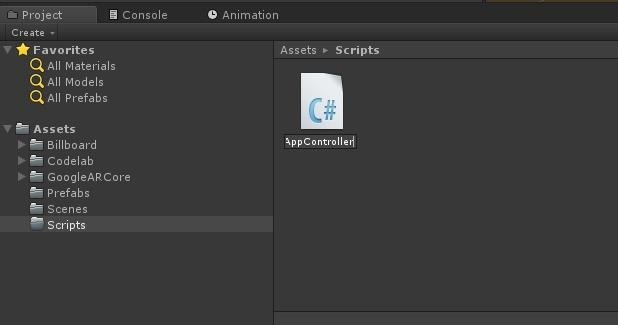
Name the file "AppController" and double-click the file to open it up in our IDE (integrated development environment) of choice.
Step 2: Code the Controller
A full-fledged coding class is beyond this tutorial series. That said, we have touched on many elements of C# in other series in relation to Unity development. If you are really interested, it may be worth your time to go through them.
Here, in our using block, at the top of the class (line 2), we need to add the line:
using GoogleARCore;
This statement gives us the ability to access elements of the Google ARCore SDK.

At line 4, we have our class declaration. While nothing needs to be changed here, it's worth noting that most Unity classes will derive from the class MonoBehaviour. This base class is what adds much of Unity's specific functionality to any objects we create.

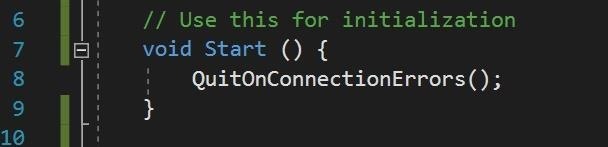
When Unity creates a C# class, it automatically creates two methods: Start() and Update(). In our Start() method, we need to add the method call:
QuitOnConnectionErrors();
The purpose of the QuitOnConnectionErrors() method is to ask for and receive permission from the device and user to access the camera. If for some reason permission cannot be given, the application will gracefully exit.
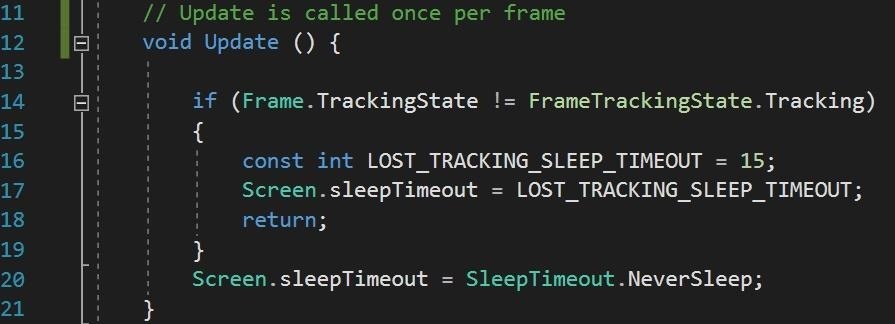
In our Update() method, we need to add lines 14 to 20 in the image below.
A frame is a collection of information about the current status of the device, including the position and rotation of the camera in relationship to the world, light estimation information, tracking status, and objects in the scene.
Here we are testing if the current frame's TrackingState is indeed Tracking. If it isn't, we set the screen timeout to 15 seconds. This gives the tracking state some time to recover before shutting down.
If the TrackingState is tracking, then sleepTimeout is set to NeverSleep.
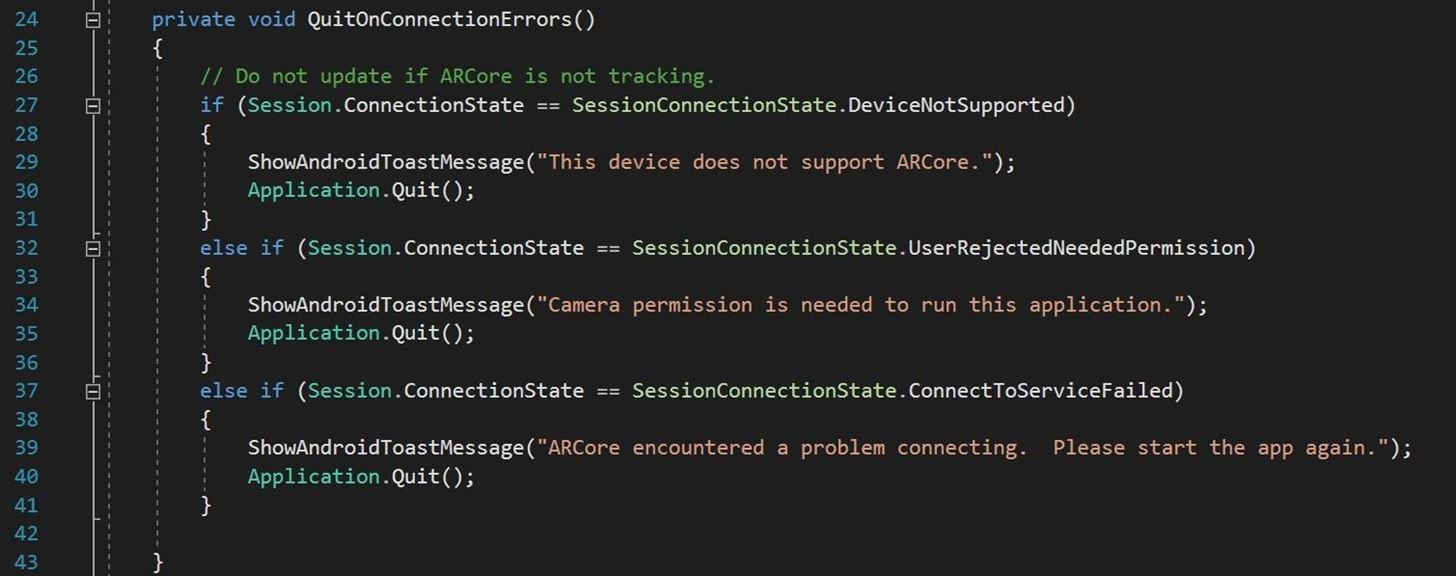
In the QuitOnCeonnectionErrors() method, we are testing for three conditions. If any of these conditions are met, we send the appropriate error message to be printed on the screen through the ShowAndroidToastMessage() method.
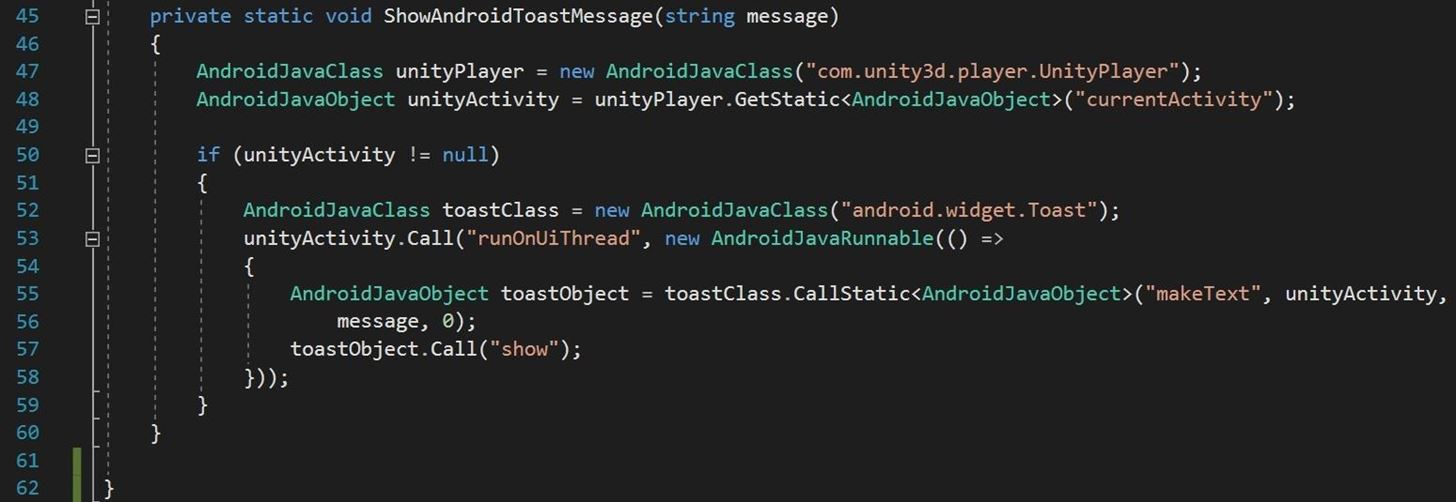
In this final function of our AppController tutorial, we are using some of Unity's Android classes to send and print an error message to the screen.
Here is the complete code file at Pastebin, in case you prefer to copy and paste the code or simply need to check against an error you may be getting. My general feeling on the subject is that you will mentally explore the code if you type it, so typically you learn more that way.
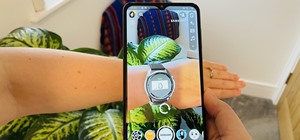
Step 3: Set Up the Device for Testing
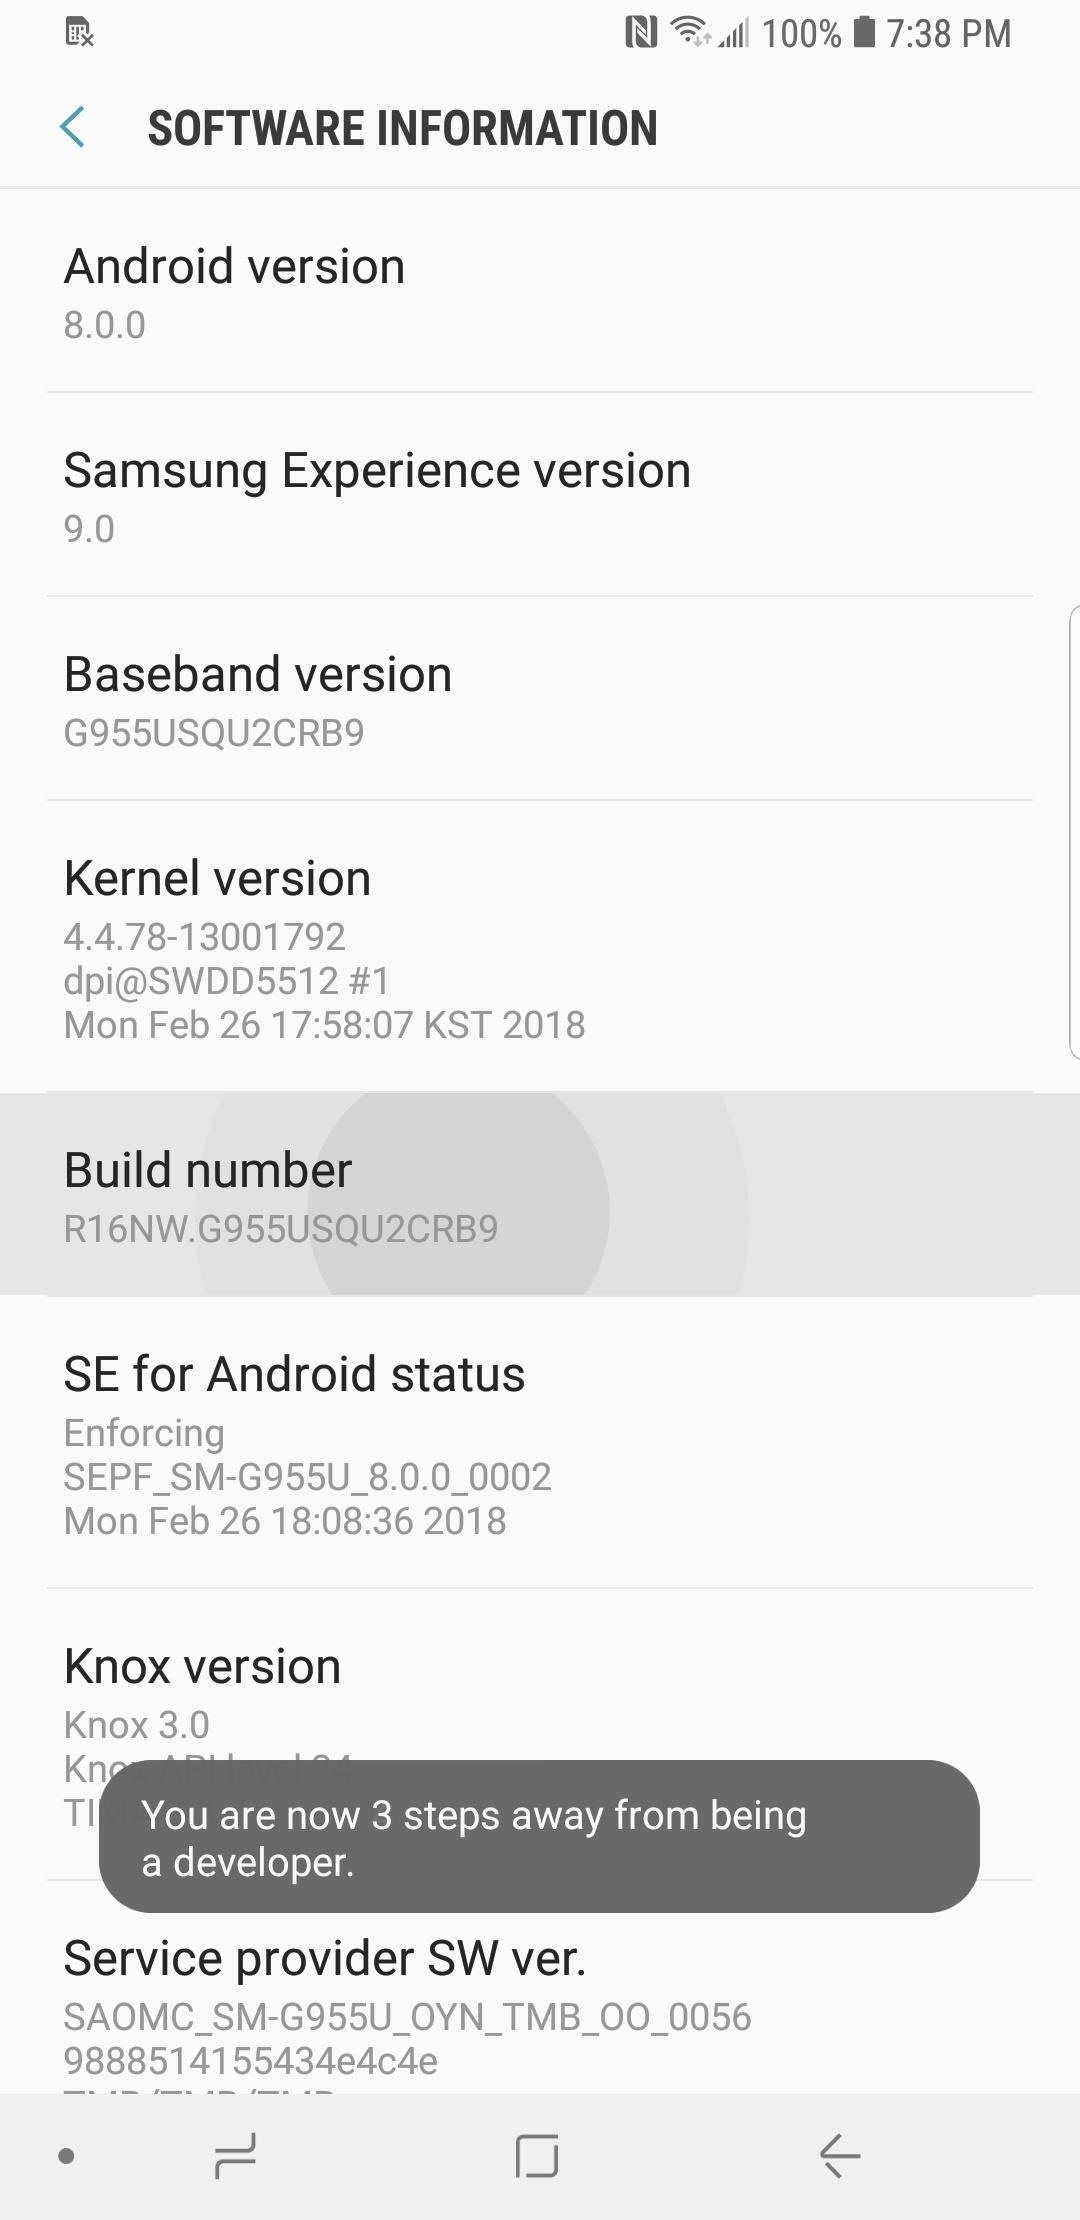
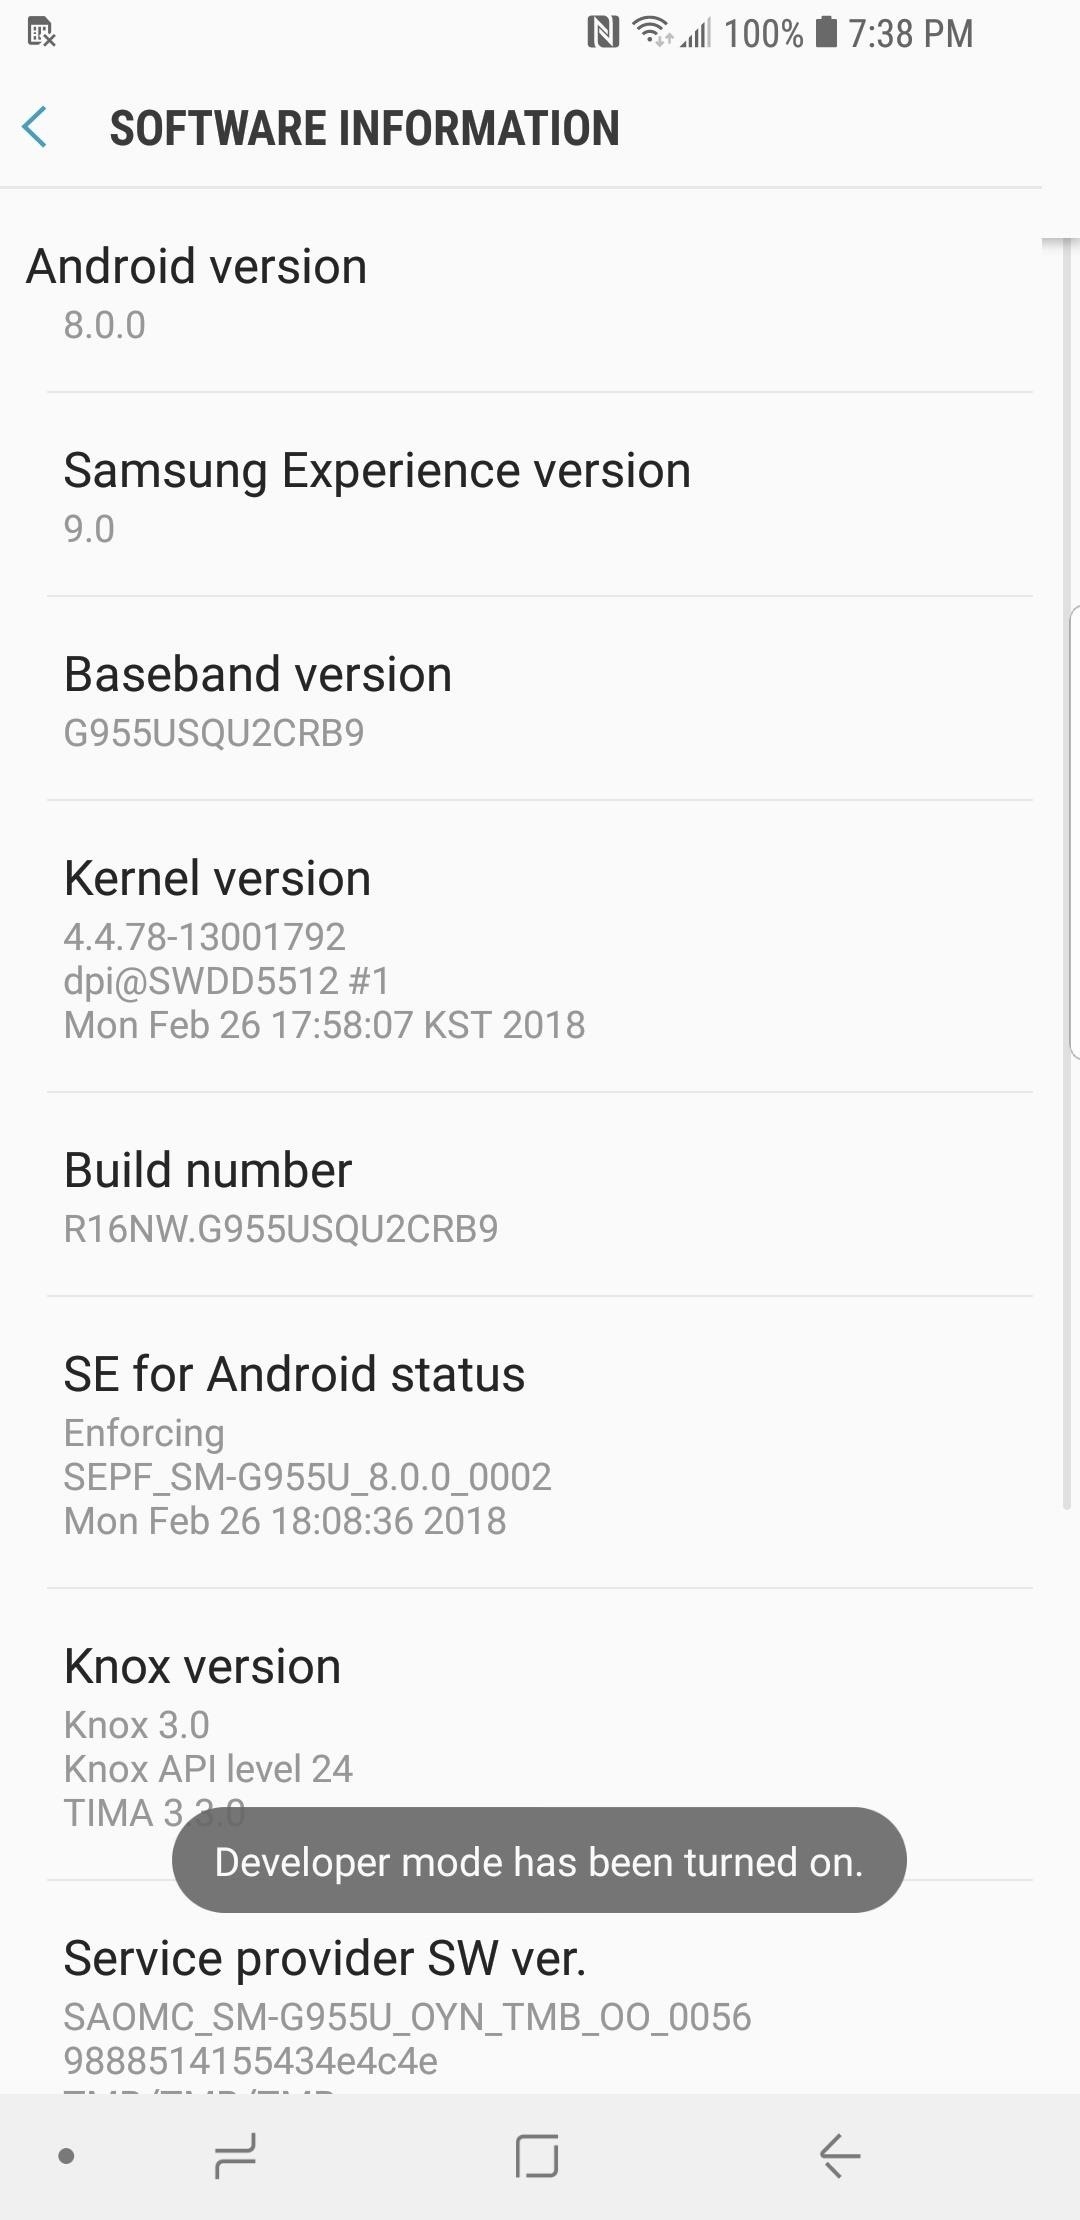
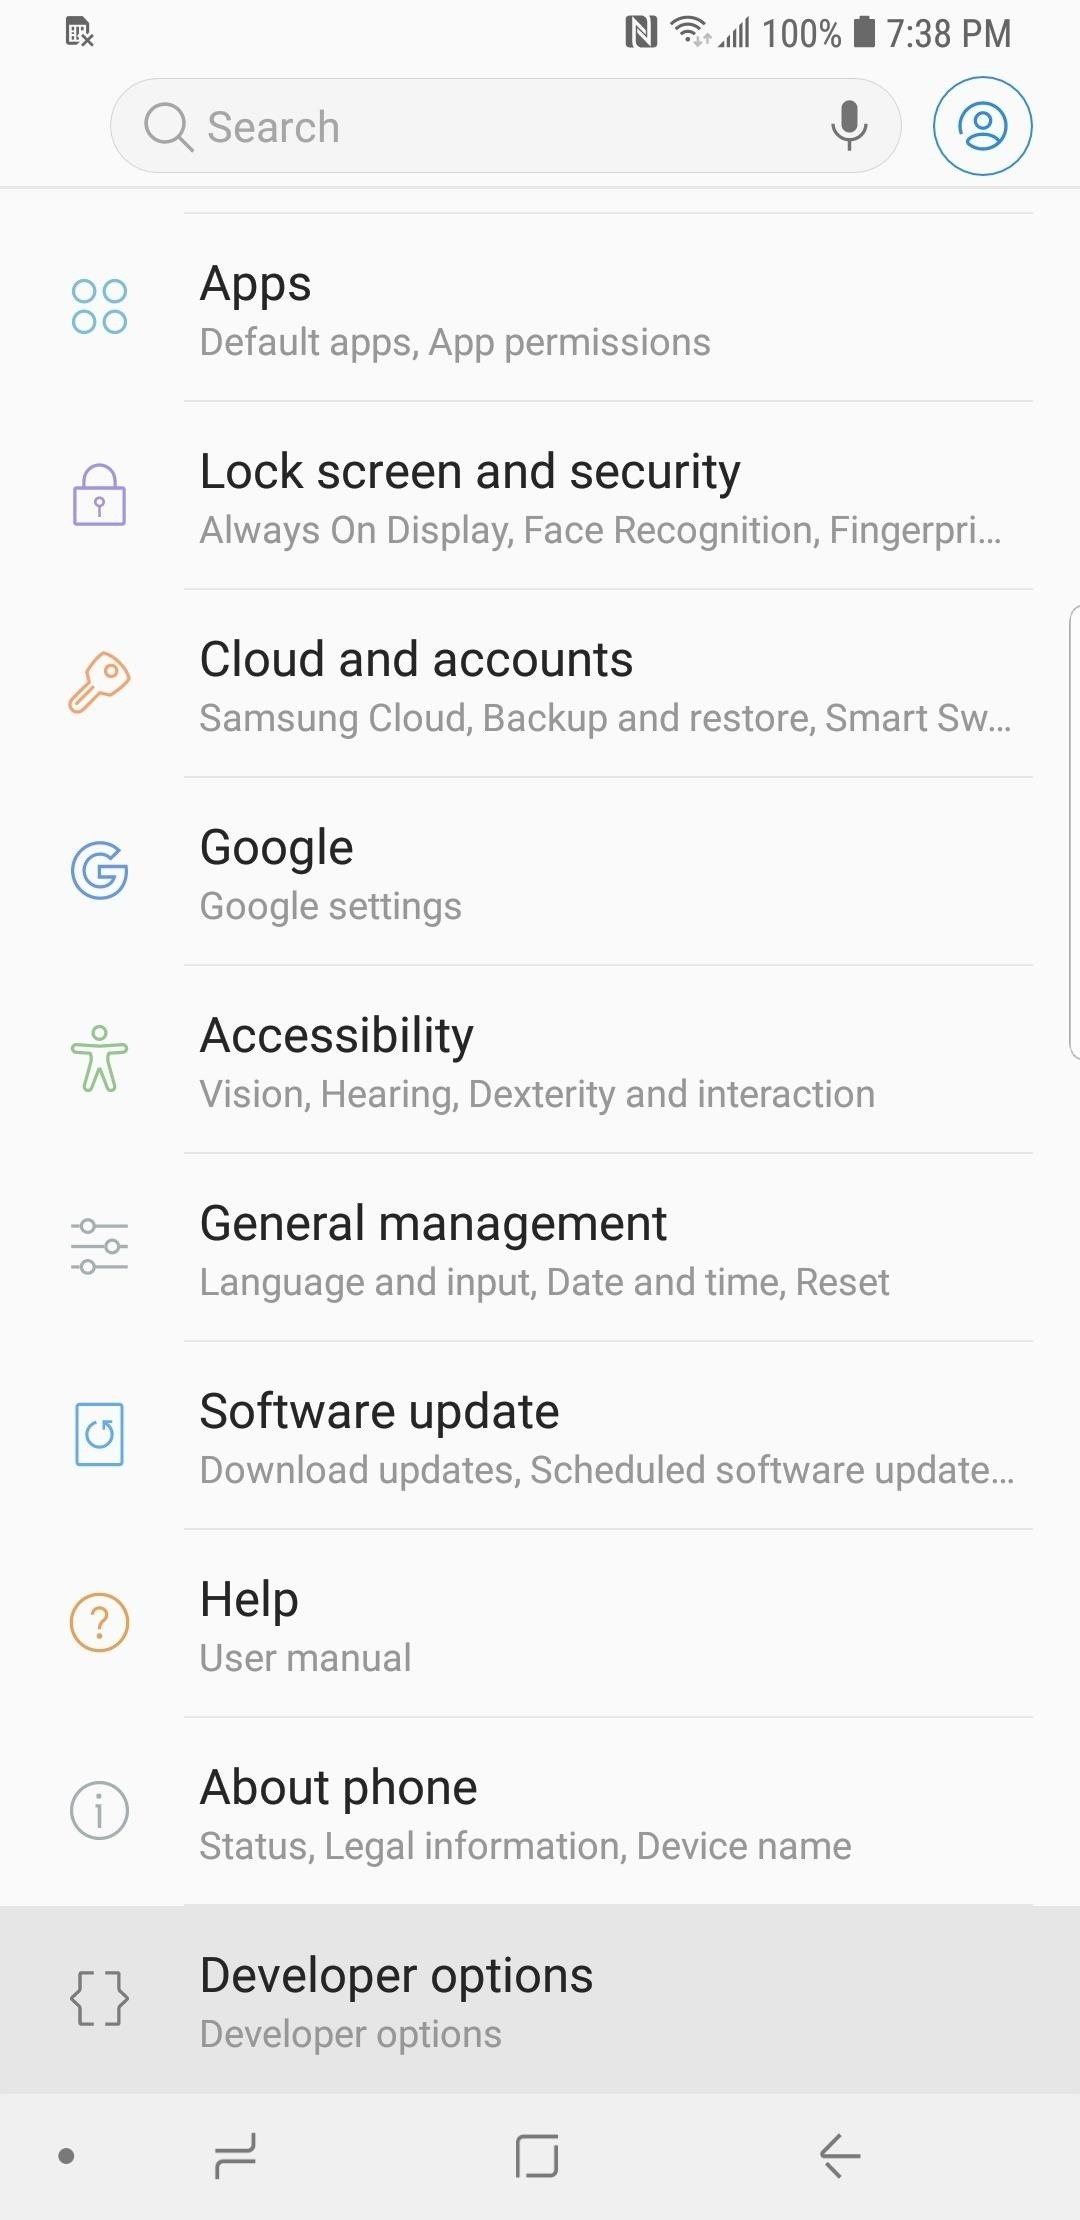
In order to get our Android package file (or APK file) on the phone and test it, we need to enable "Developer options." This menu is hidden by default, but can easily be unlocked by tapping the build number in the "About phone" section of the Settings app seven times in succession. You might have to enter your PIN to finish it up.
For more info, check out the guide linked below. On a Samsung Galaxy S9 (which isn't yet supported for ARCore) or Google Pixel running Android P, the process is a little bit different.
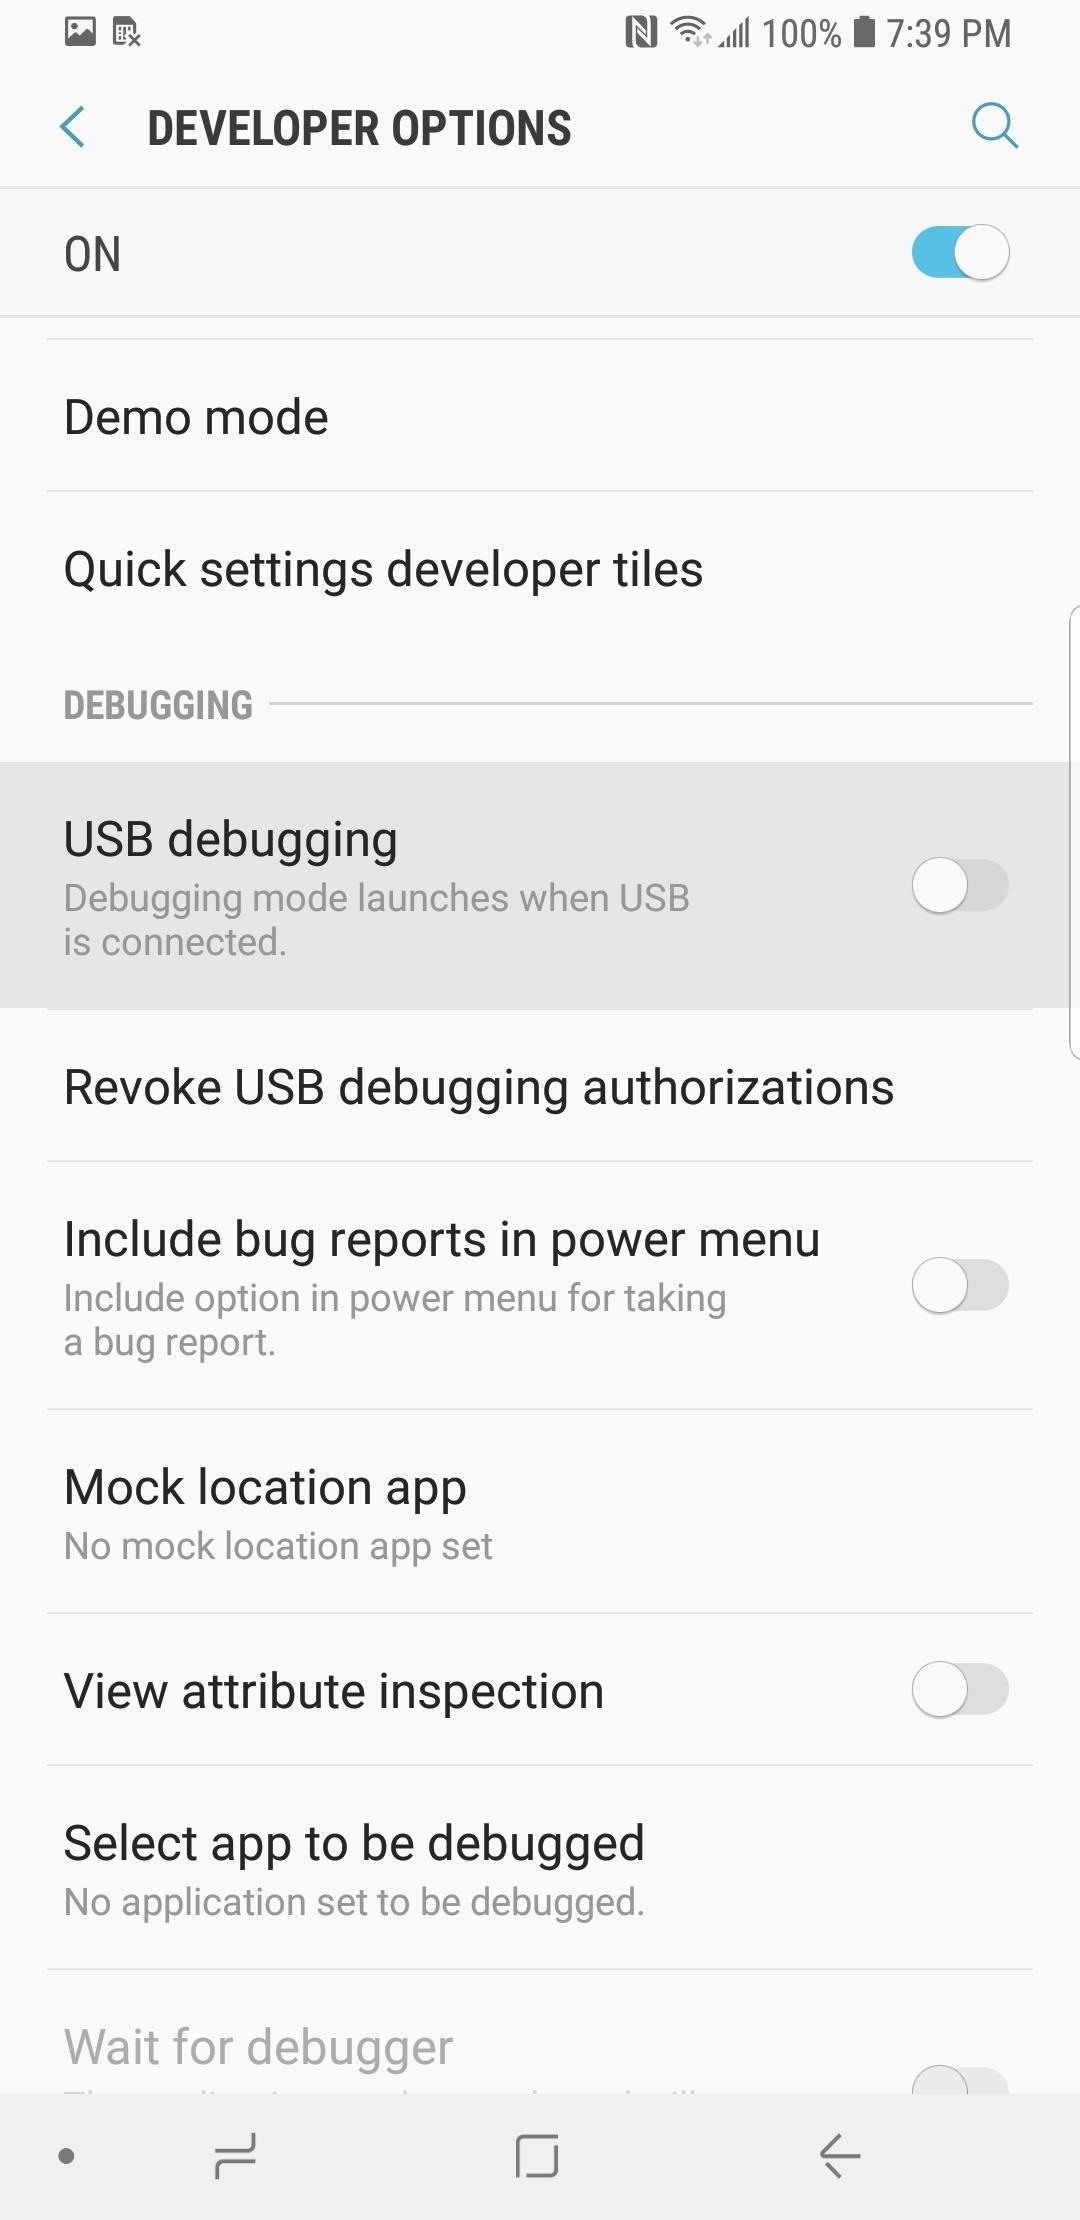
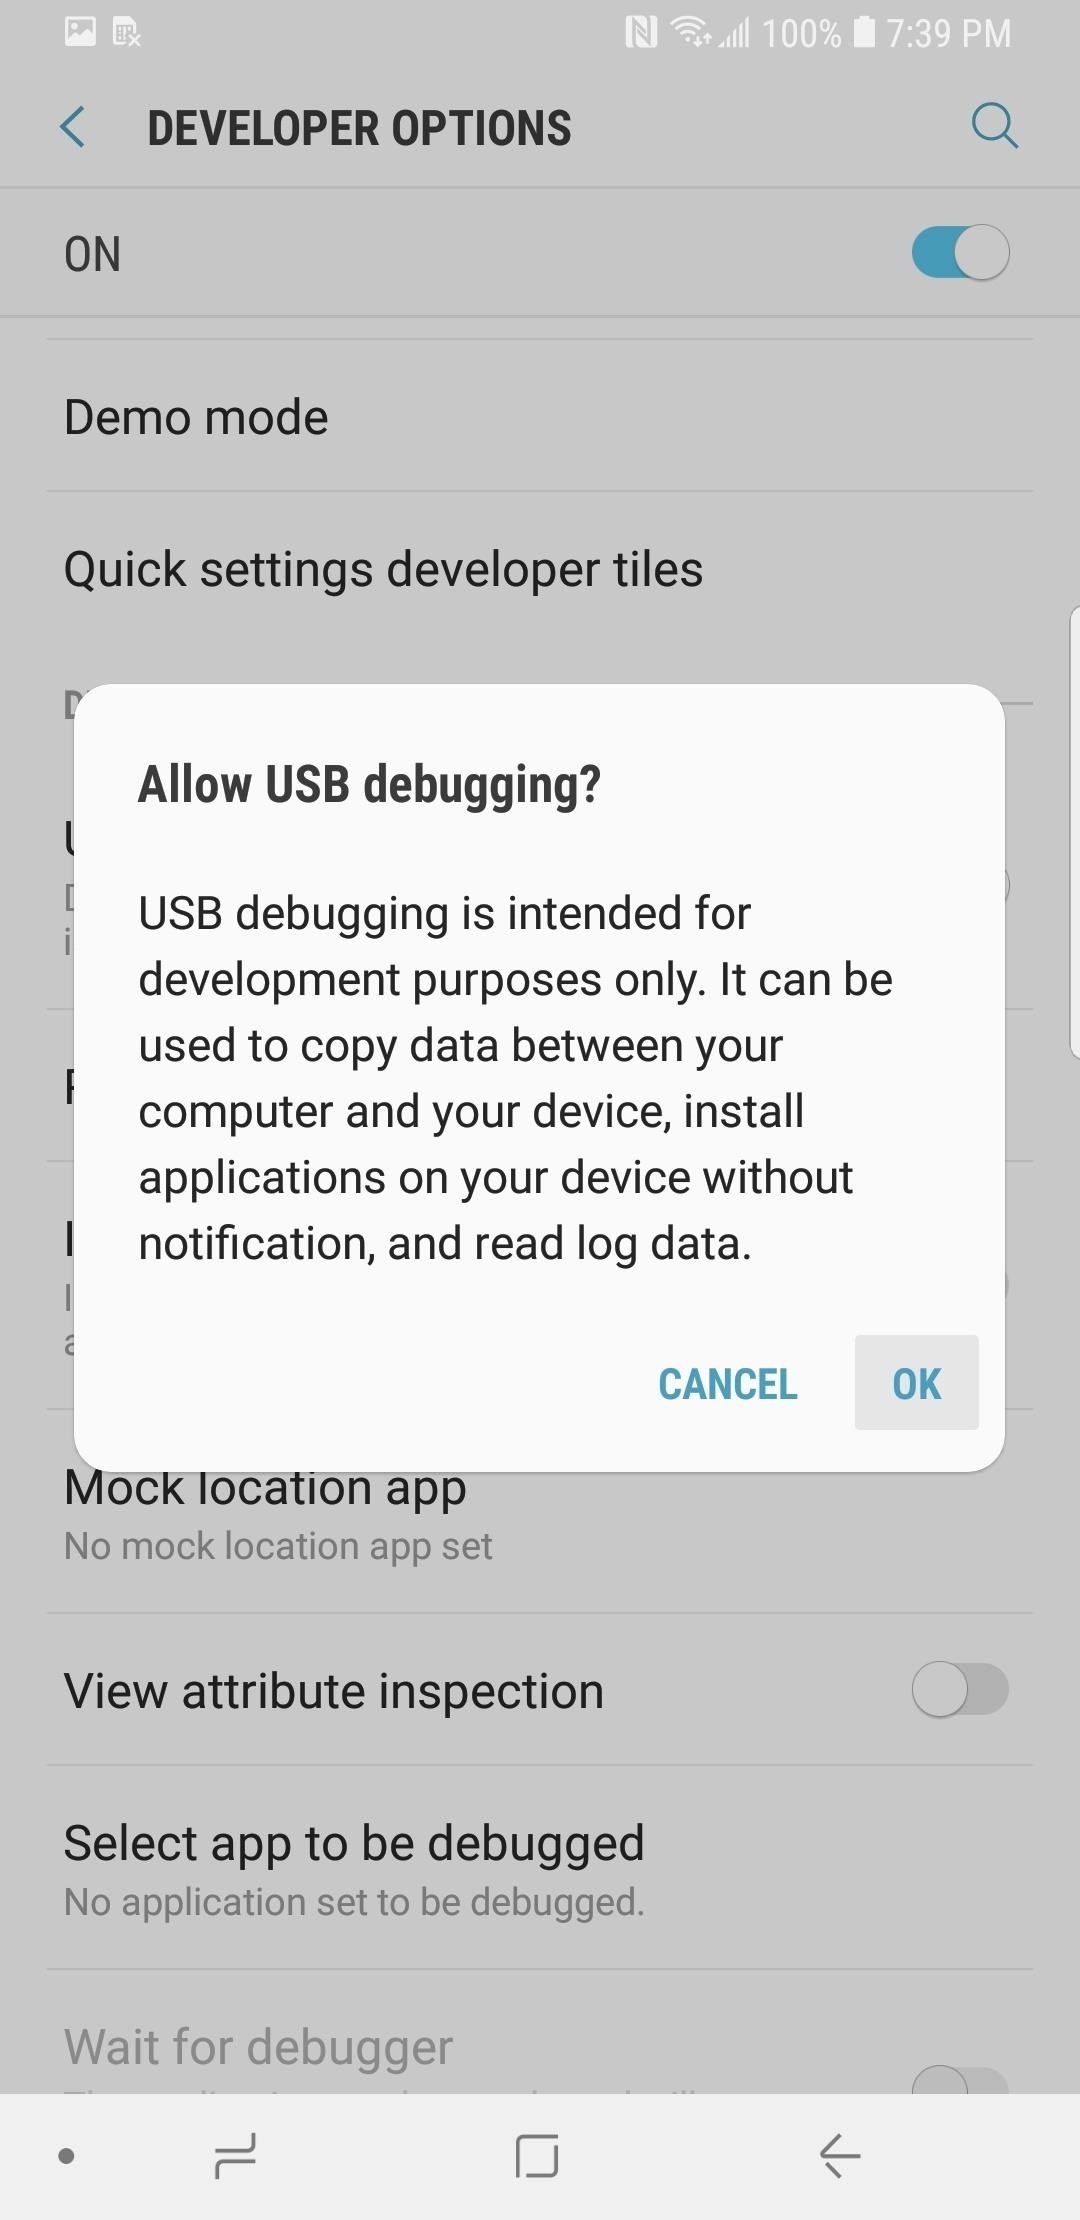
In the Developer options, make sure the "USB debugging" option is turned on.
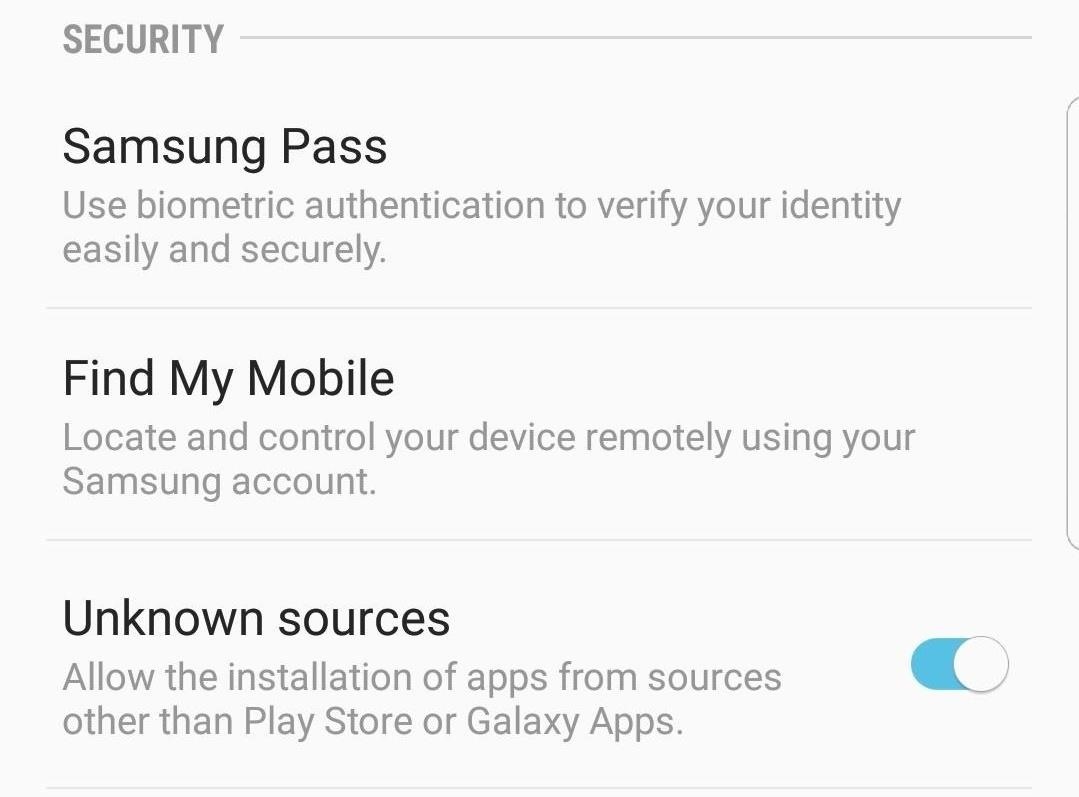
Back in the main Settings menu page, select Lock Screen and Security or something similar. Once inside this screen, select "Unknown sources" and turn that option on. If you don't see that option, it's likely because you're using Android Oreo or Android P. In that case, it will ask you to enable "Unknown sources" when you try to install the APK.
Stay Tuned for the Next Guide!
In this part of the tutorial series, we created our first C# class and broke down its functionality. We followed that up with setting our device up for Developer mode, which will allow us to try out our work. In the next tutorial installment, we'll build on what we've learned here and get into surface detection. With surface detection, we can build virtual surfaces on top of real surfaces. These surfaces allow digital objects to appear to interact with our real world. This is the heart of the illusion of AR.
Just updated your iPhone? You'll find new emoji, enhanced security, podcast transcripts, Apple Cash virtual numbers, and other useful features. There are even new additions hidden within Safari. Find out what's new and changed on your iPhone with the iOS 17.4 update.


2 Comments
thx for this introduction!
my problem is, that i dont have access to
Frame.TrackingState (Frame contains no definition),
FrameTrackingState (not in context),
ConnectionState (Session contains no definition),
SessionConnectionState (not in context)
i use unity 2017.4.3f1
and VS 2017 15.7.1
ok - the pastebin contains different code... nvm
Share Your Thoughts